When I decided to add to my flock of backyard chickens (or should I say, chicken, singular, since we were left with a lone Cochin), my main concern was making the transition as stress-free, smooth, and safe as possible for all involved.
Integrating chickens into an existing flock can be a nerve-wracking ordeal if you don’t prepare for it. It’s not as simple as sticking all the chickens together and hoping for the best — flocks have a firmly established pecking order, and they take that order seriously.
Adding newcomers will throw that pecking order out of whack as each hen has to once again vie for her spot in the flock. This can lead to some serious squabbles among the group as the older girls try to put the newer, younger girls in their place by pecking or picking on them. Yes, even that sweet, docile hen you’ve had for years can suddenly turn into a mean girl if she feels her place in the pecking order threatened!
It’s usually a wise idea to add as many new chickens to the flock as there are existing chickens, so that the existing chickens don’t outnumber and gang up on the newbies. To keep things relatively fair and peaceful, I recommend adding a minimum of two new chickens — but at least three would be better. (In my case, this “rule” was less crucial since I only had one existing chicken, so the power struggles were mostly among the newbies.)
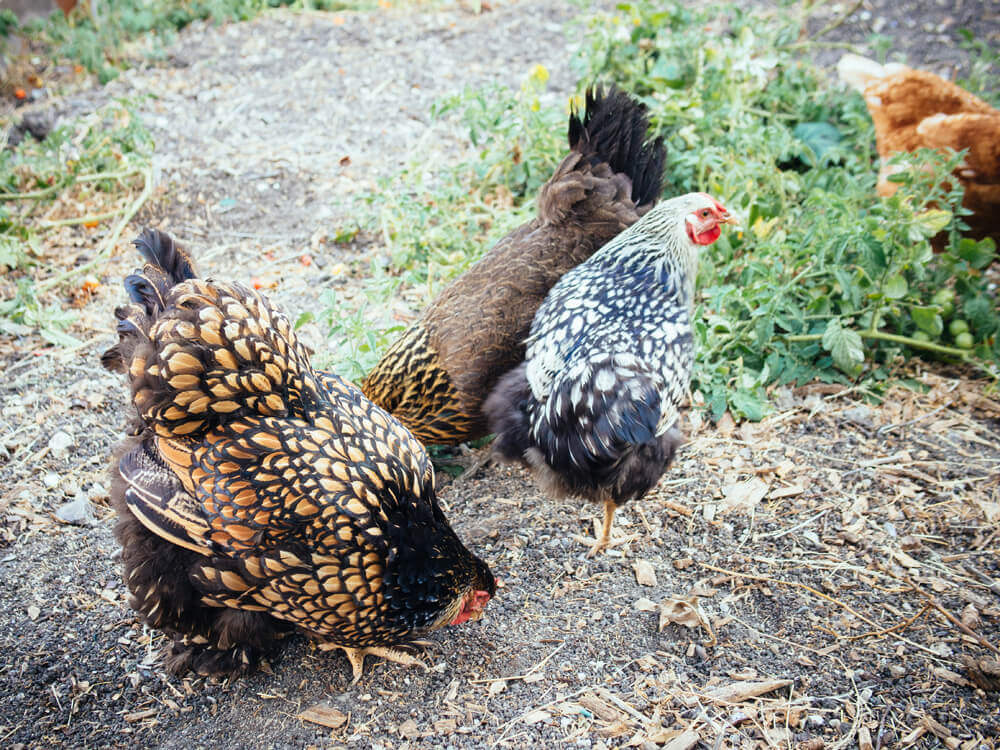
Aside from egos, there’s another reason flock integrations should be carried out with care: biosecurity.
When bringing home new pullets or layers, you run the risk of also bringing home any infections and other communicable diseases from the backyard, feed shop, farm, or some other place where you acquired the chickens. Even if you don’t spot any obvious health issues (such as pale combs, scaly legs, or signs of lice or mites), environmental changes can be stressful for a chicken, and this stress can bring out any latent illnesses without warning.
You certainly don’t want the joy of new chickens overshadowed by a problem passed on to your existing flock!
So, how can you keep them all healthy while minimizing the “Mean Girls” effect?
Here are the four simple steps I followed to make the transition a safe and happy one. (Note that this guide pertains to fully feathered pullets that can spend the night outside; if you’re integrating chicks, you’ll have to collect them each night and bring them inside to sleep.)
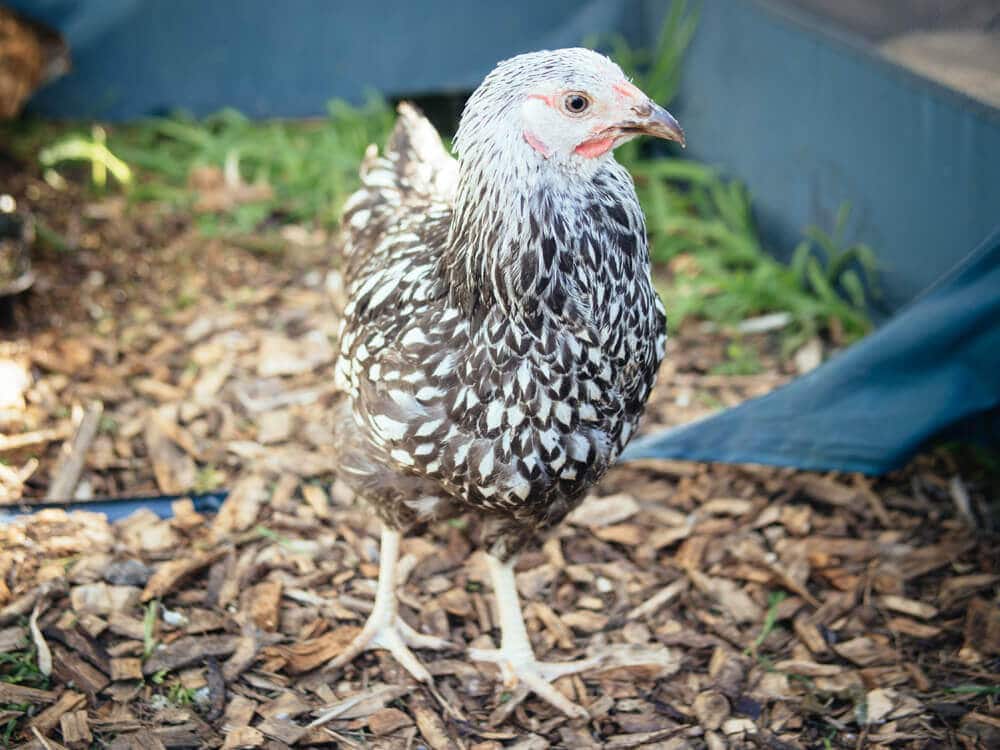
1. Quarantine
Before introducing the new pullets to my Cochin, I kept them in quarantine for four weeks. While four weeks may seem like a long time, especially since you need to maintain separate coops, runs, feeders, and waterers during this time, it’s an important first step in every flock integration. If you need to integrate the flock sooner for any reason, you could reasonably pinpoint any problems within three weeks, but longer is always better.
We used this time to identify and isolate any potential health issues that weren’t noticeable at the farm when we picked up the pullets — and it was a good thing we didn’t budge on this. About a week after we brought the new chickens home, one of them developed a strange sneezy cough. It persisted for several days, even after we tried a few remedies to help alleviate it.
Since I was flying out of the country in a couple of months and didn’t want to stick our chicken-sitter with a potentially sick chicken, we decided to return her to the farm. The new pullet that replaced her turned out completely healthy — and the quarantine set our minds at ease.
Poultry extension services generally recommend a minimum distance of 30 feet for a proper quarantine. The farther you can keep your flocks separated, the better it will be for all involved.
I housed the new pullets in a temporary coop on the other side of our yard, about 40 feet from the main coop. I used this rabbit hutch, which has plenty of space for three pullets to roost. The enclosed run isn’t the roomiest, but it’s perfectly fine for them to lounge in until we let them out in the morning. We did reinforce the rabbit hutch with 1/2-inch hardware cloth across the bottom, and added locks to the doors for protection from predators.
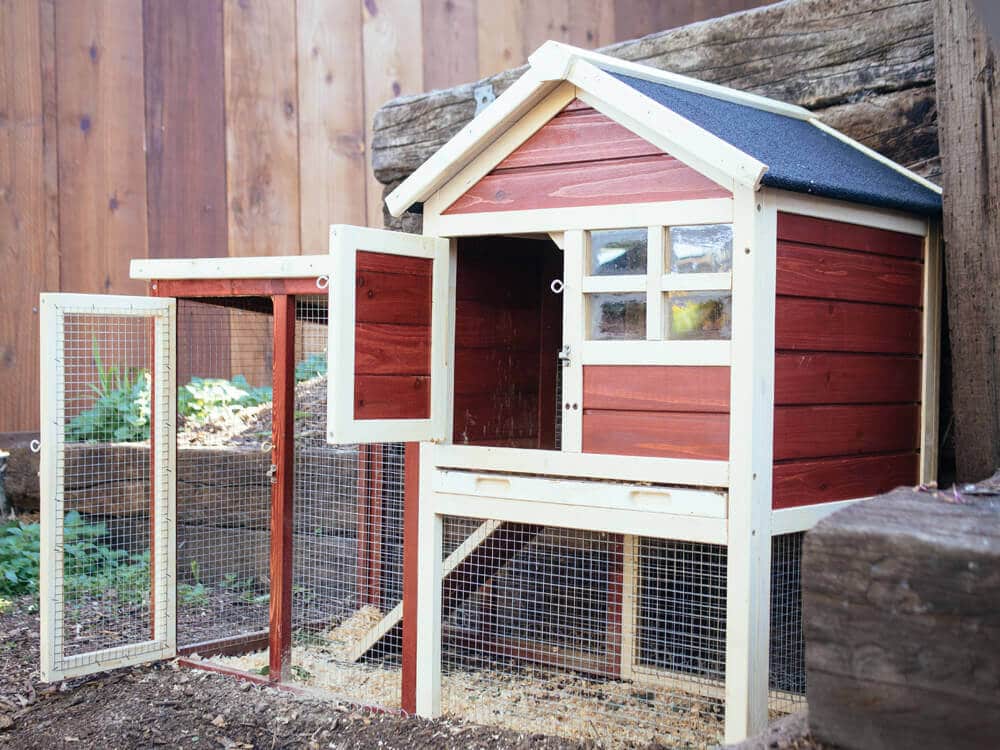
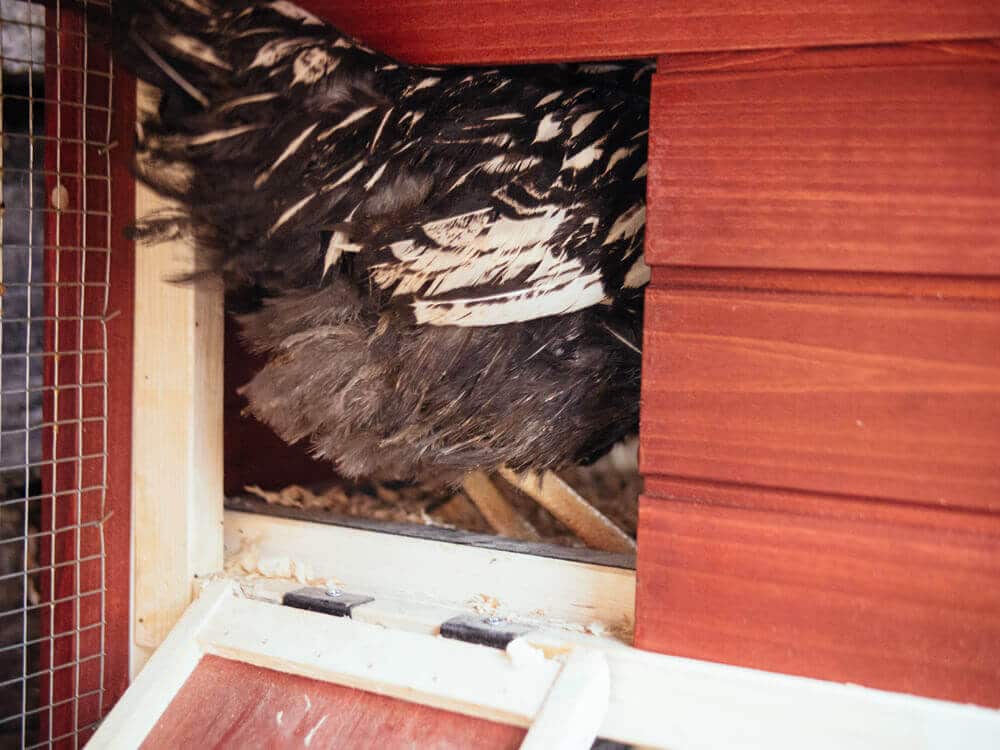
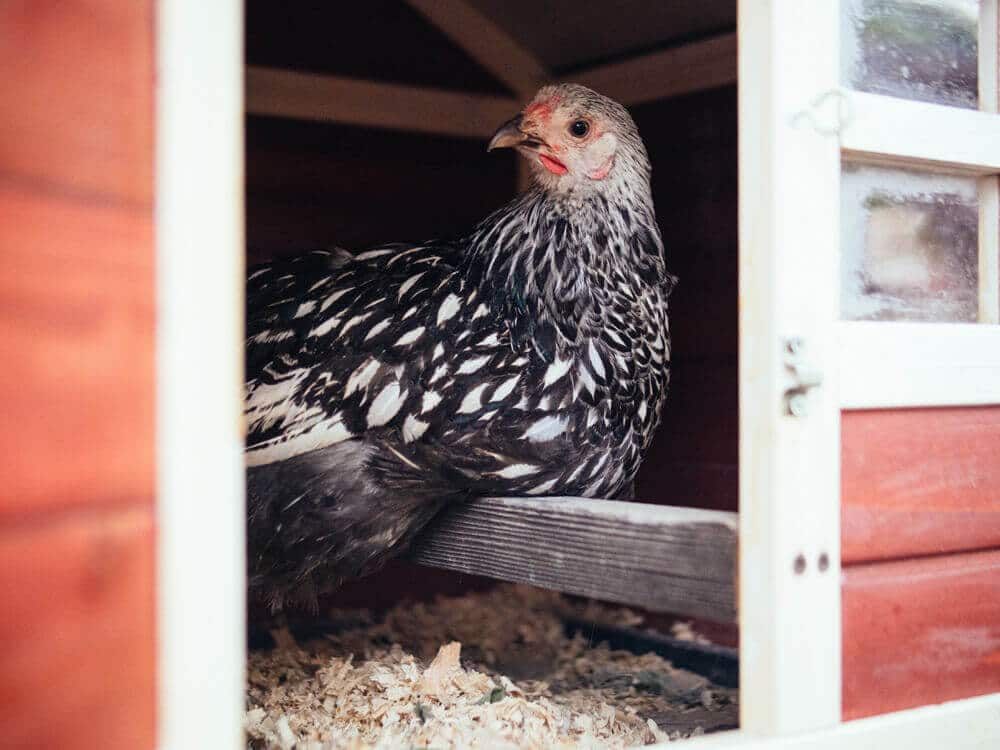
(A bonus of having this hutch now is having a big and sturdy “hospital coop” for housing a sick or injured hen. It also makes a great brooder cage for chicks, should we ever go that route in the future.)
To prevent the pullets from wandering too close to the main coop, and where our Cochin usually free-ranges during the day, we contained them in this portable pen. We moved them around from place to place throughout the week, quickly training them on the fine art of garden weeding!
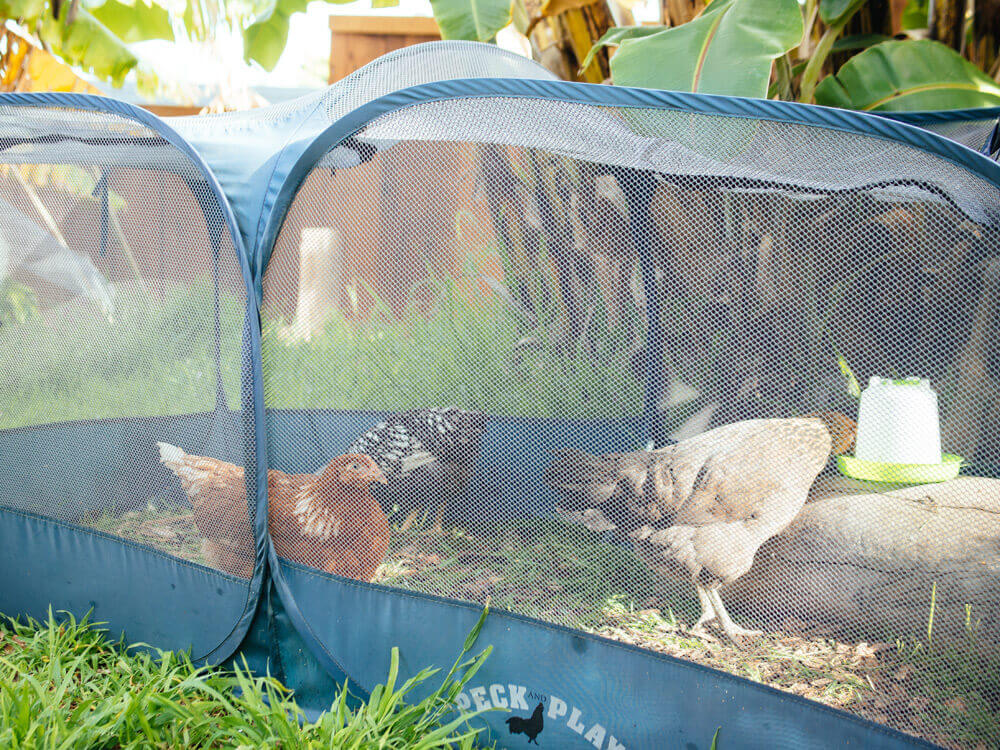
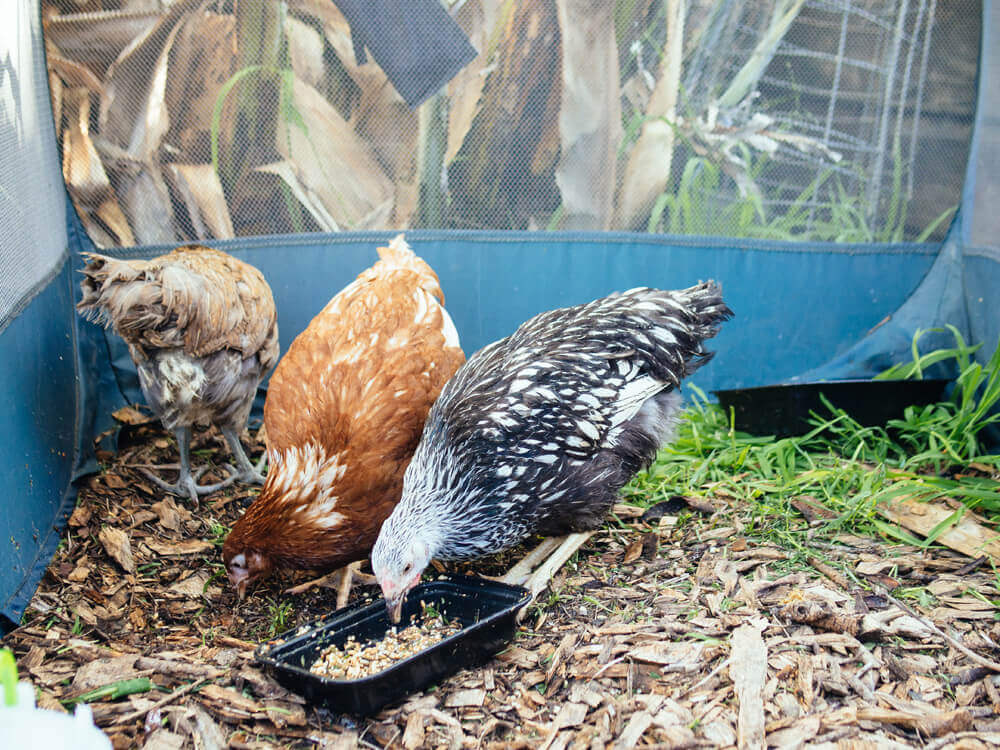
Every evening, we’d move them back into the rabbit hutch to roost for the night. In the morning, we’d let them out and place them back in the pen with food and water.
We always made sure to feed and handle our Cochin first, then feed and handle the new chickens so we wouldn’t inadvertently transmit any infections to her. During the day, this also meant washing our hands and changing our clothes if we needed to bounce back and forth between the flocks.
2. Diet Supplementation
Adjusting to a new home, new feed, and new family can be hard on a chicken. To boost their immune systems, I added finely chopped garlic and a few key herbs to the flock’s daily feed.
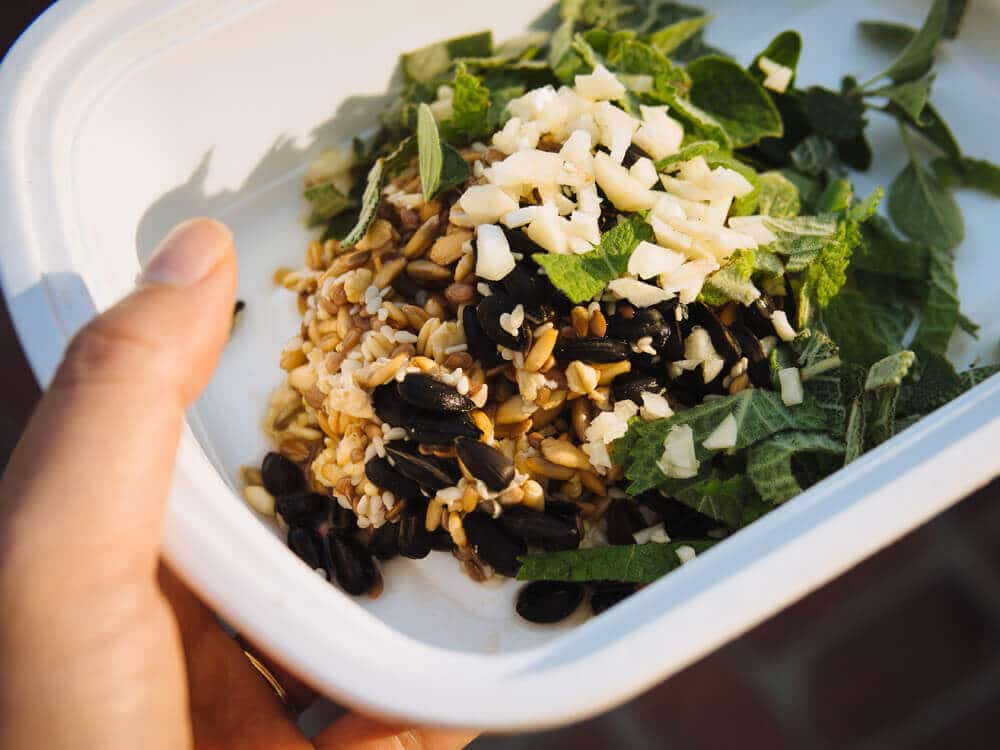
Fresh, finely chopped garlic releases allicin, an organosulfur compound and powerful antimicrobial that is capable of killing common bacteria and fungi associated with chickens, such as Salmonella, Staphylococcus, Candida, and Aspergillus.
When left out for some time, the allicin eventually degrades and becomes a collection of second generation organosulfides that help control parasites. (If you like geeking out on this stuff, here’s an interesting research paper that delves into the anti-parasitic effects of these organosulfides.) A good way to take advantage of this wonder of science is to add a crushed clove of garlic to each quart of your chickens’ drinking water. That way, they continue to reap the benefits of garlic long after they’ve eaten the freshly chopped garlic.
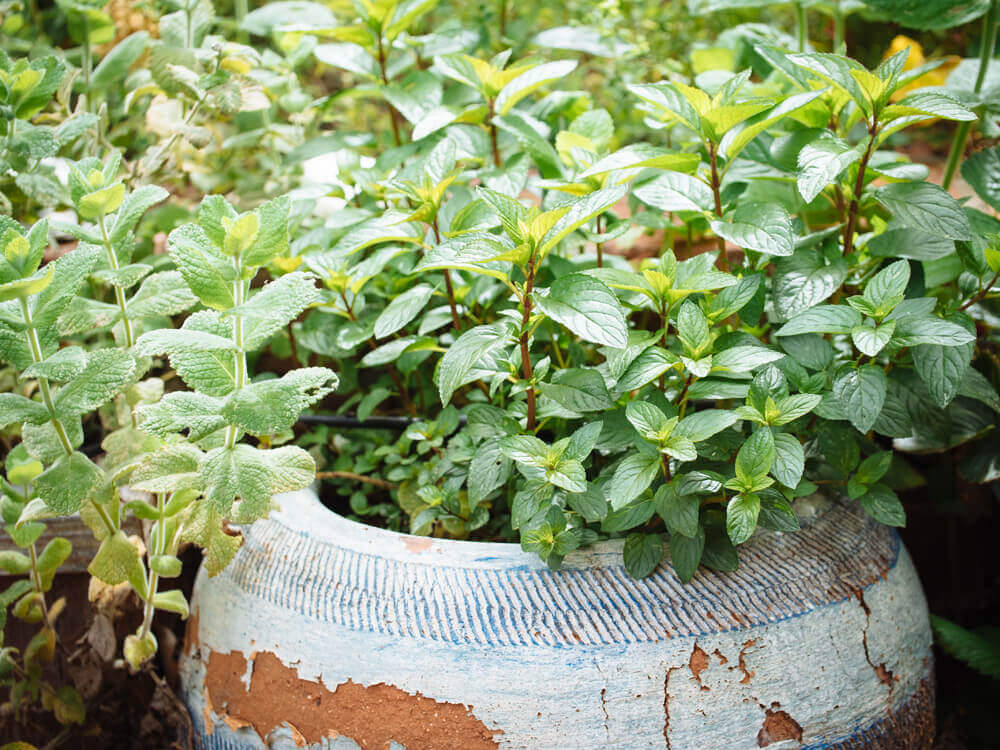
For the herbs, I typically use what I have growing in my garden. These are not the only ones you can use, but are easily accessible and useful supplements for all chickens, not just new ones you’re bringing home.
- Oregano is a natural antibiotic that aids in intestinal health and helps relieve respiratory issues.
- Borage and basil promote mucous membrane health.
- Thyme and sage have anti-parasitic properties.
- Mint is a potent antioxidant that also aids in digestive and respiratory health.
In addition to the fresh garlic and fresh herbs, I used a commercially available poultry remedy called VetRx on all the pullets. It’s a natural oil indicated for the treatment of respiratory issues, such as gasping, sneezing, and coughing. Because of the mysterious coughing from one of the pullets, I decided to treat the whole flock with VetRx to reduce their risk of contracting a possible infection. (Note that this extra step isn’t necessary for most flock integrations.)
I warmed the VetRx, as advised in the package directions, and rubbed it all over their faces and under their wings. It smells divine and all of them turned out perfectly healthy by the end of their quarantine.
3. Look, But Don’t Touch
After being assured that the new chickens had a clean bill of health, it was time to introduce them to our Cochin, slowly but surely.
We started by moving their portable pen closer to the main coop, where our Cochin roamed during the day. We made sure to provide plenty of food and water inside the pen, as well as adequate protection from sun and wind. The goal’s to allow all the chickens to check each other out — but from a safe distance where they can’t peck one another.
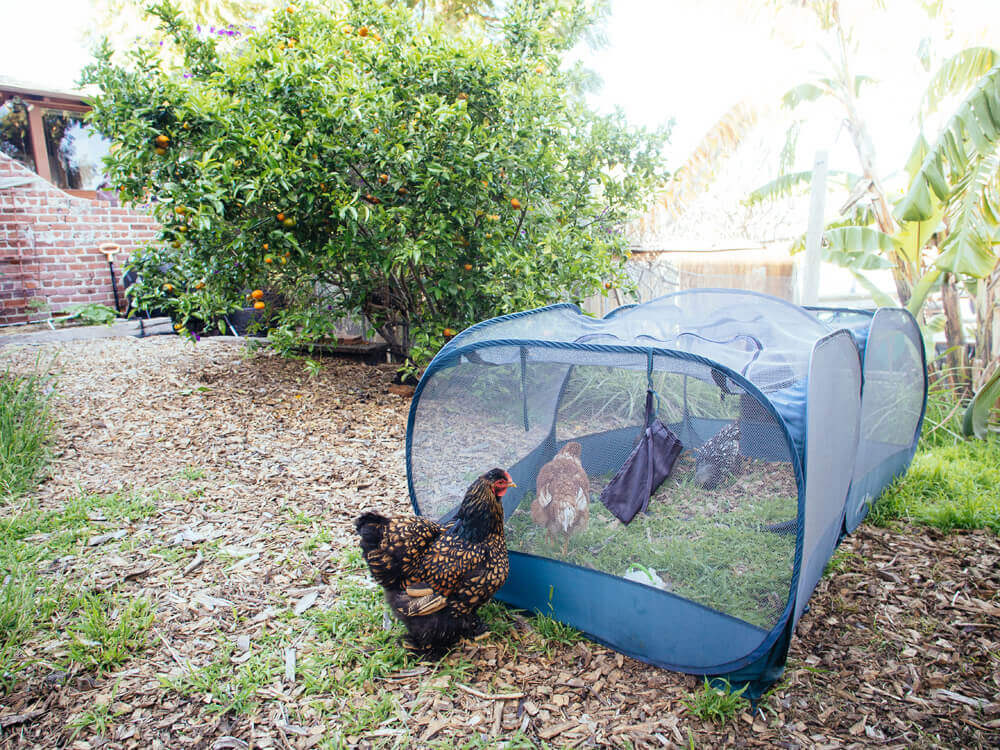
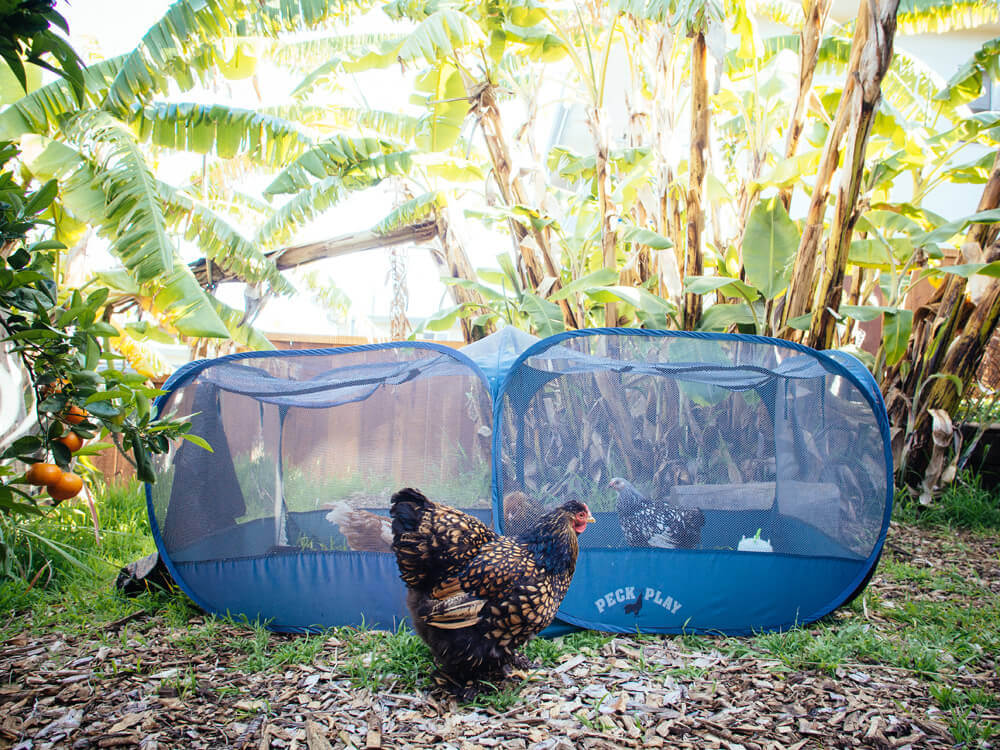
The existing chickens (and probably other household members!) will be quite curious about the newcomers, but after 7 to 10 days, the newness will begin to wear off, setting the stage for a final integration.
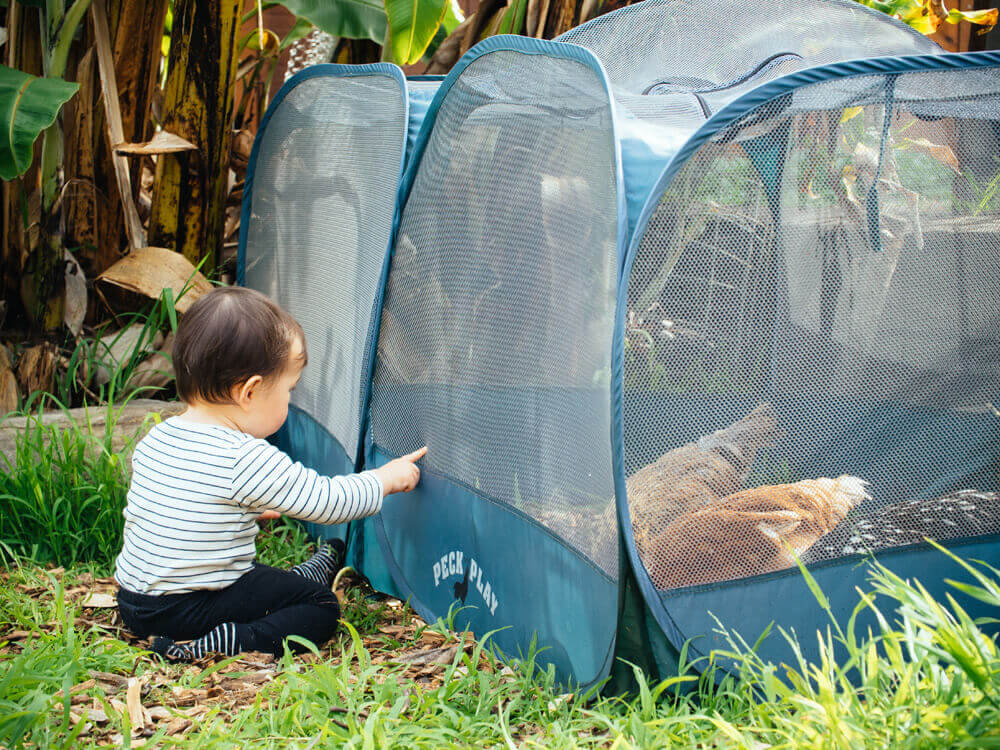
If your existing chickens are kept in an enclosed run, you can section off a portion of it with chicken wire or hardware cloth to create a separate area for the new pullets and keep the grown hens out. You can also place a chicken pen, dog crate, rabbit hutch, puppy playpen, or similar enclosure inside the run (or just outside the run, right against a wall) to house the pullets during this “look, but don’t touch” phase.
Enclosures placed inside predator-proof runs can serve as transitional overnight housing for pullets until they start to roost with the rest of the flock. But if your run is not secure, remember to bring them back to their temporary coop each night.
If your coop is large enough to accommodate an enclosure, feel free to drop it right in there, as it helps the newbies learn where home is. At night, you can leave them where they are (instead of returning them to their temporary coop for roosting) until they’re ready for the next step.
4. One Big Happy Family
In 7 to 10 days, you can finally let the little ones out into the general population. To complete the process smoothly, the main point to keep in mind is distraction.
You don’t want your chickens to be so bored that all they can do is bully the newbies. (Yes, even the ones that seemed so easygoing during “look, but don’t touch” can turn into total drama queens in an instant!)
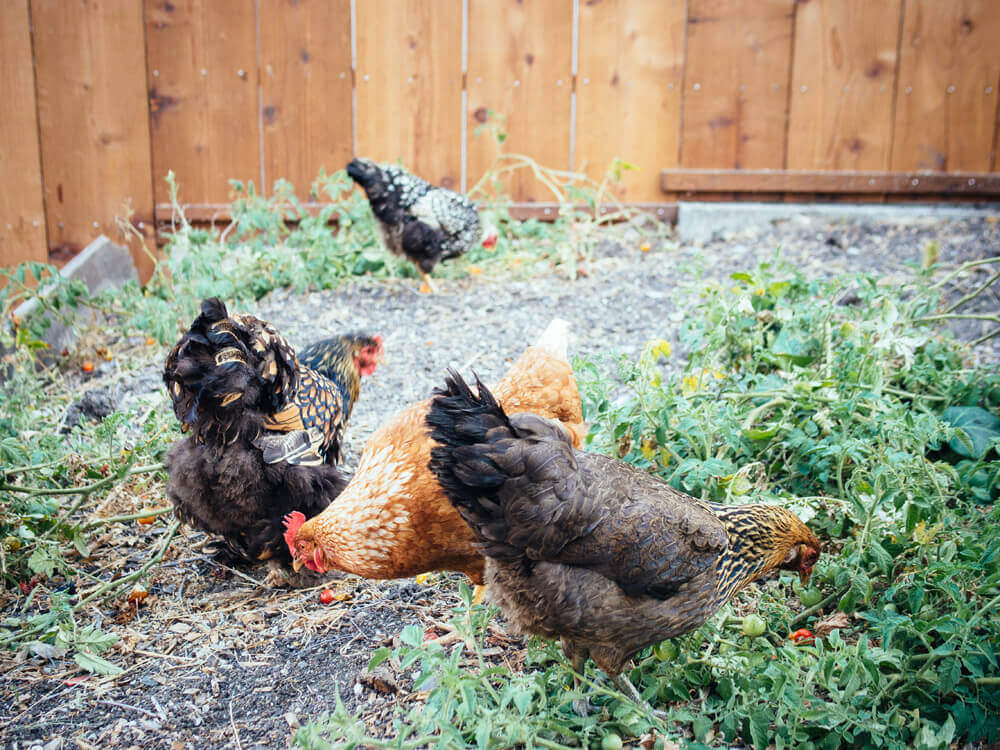
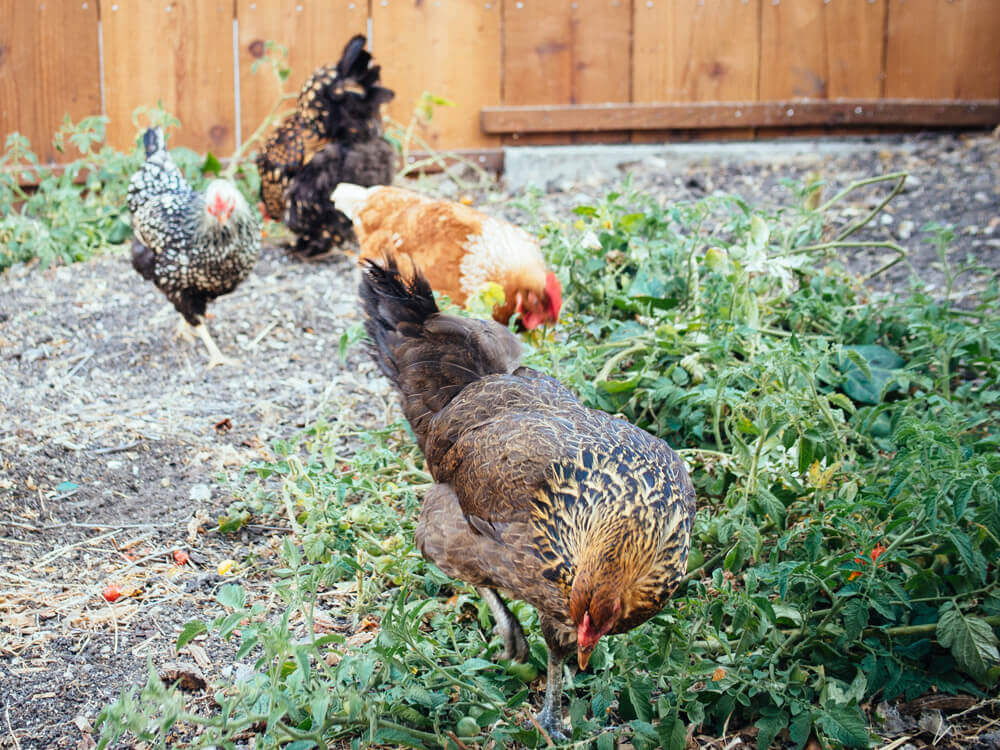
For free-ranging flocks, the solution is simple: just let them do what they do. Toss out a few treats and watch them for a few moments to make sure no dire conflicts arise. All the chickens will be so preoccupied with pecking, scratching, searching for bugs, and foraging the yard that they won’t have time or interest in picking a fight.
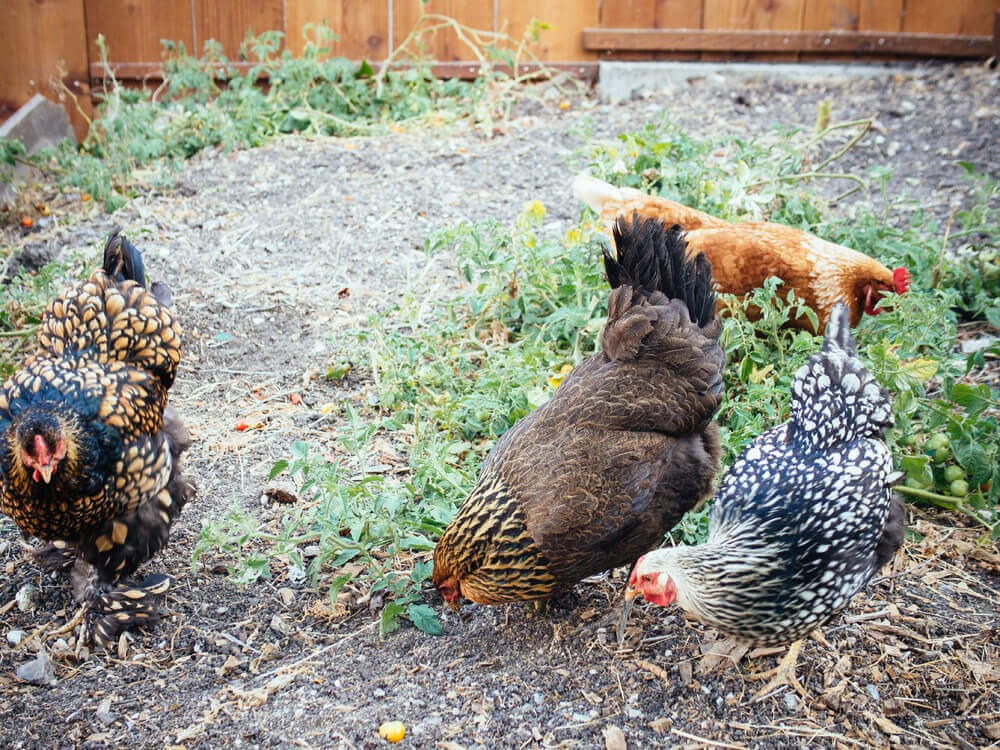
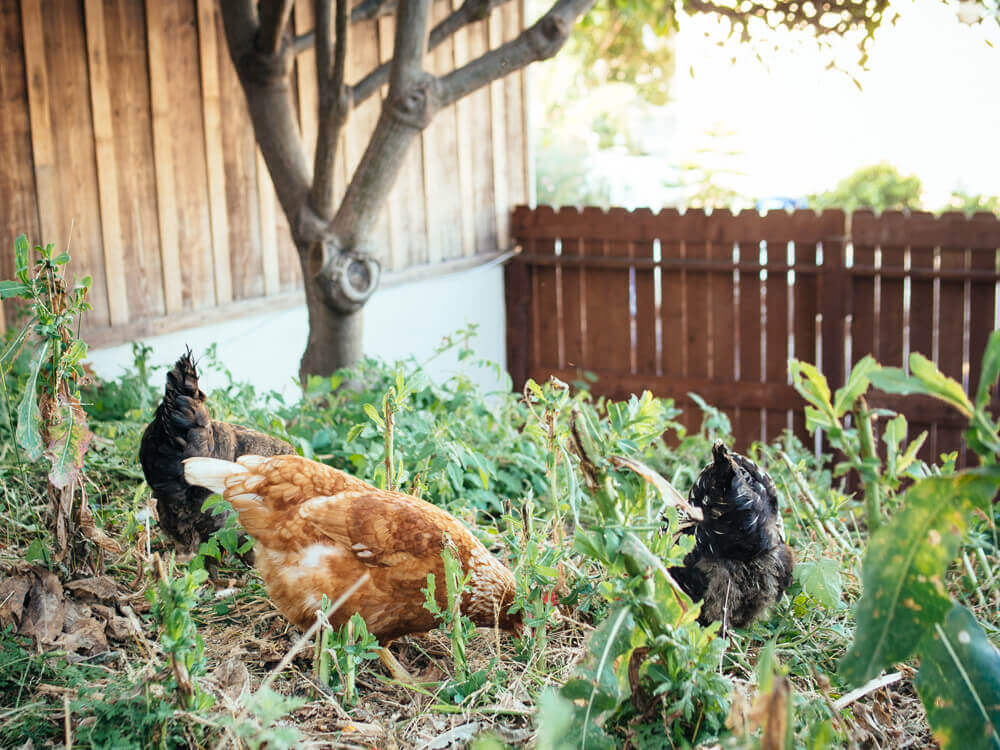
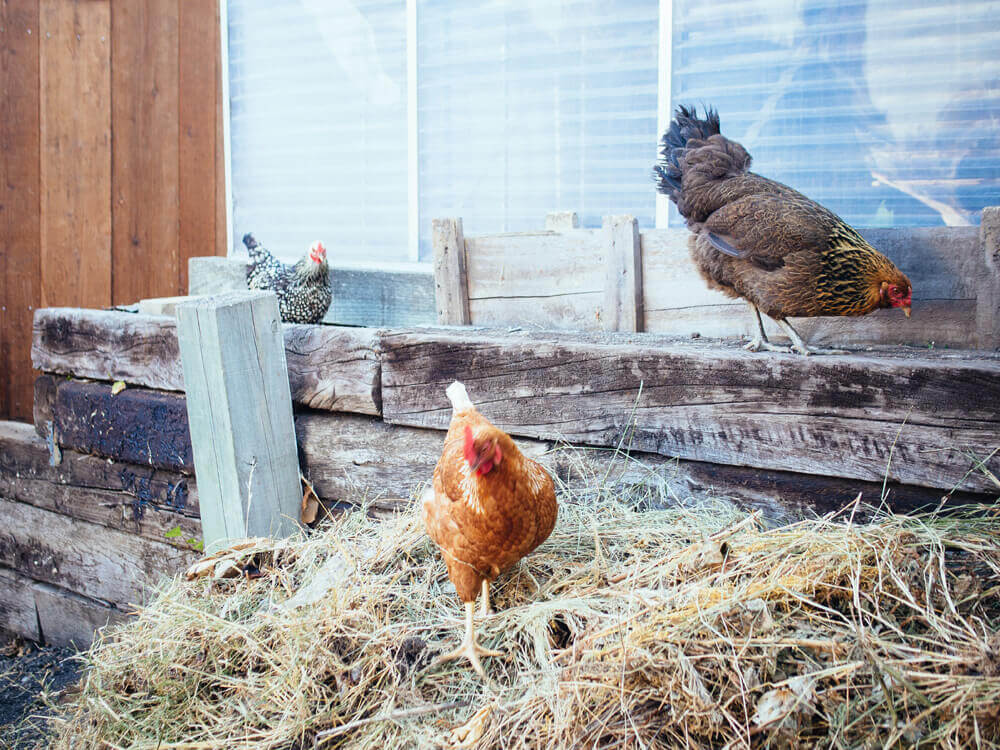
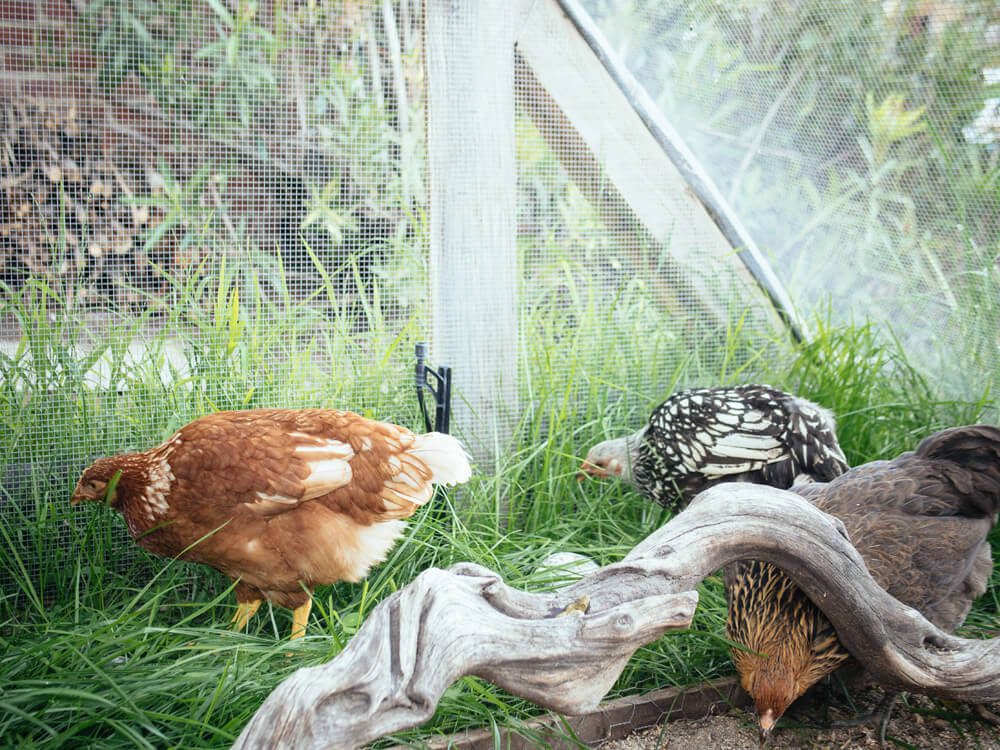
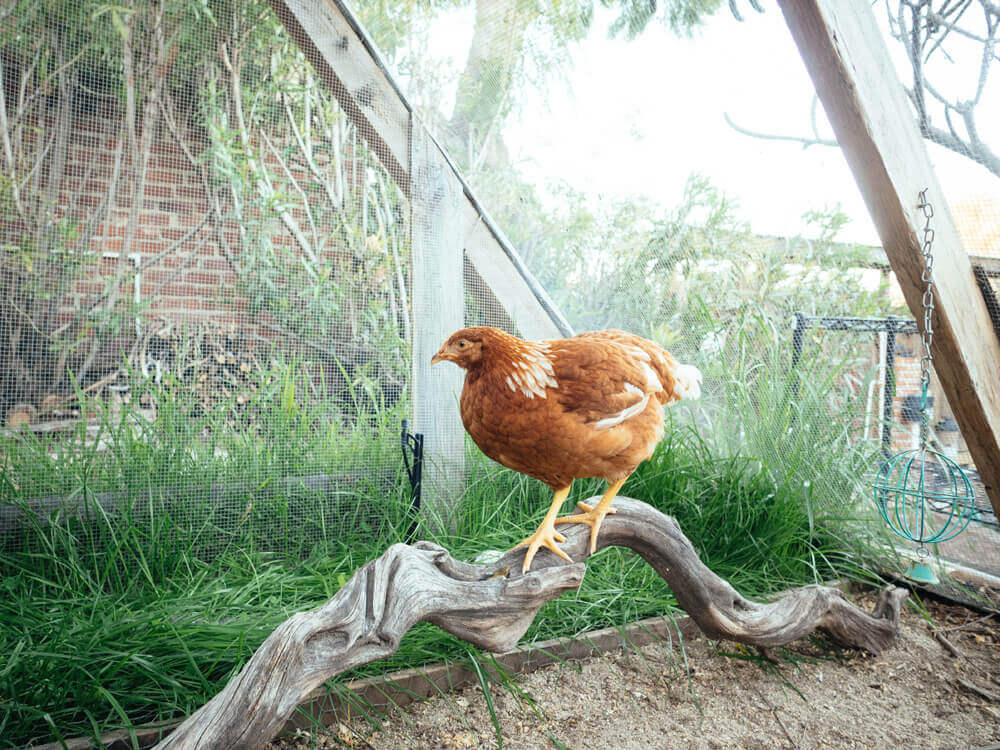
Flocks that spend time in an enclosed run will need some form of entertainment to keep busy. I like to recommend that before you merge the two groups, rearrange the run by adding or removing branches, ladders, rocks, and other elements for your chickens to perch on or hide under. A refreshed environment encourages exploration and becomes more of a neutral zone, since every flock member then has to reestablish her territory.
Other Ideas for Distractions:
- Hanging a cabbage “piñata” for the chickens to bat around.
- Hanging a suet feeder or treat ball filled with fresh greens.
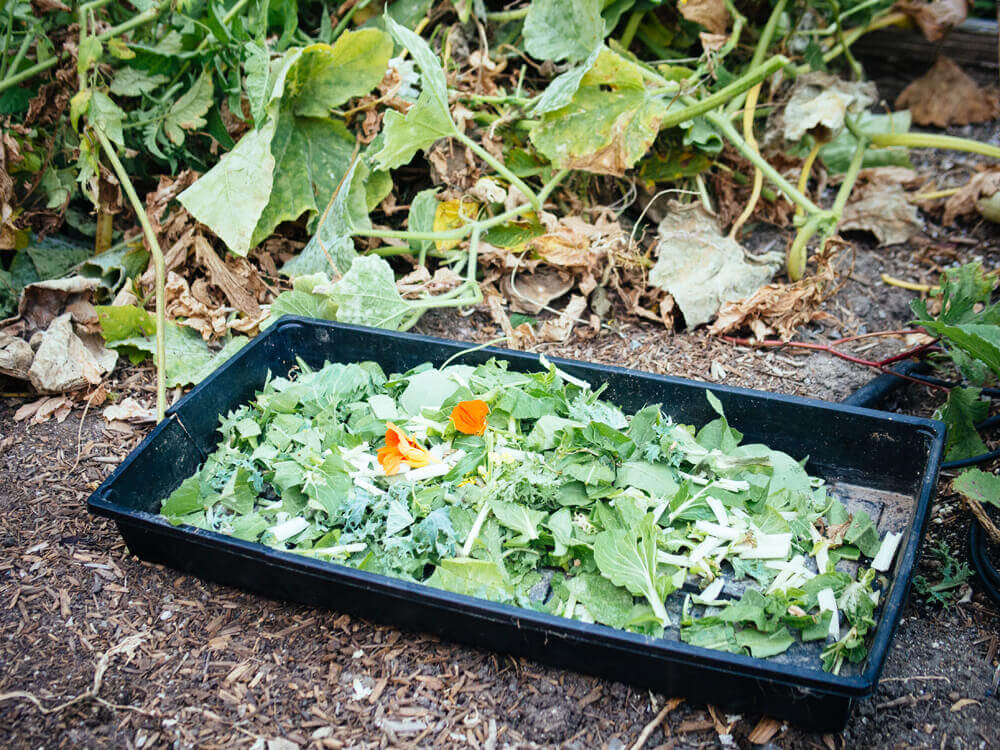
- Supplying plenty of weeds, spent plants, and kitchen scraps for them to dig through.
- Placing multiple feeders and waterers throughout the run to allow the flock to spread out (and prevent the older chickens from hogging all the food).
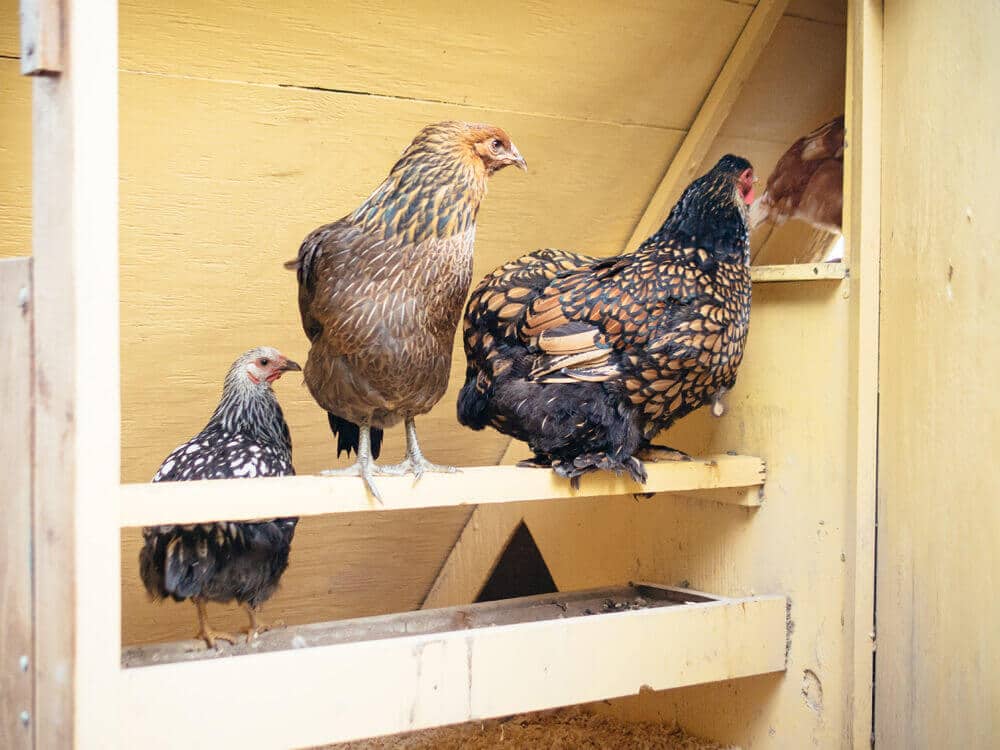
In the evening, make sure the pullets know where to roost. You may have to pick them up and place them on the roost, as it could take them a couple days to learn to put themselves to bed.
So, To Recap:
- Quarantine your new pullets for 4 weeks at a minimum distance of 30 feet from your existing flock.
- Bolster their immune systems by adding any combination of fresh chopped garlic or fresh herbs to their feed.
- Start introducing the flocks during a “look, but don’t touch” period for 7 to 10 days.
- When they’re ready to fully integrate, provide some form of distraction as all your chickens get to know each other in the same space.
What happens if the squabbles won’t cease? You can separate the two groups for a few more days, then try again with Step 4. Overly aggressive hens may need to be removed from the flock and put in time-out (such as a temporary coop, crate, or pen) for a day or two. When they’re returned to the flock, they’re usually too busy trying to regain their place in the pecking order to continue their bullying.
All together, full integration takes about five weeks but don’t sweat it if it takes a little longer than planned. Eventually, the girls will work it out and your birds will be flocking together peacefully!







Thank you Linda for this article. I sometimes bring new chickens home and struggle to introduce them to the rest of the chickens I keep. However, after reading this article, I think I can now introduce them without any problems.
I have 7 chickens that have been together for about a year. Lately two of the chickens (Buffy and Red) are bullying one other checkin (Maya). Mostly they just won’t let her near the fermented grain I put out. I’ve graduated from putting out two containers to three and spreading them out. I think Maya is getting enough food, but she has to move around the minute Buffy or Red notice her eating in one of the locations. The other 4 chickens are fine with Maya and share the food. Any ideas on how to disarm this?
Unfortunately, no. Chickens need to establish a pecking order and it sounds like poor Maya is at the bottom of the chain. I wouldn’t worry about it unless Buffy and Red start being very aggressive to the point of pulling out her feathers or injuring her. Making sure there are multiple stations for food and water is important, and as long as Maya has a full crop each night, the squabbles should eventually cease when everyone figures out their rightful place in the flock.