Exactly as the title says—this is an easy, no-fail guide to indoor seed starting.
You don’t need to read any gardening books first. You don’t need any fancy equipment. You just need your seeds (these are the best garden seed catalogs that I order from every year) and a few basic supplies to get started.
Whether you have a dedicated vegetable bed in your backyard, or a cluster of containers on your patio, it all starts out the same way. You have to plant your seeds, and germinating seeds inside your home (where you have the most control) is the best way to do so, especially for seeds that are hard to start.
Starting seeds indoors is ideal if you want to get a head start on the season, or if the weather is still too hot or too cold to put anything in the ground.
Related: How to find your first and last frost dates so you don’t plant too early (or too late)—my custom planting calendar included!
This simple step-by-step tutorial will take you from seed to seedling with a minimum of fuss. Just the stuff you need to know, and none that you don’t. (But if you’re the really-need-to-know type, I’ve added footnotes at the end to explain why you’re doing what you’re doing.)
Disclosure: If you shop from my article or make a purchase through one of my links, I may receive commissions on some of the products I recommend.
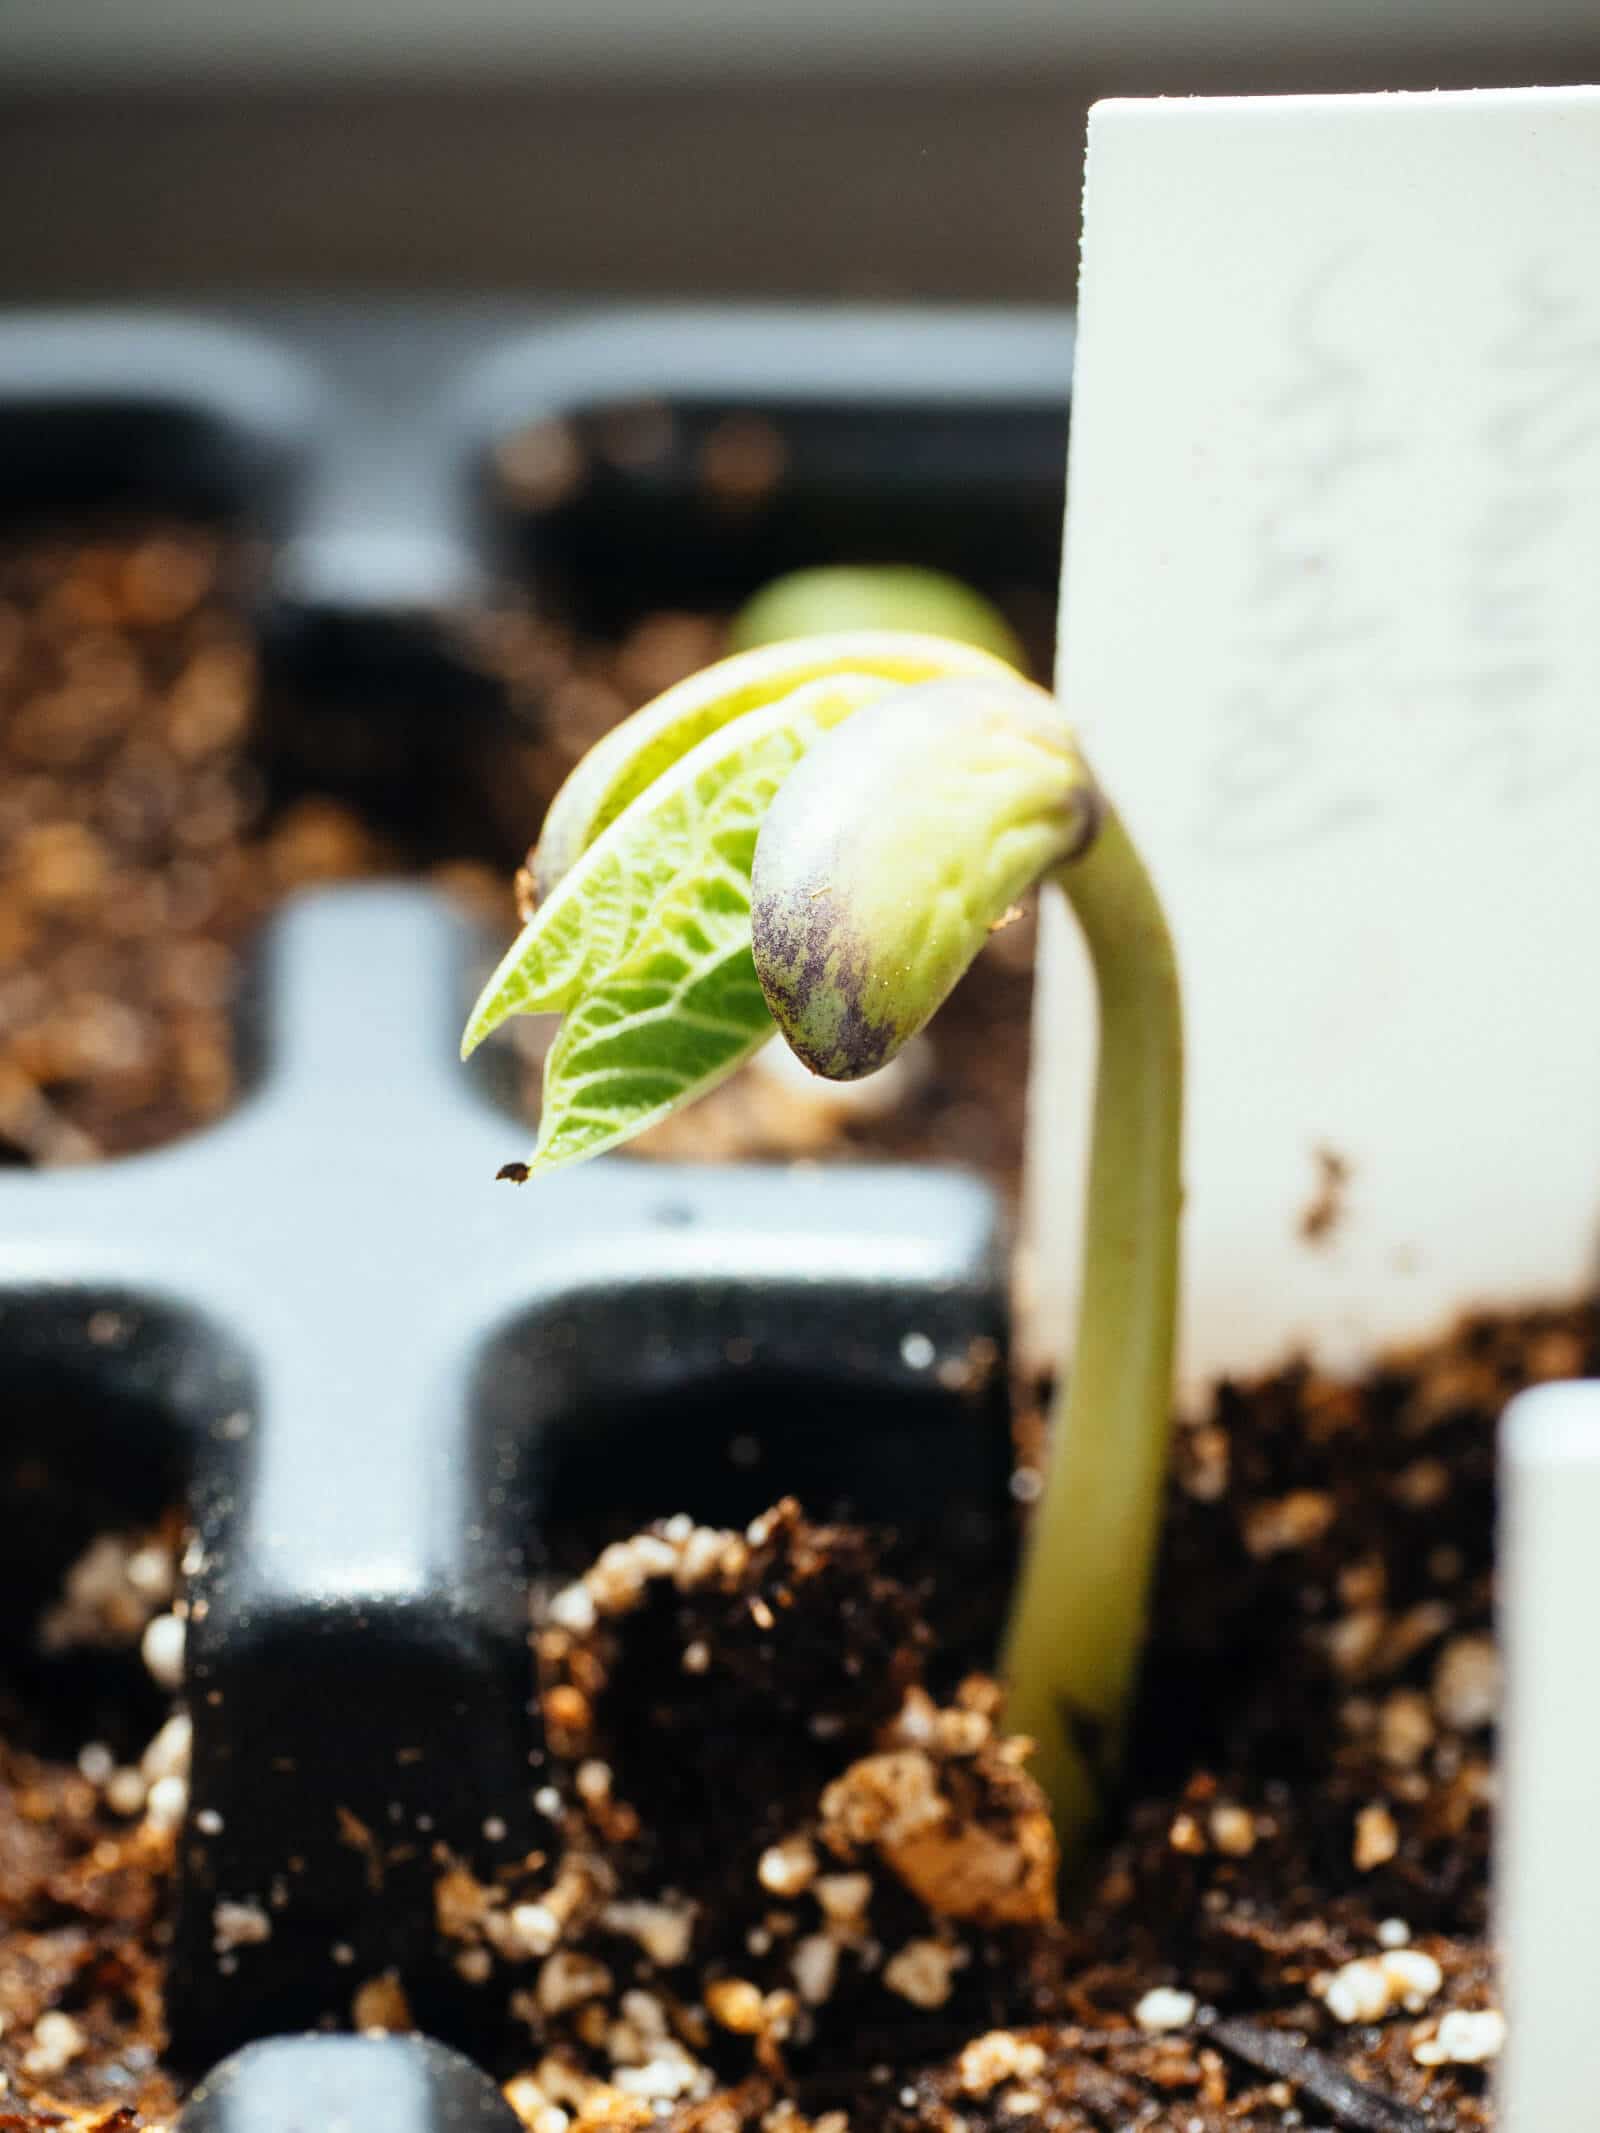
How to start seeds indoors, step-by-step
Where to buy
My favorite seed starting supplies
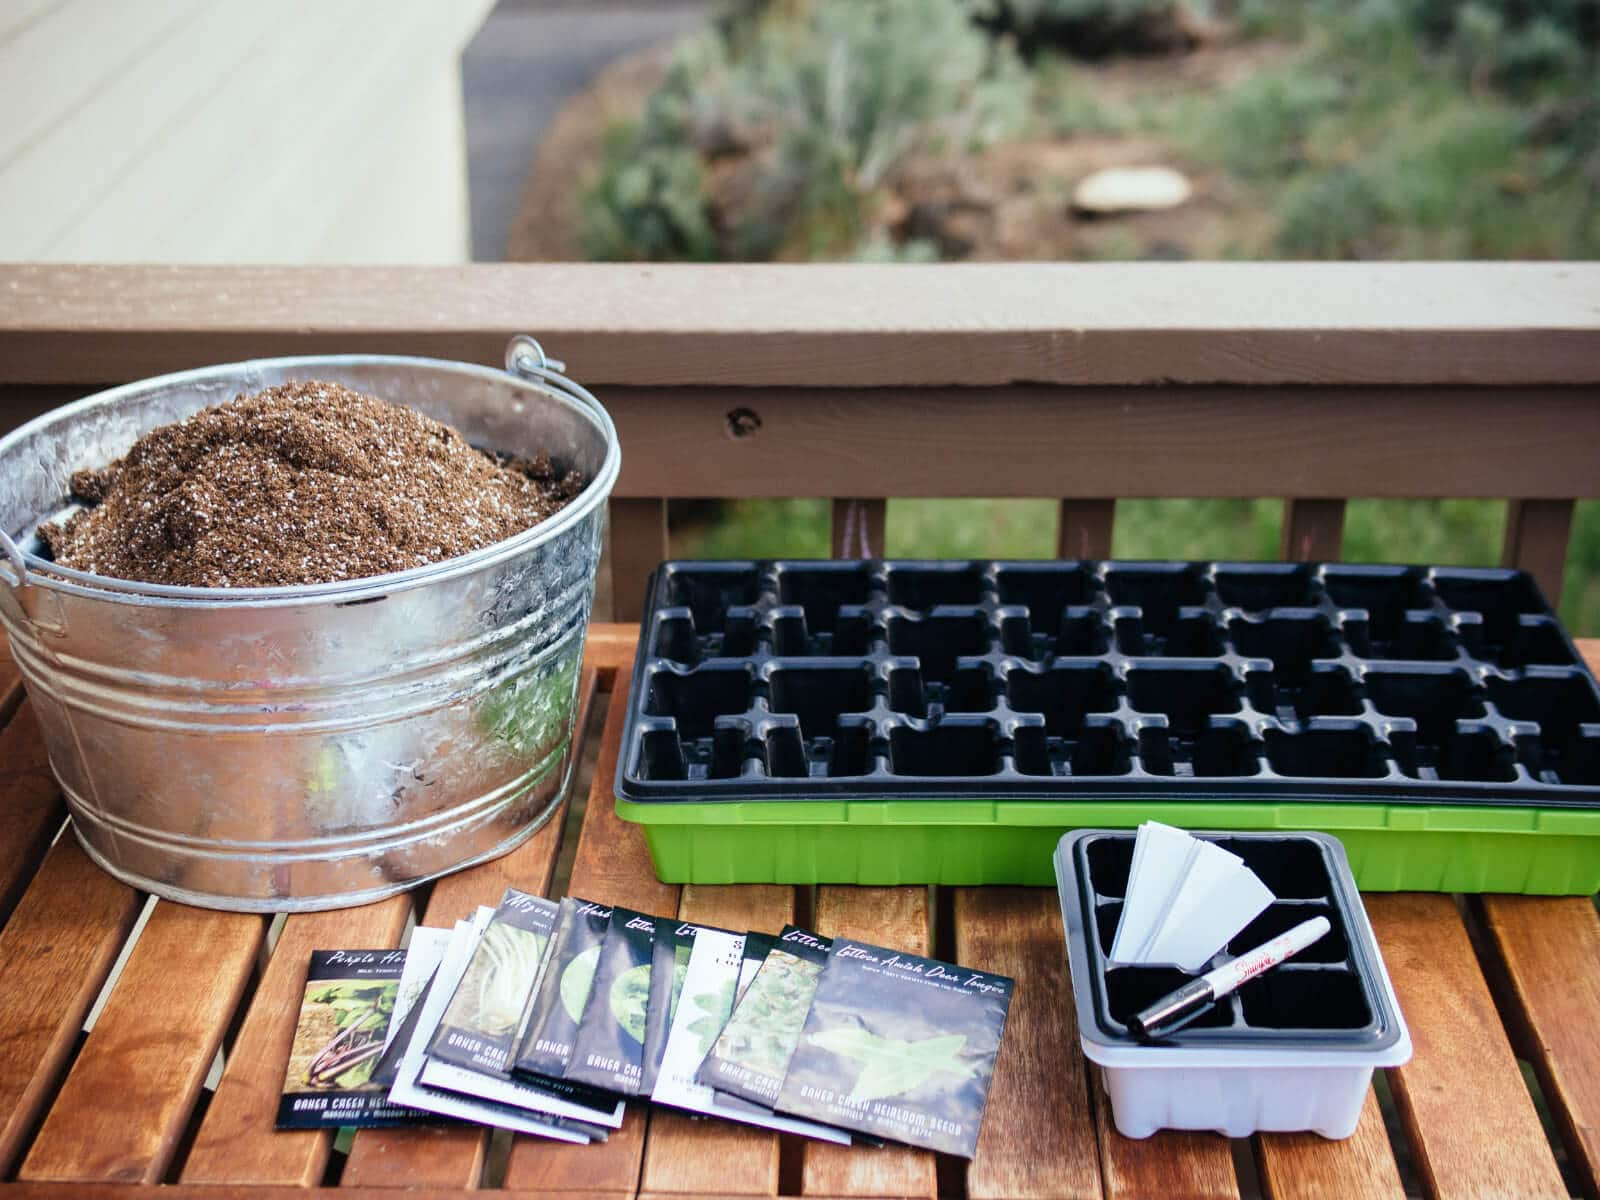
Step 1: Gather your seeds and supplies.
- Seeds
- Seed starting pots or seed starting trays (I like using cell inserts, as shown)
- Plant markers
- Seed starting mix (homemade or store-bought)
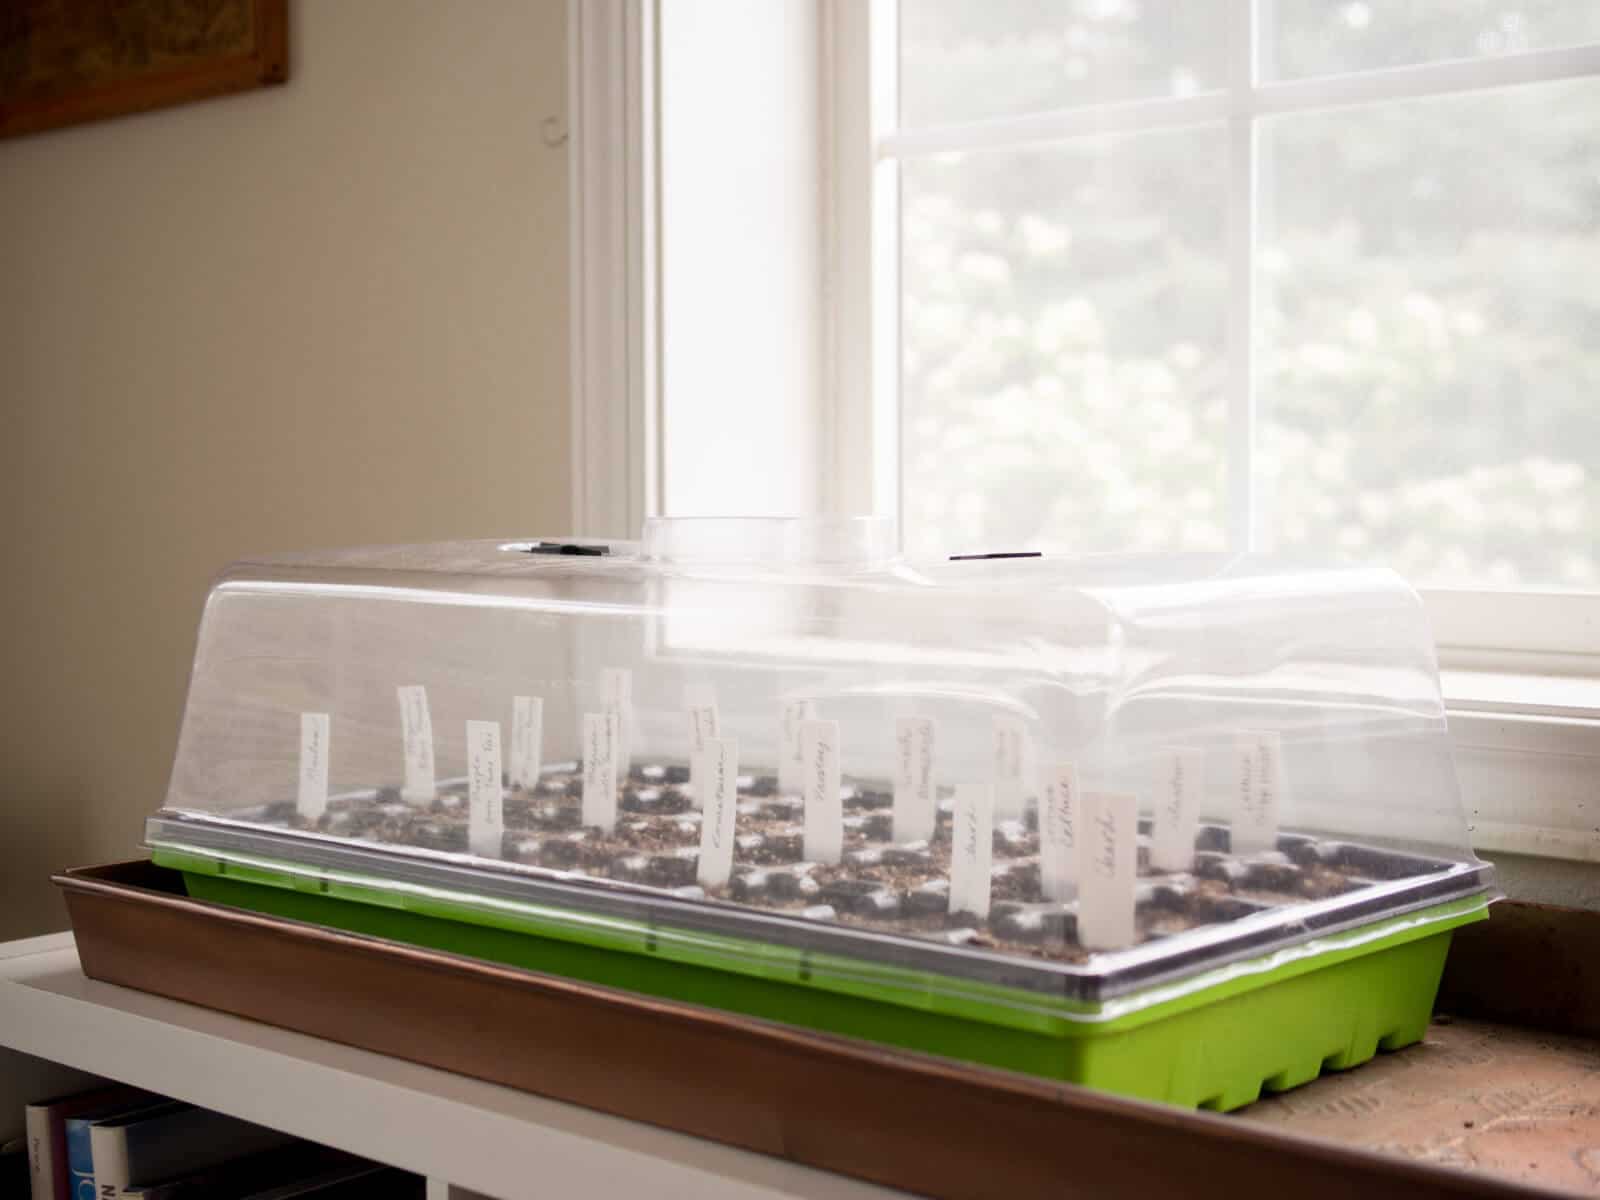
- Seed starting tray with humidity dome (I like using 1020 propagation trays)
- Spray bottle or squirt bottle filled with water
If you’ve already made your recycled newspaper pots, you’re all set. If you’ll be using other seed starting pots or cell trays, make sure they’re clean. (1)
You can also repurpose household items into seed starting containers, like egg cartons, Dixie cups, and yogurt cups. Just wash them out and poke a few drainage holes in the bottom with a nail or an awl.
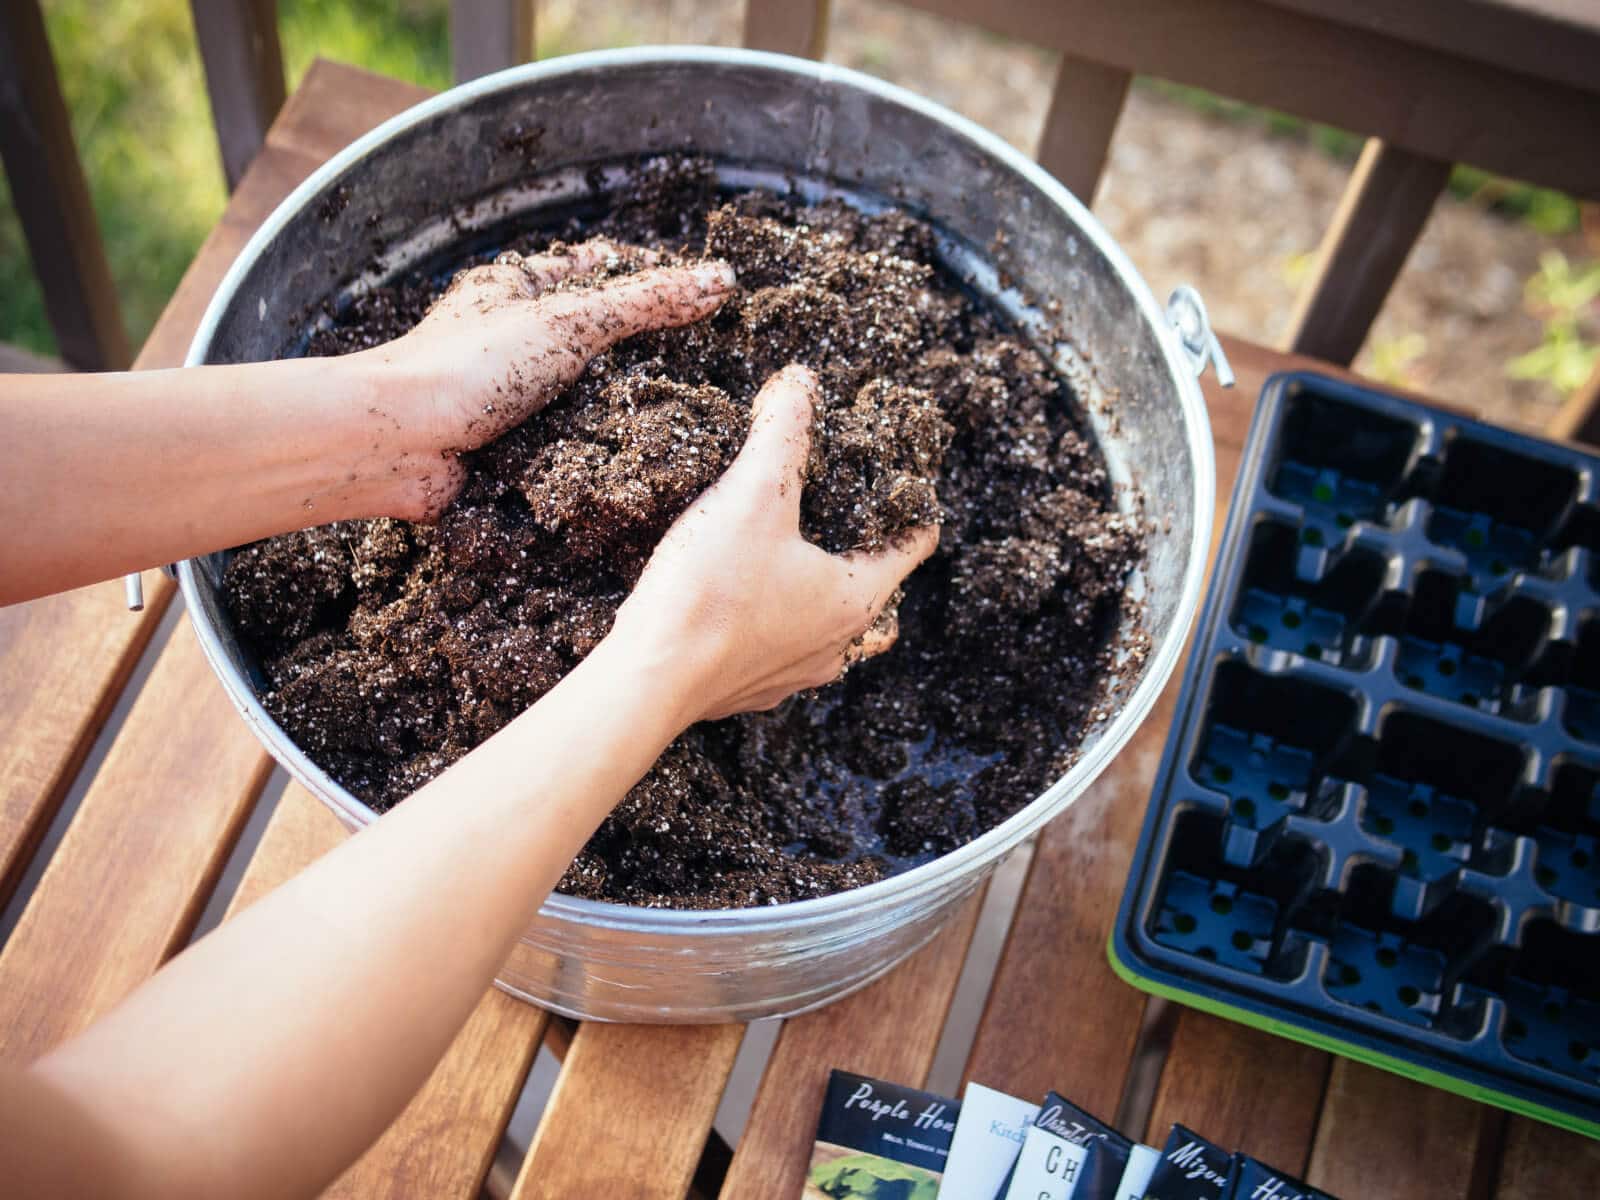
Step 2: Fill your pots or trays with seed starting mix.
Dump your seed starting mix into a large tub or bucket, pour in a generous amount of water, and stir it up with your hands or a trowel.
As the seed starting mix starts to absorb the moisture, add more water as needed. (This will take several minutes, as peat-based seed starting mixes are slow to absorb.) You want the mix to be uniformly damp, like wet sand.
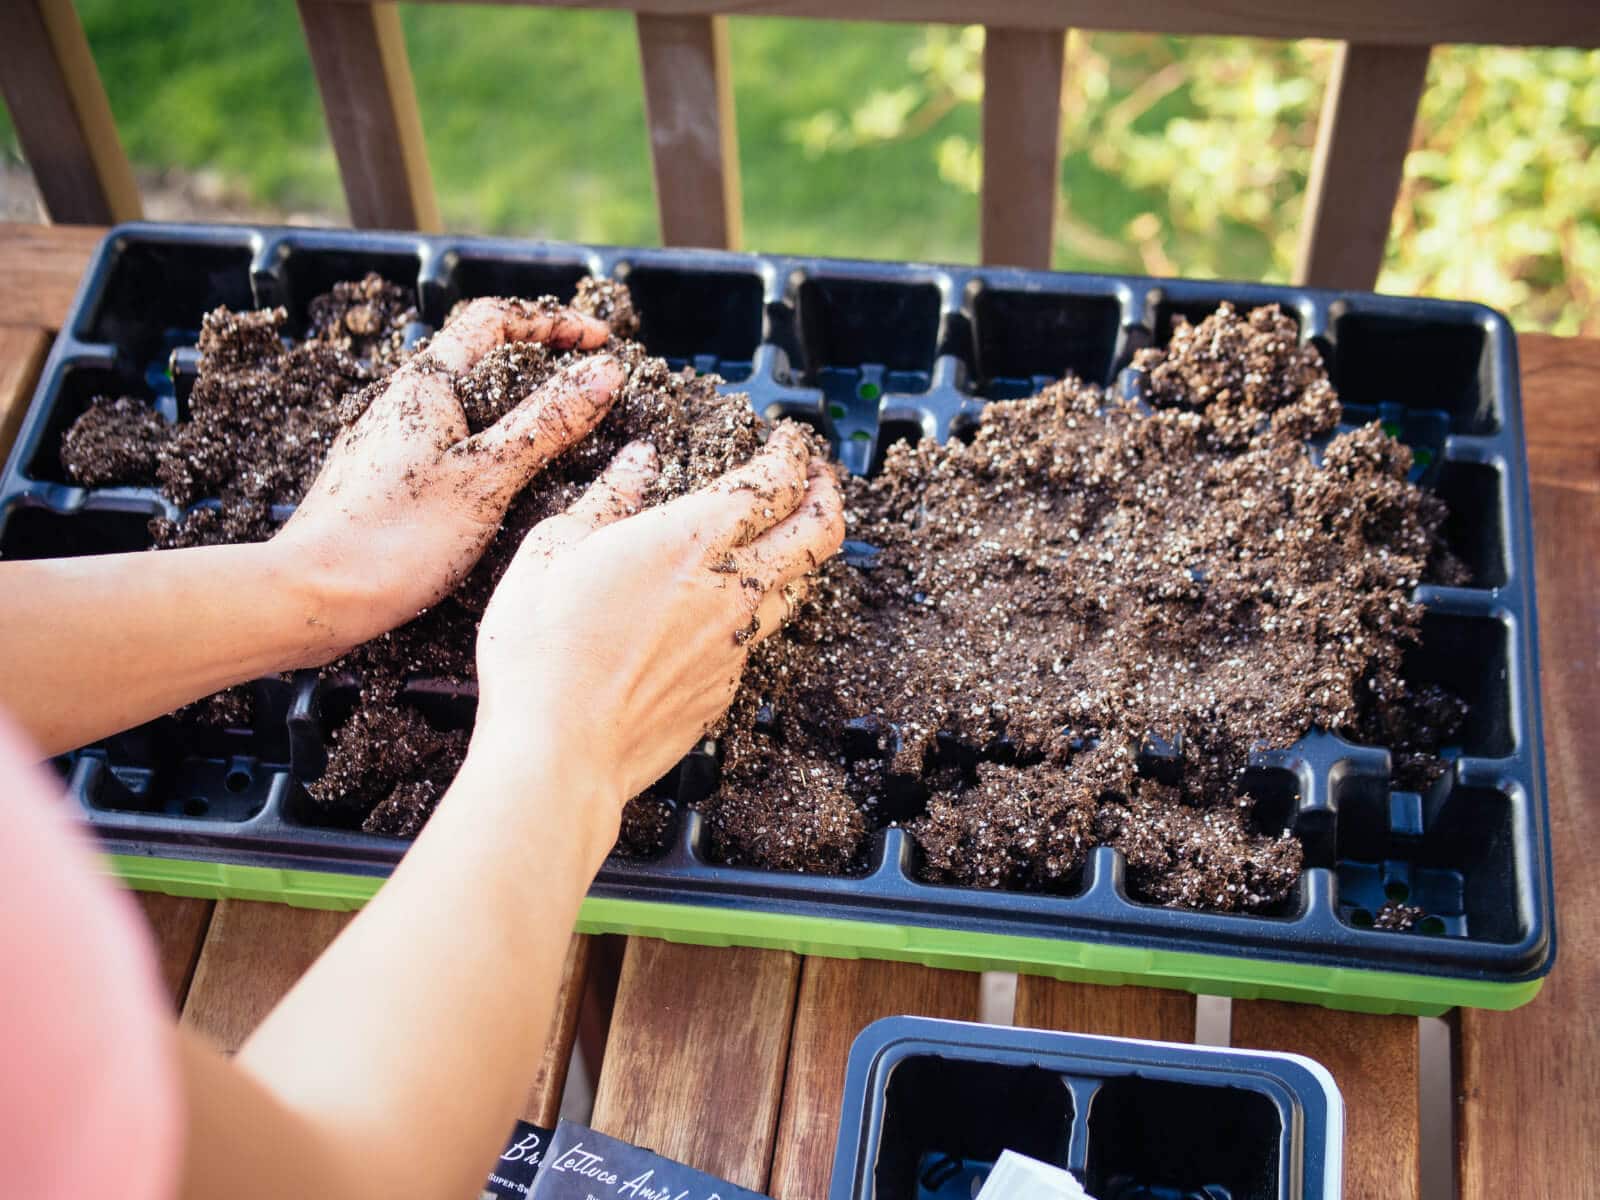
Fill your pots or trays with this pre-moistened seed starting mix. (2)
Step 3: Sow your seeds.
Place two to four seeds (per pot) on the surface of the seed starting mix, and gently press the seeds down with your fingers so they’re nestled in nicely.
If your seeds are very small, like basil or mustard, you can leave them uncovered. (3)
If your seeds are larger (like beans or peas) or they require darkness to germinate (check the instructions on the seed packets), cover them with a layer of vermiculite or seed starting mix equal to their height, usually 1/4 inch to 1/2 inch.
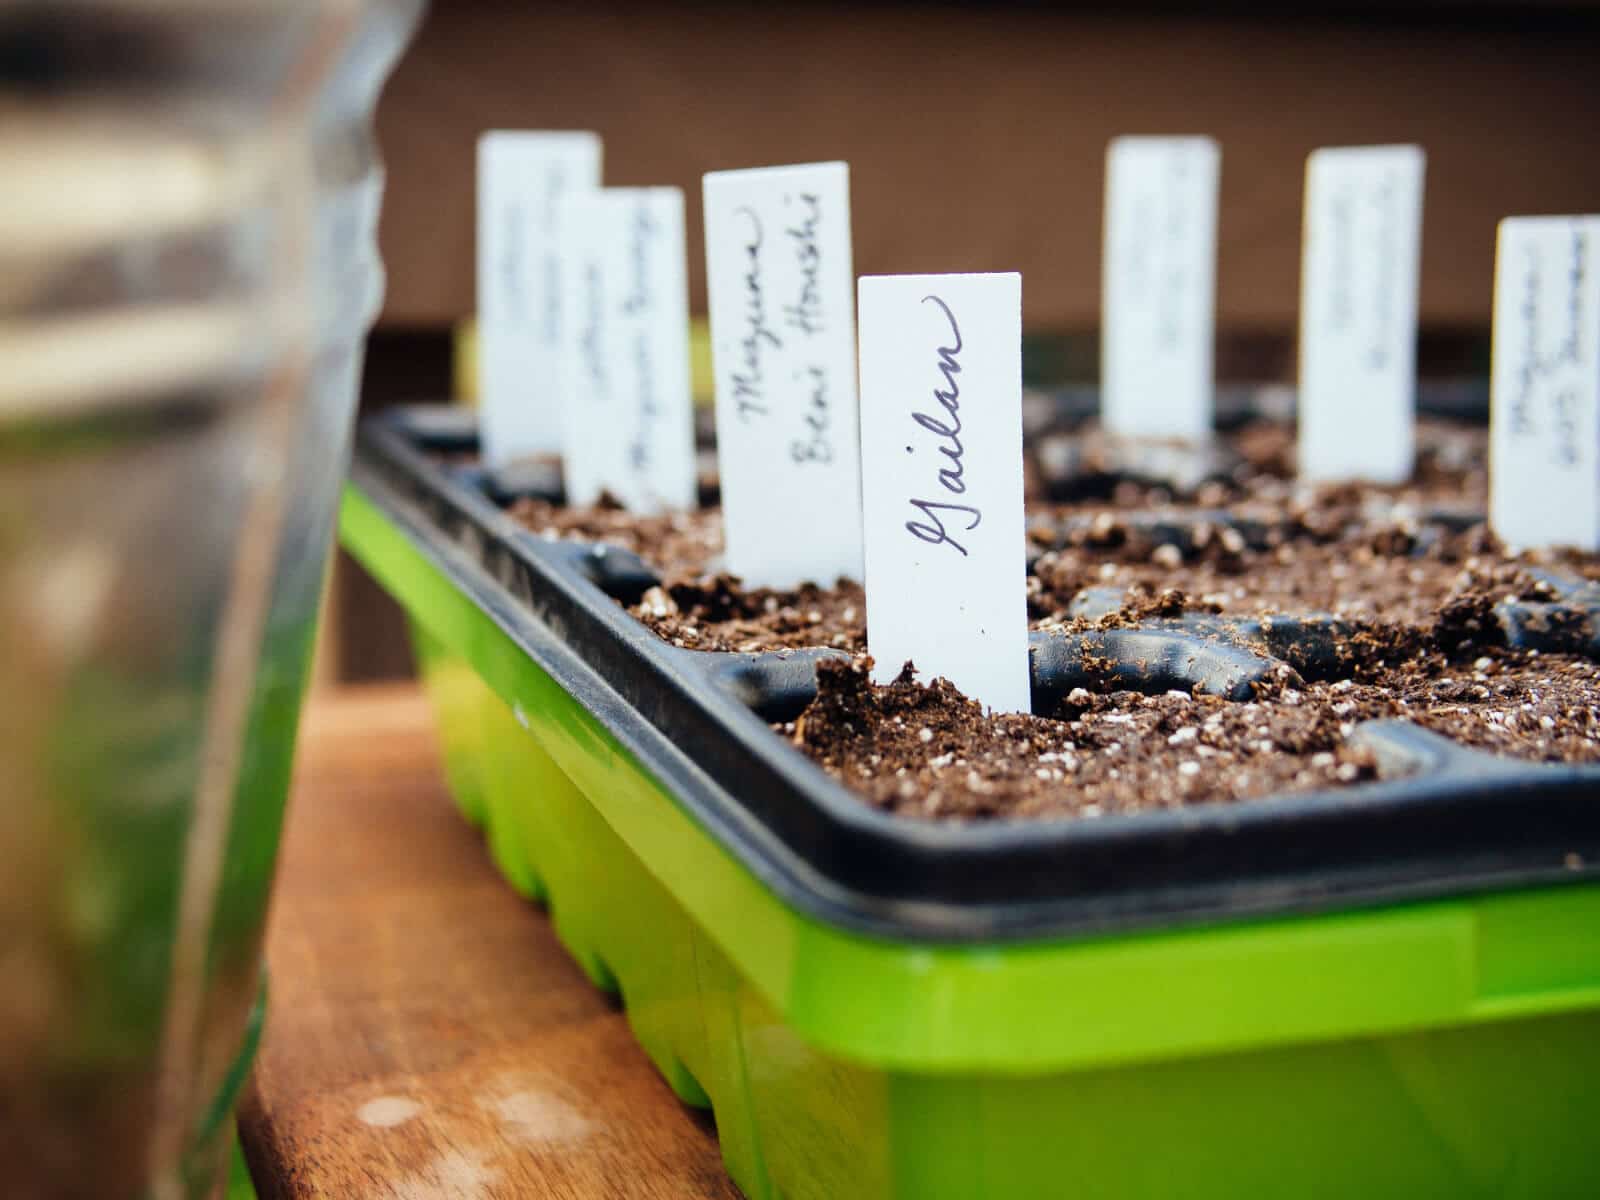
Step 4: Label your newly planted seeds.
Label each pot. Trust me, you will never remember what you planted where, as most seedlings look the same at birth.
At this early stage, cheap plastic plant markers work great and stay out of the way, so save your big and beautiful metal plant markers for the garden.
Step 5: Keep your seeds moist and warm.
Mist your seeds with water. (4)
Assemble your pots in a propagation tray (or repurpose a disposable aluminum roasting pan or baking pan) and cover with a humidity dome (or just plain old plastic wrap). (5)
If your dome has vents, keep them open to help with air circulation during the sprouting period.
Now, you need to add heat. Since sunlight is not essential at this point, your seed trays can be placed wherever it’s warmest in your house, such as an attic, bathroom, laundry room, or kitchen. (6)
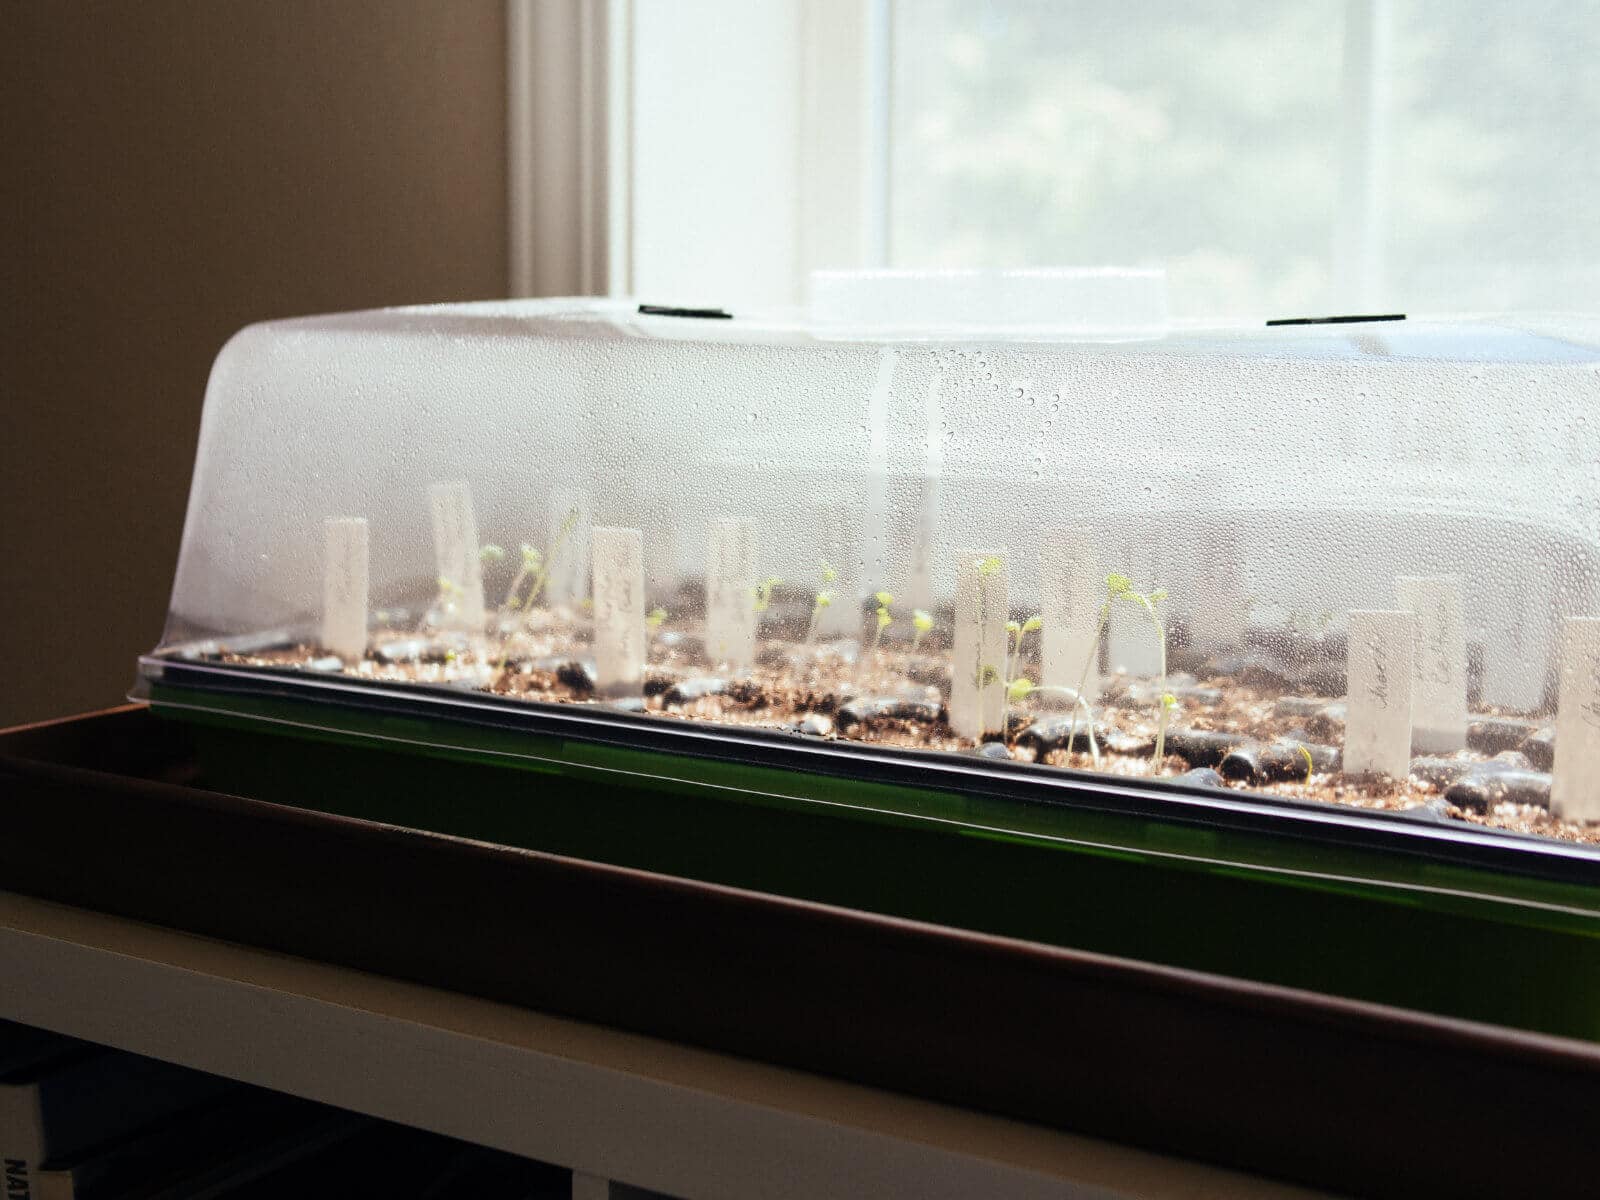
If your seedling pots stay covered in a warm nook, the low humidity will keep your seeds happy until they sprout. High humidity will make them sad. Only spritz the seeds with more water if the mix feels dry to the touch. (7)
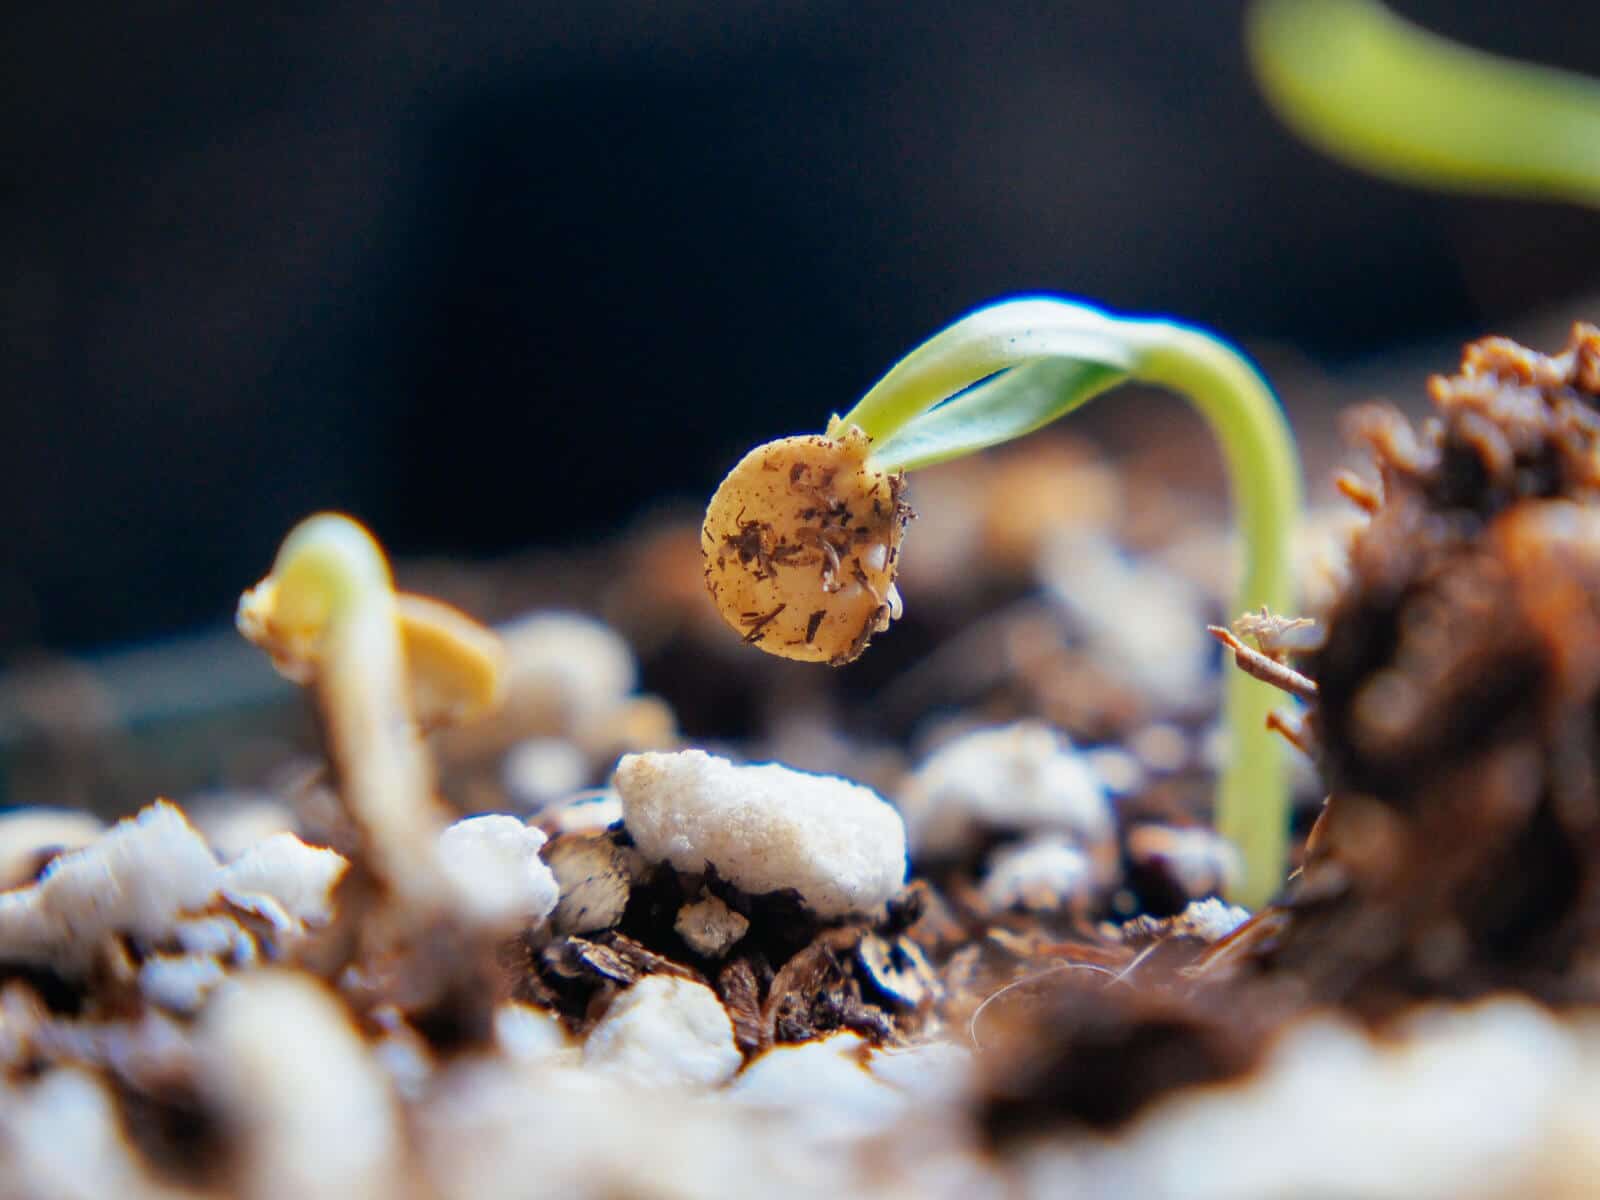
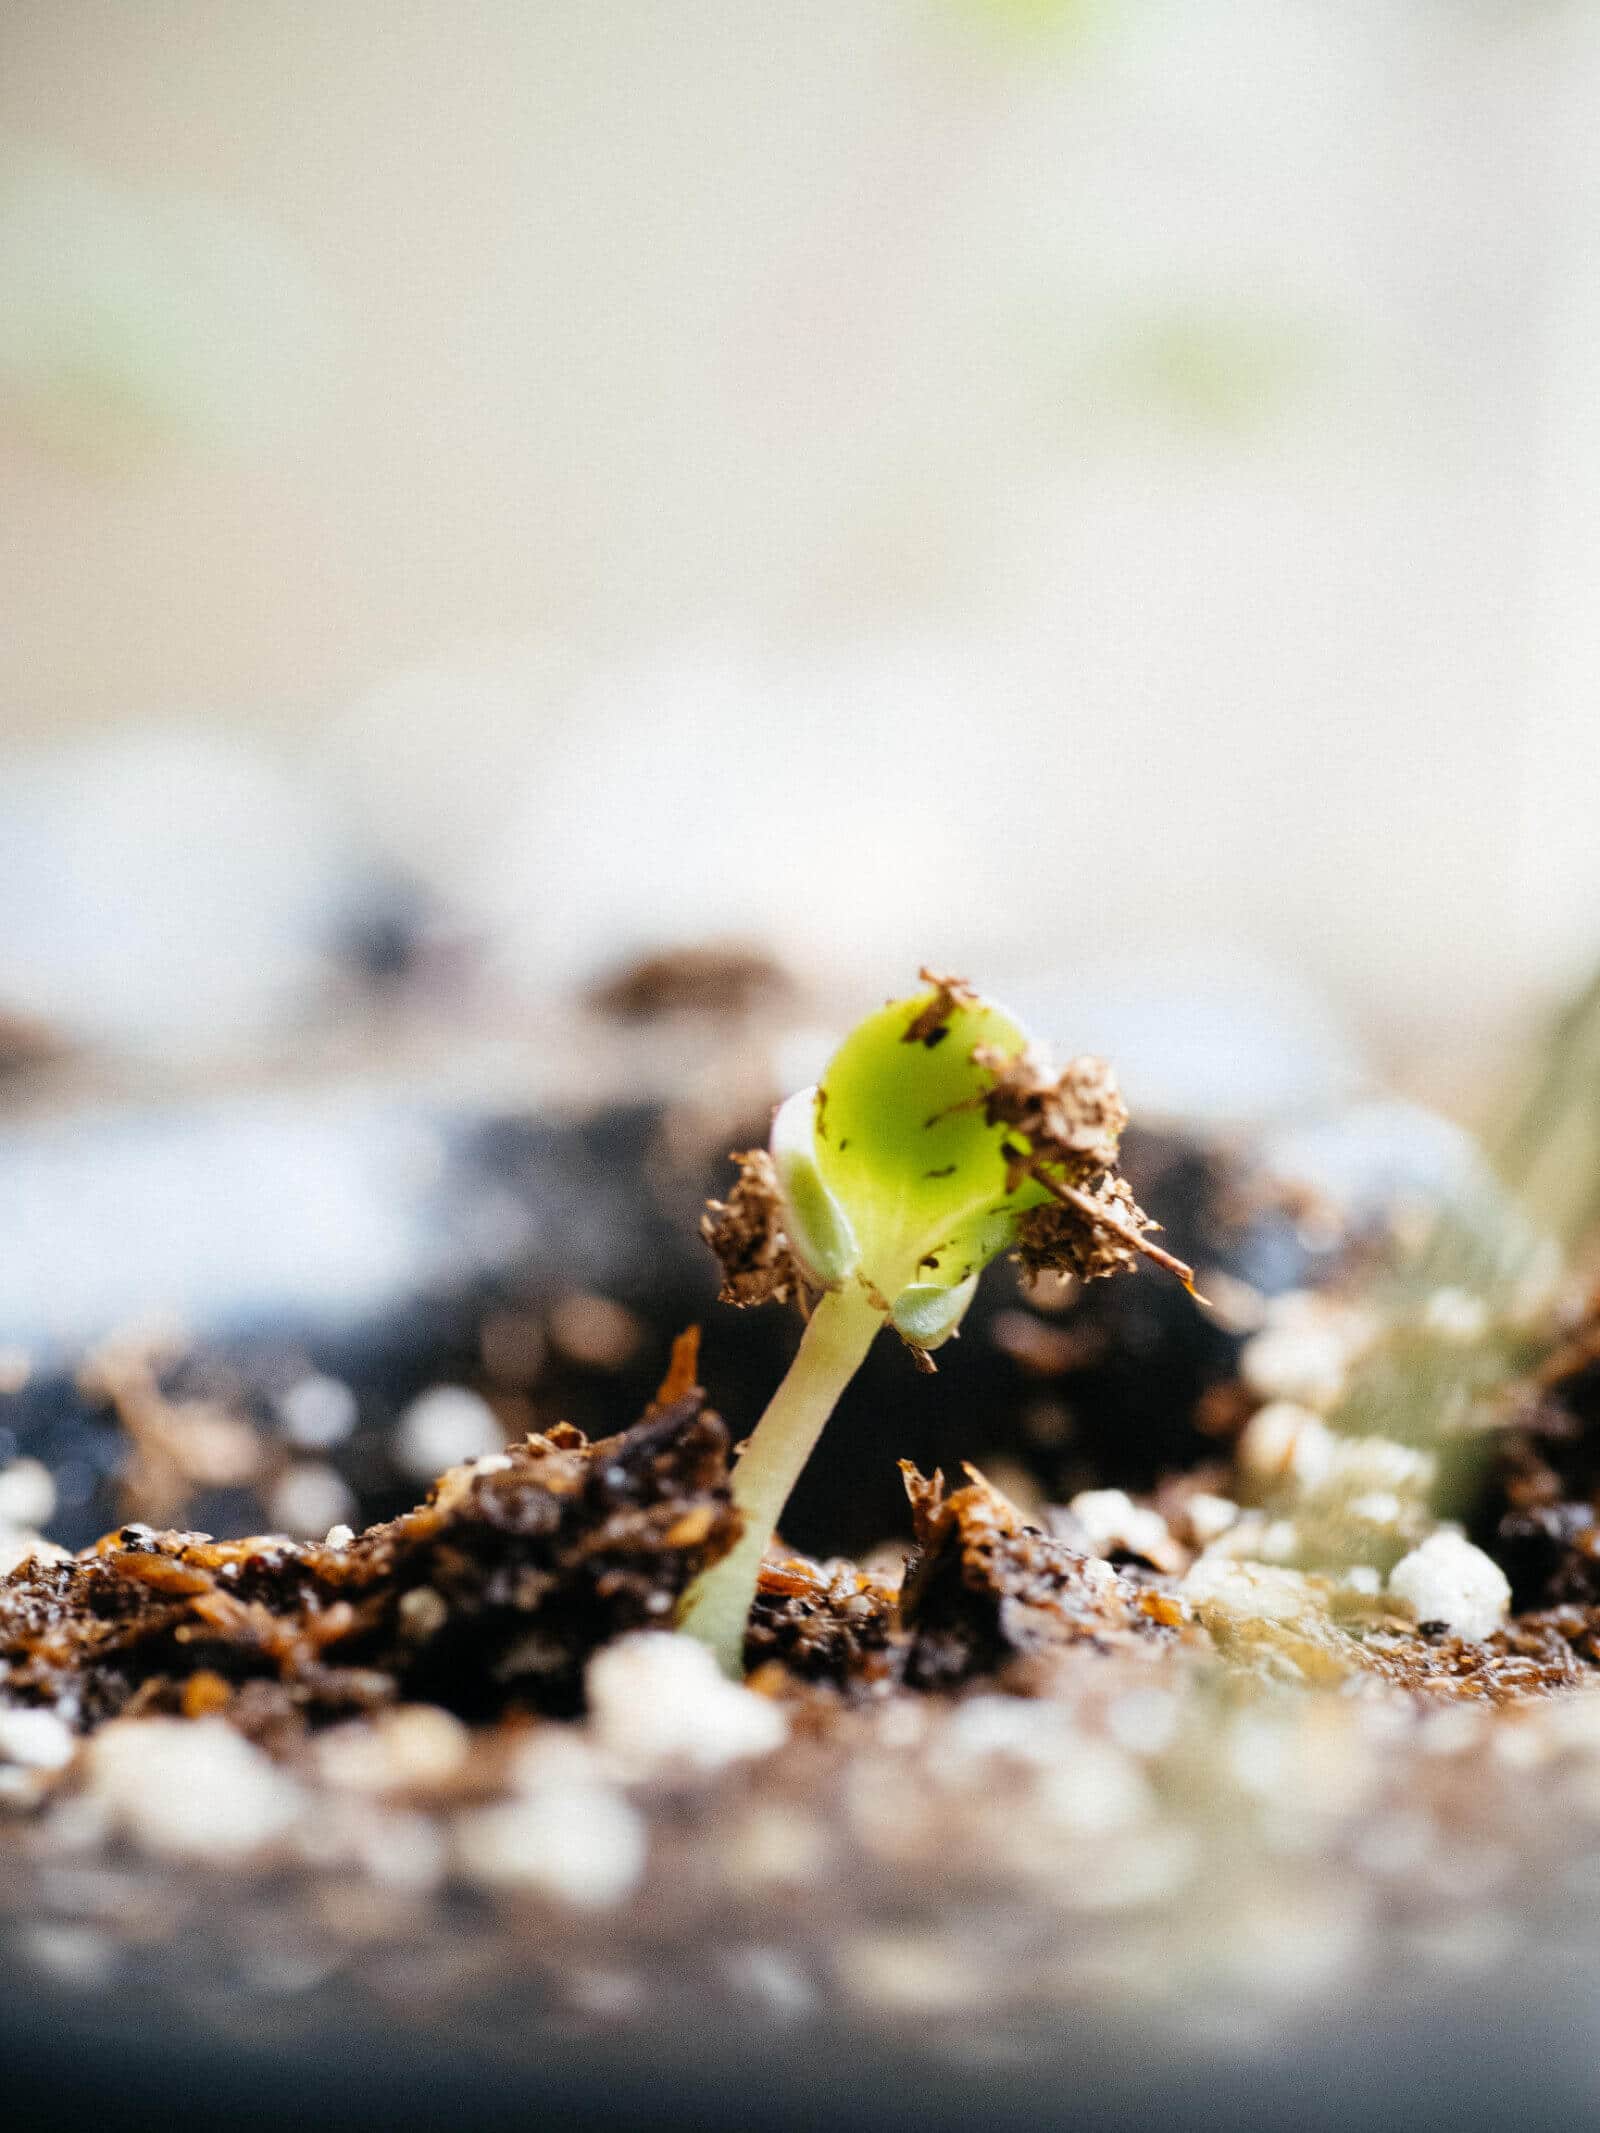
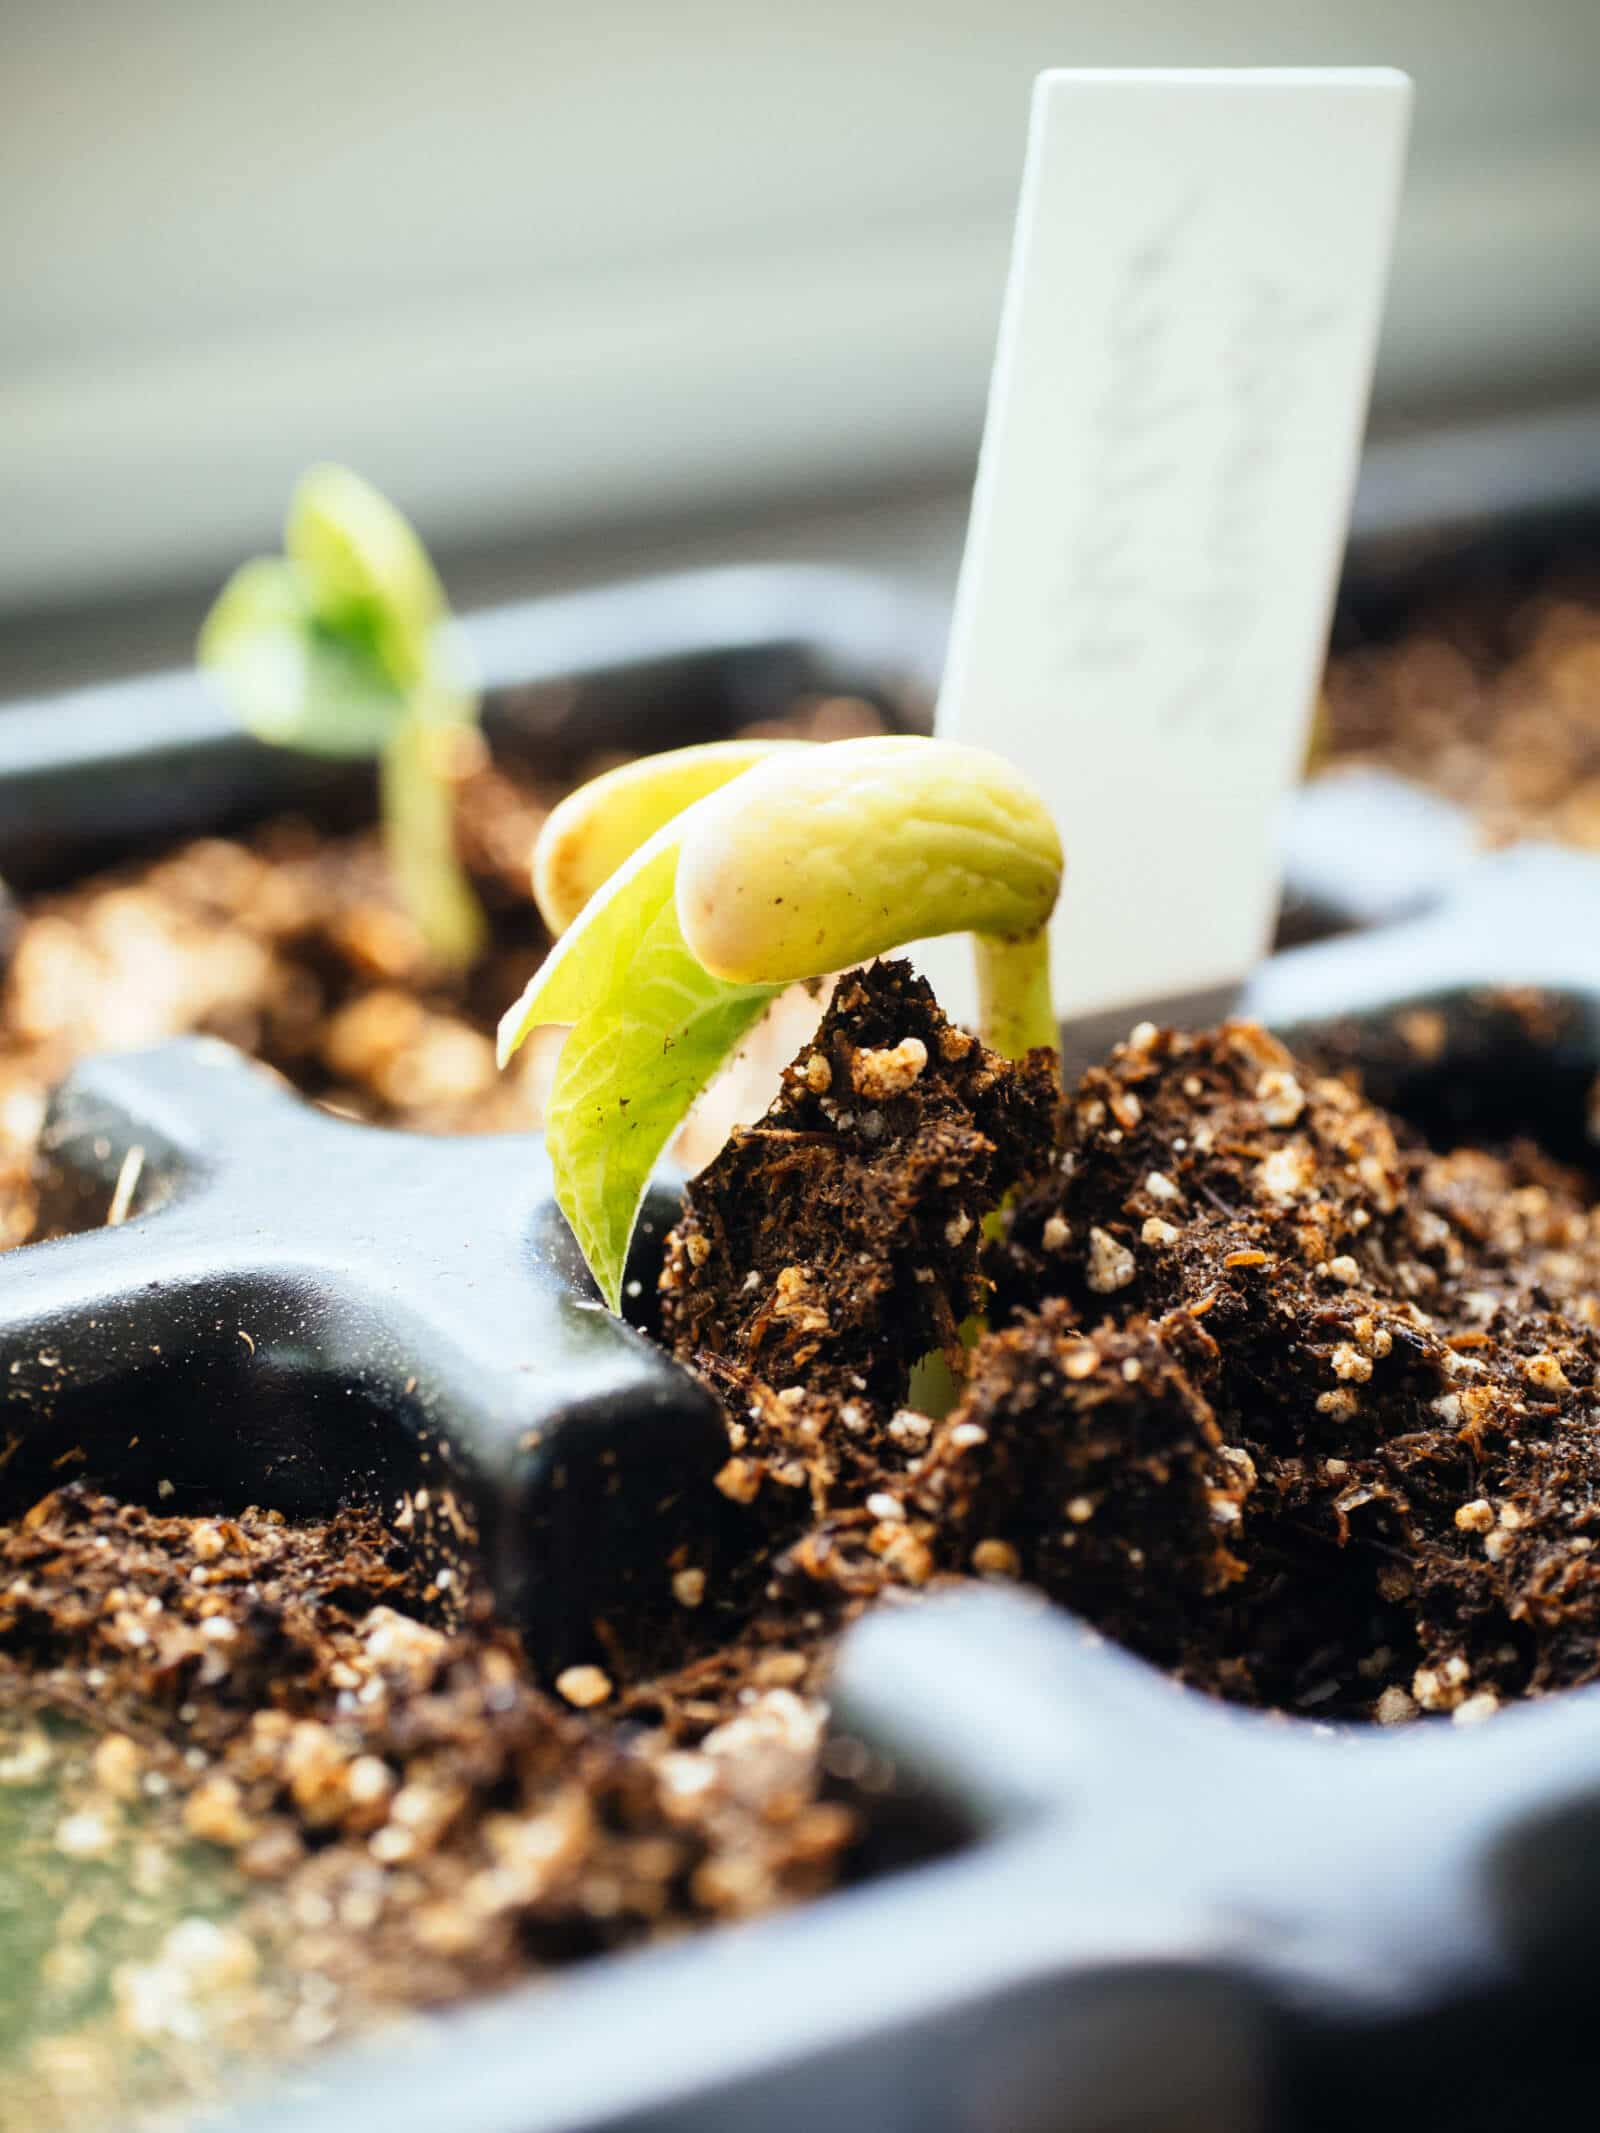
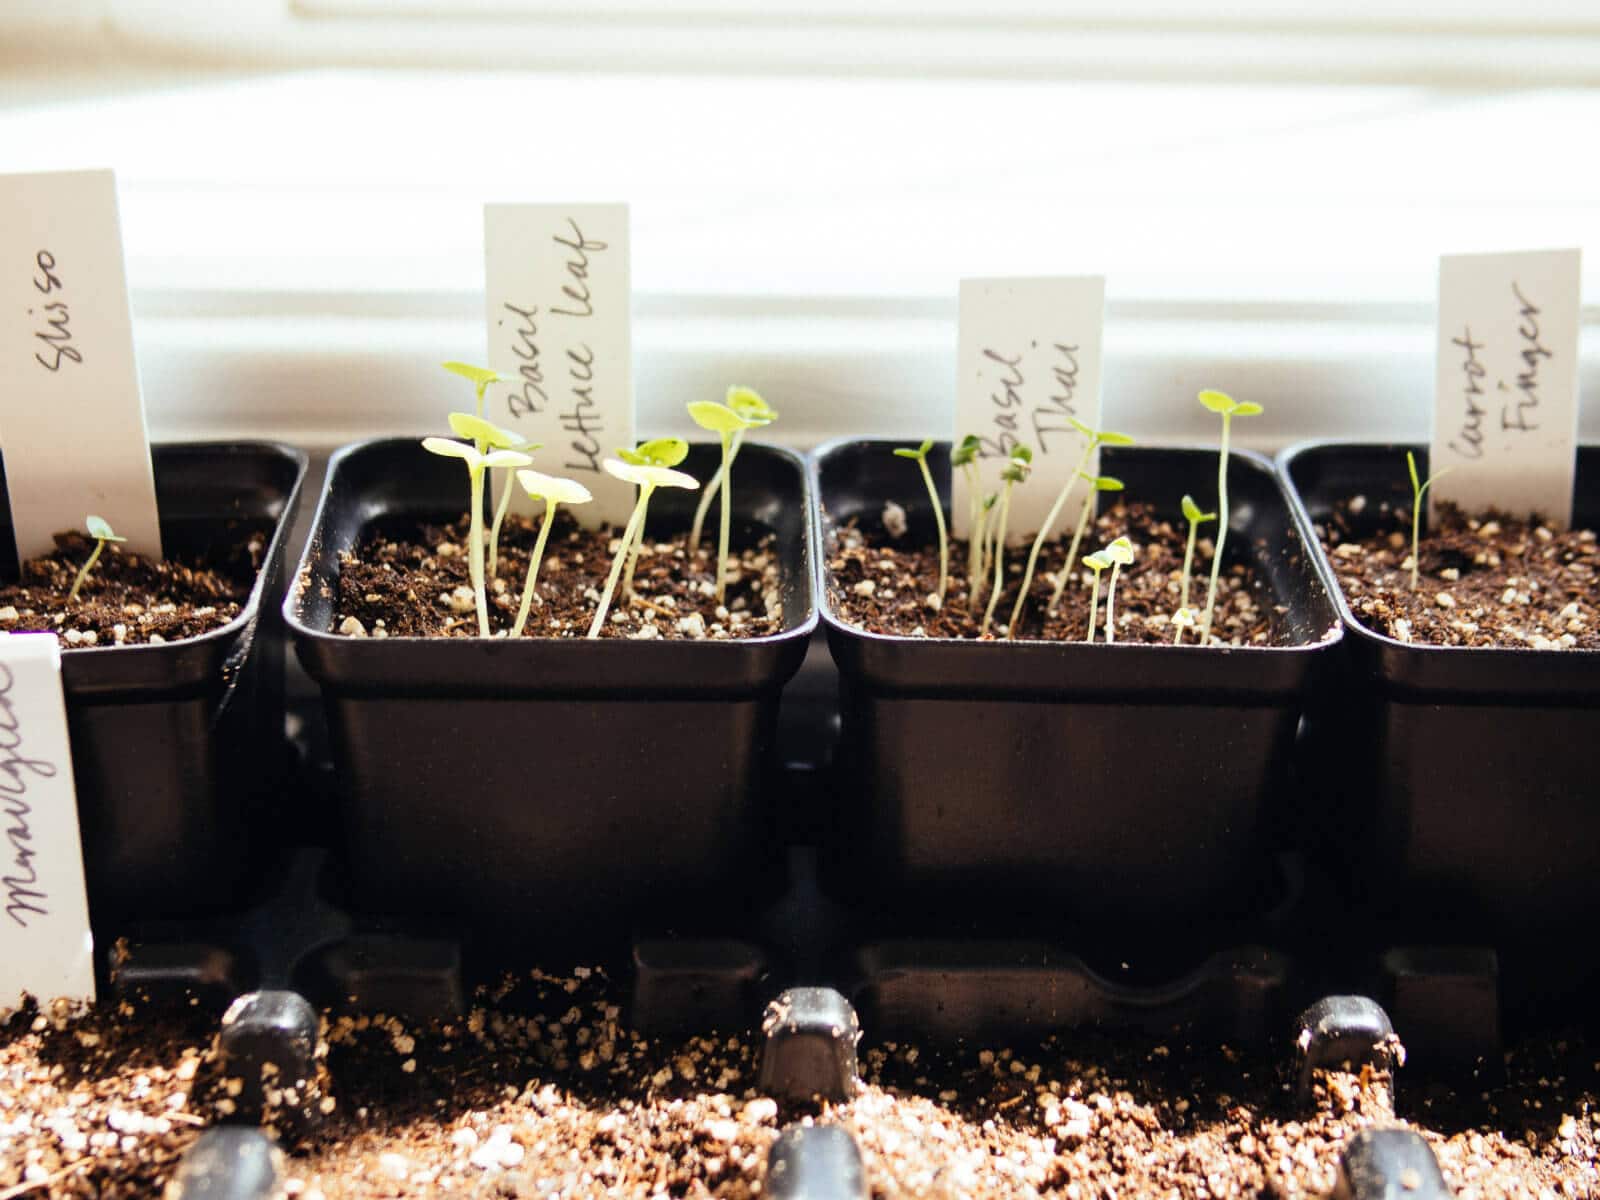
Within a couple of days to a couple of weeks, the seeds will germinate. As your seedlings start to emerge, some of them will look like they’re wearing little seed hats. (No need to do anything, as they’ll fall off on their own.)
Germination (the process of a seed sprouting) is highly variable, so don’t stress if it feels like it’s taking forever to happen. In most cases, seeds will germinate within three weeks (after that, try starting a new round of seeds).
Step 6: Give your new seedlings light.
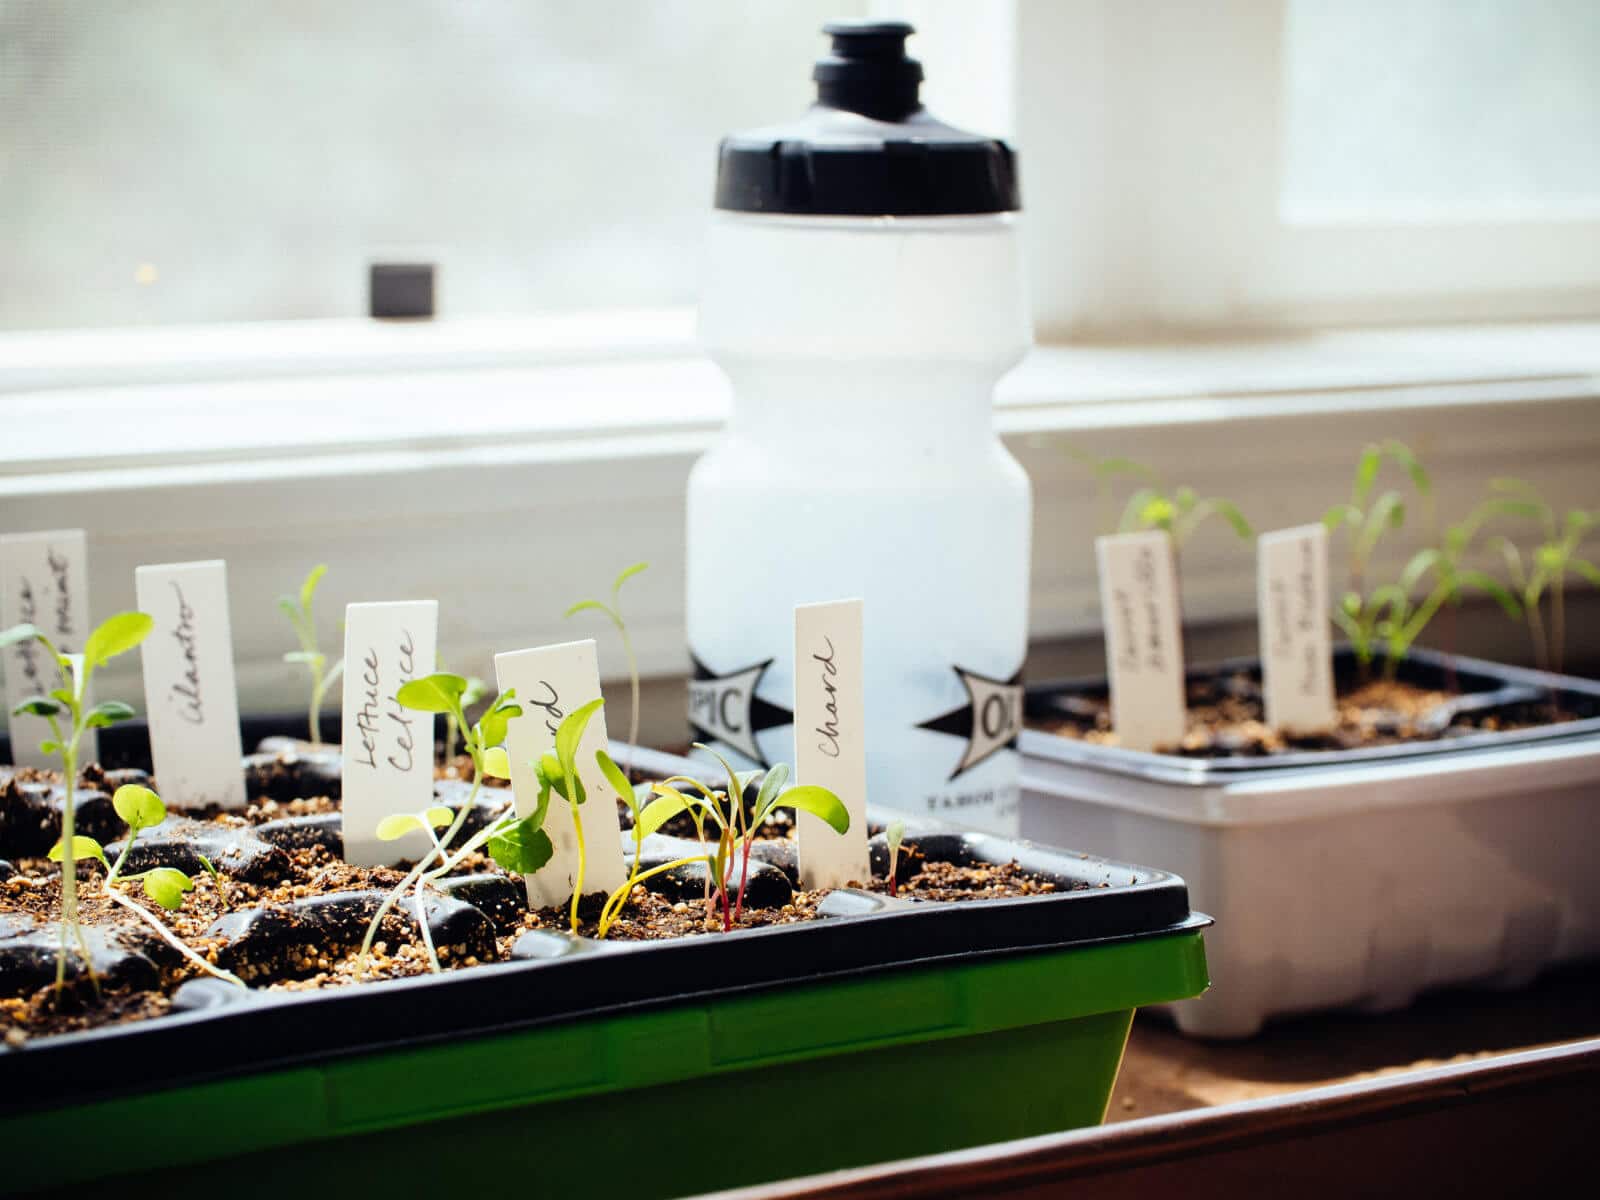
At this stage, the newly germinated seedlings need light. Remove the humidity dome or plastic wrap, and move the seedlings to the sunniest spot in your house (preferably a south-facing window).
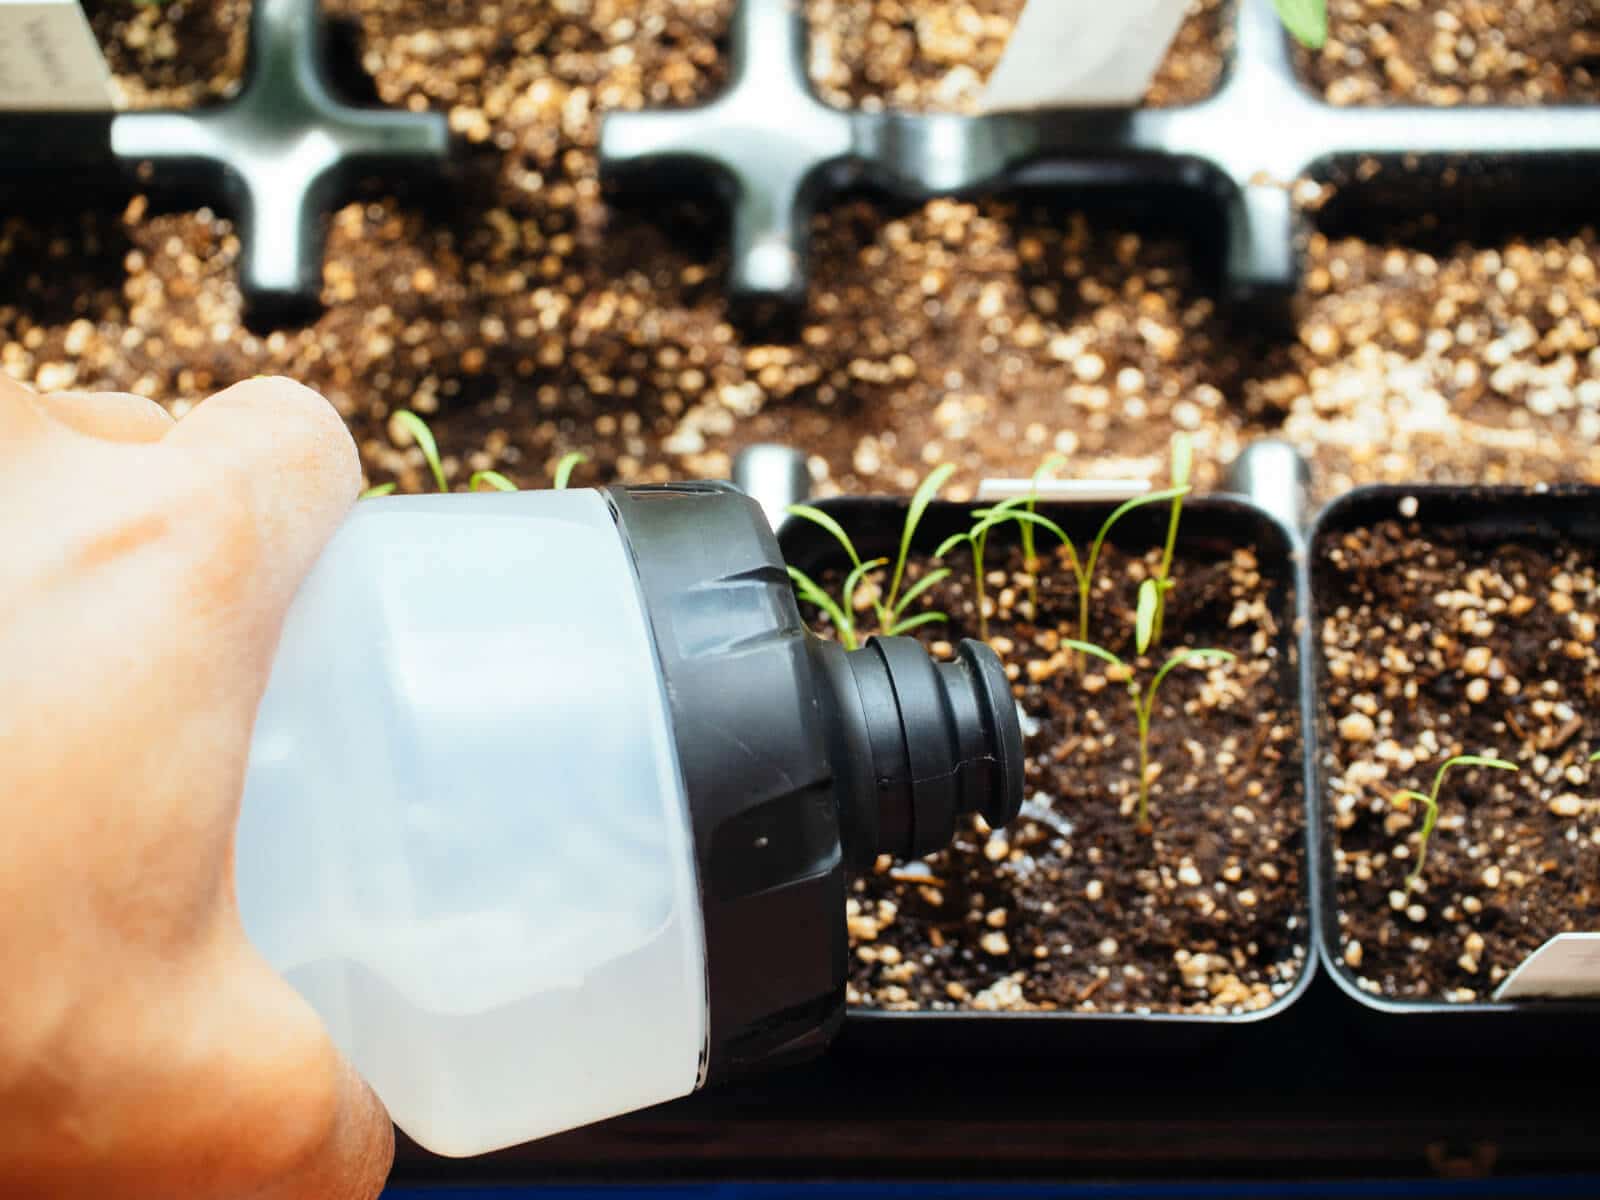
Continue to keep the mix moist, but not overly wet. Seedlings should be watered once a day or every other day, depending on how much sun and heat they get.
Remember that seedling roots are fairly close to the surface and they’re growing in a small amount of media, so they don’t need a deep soak the way larger plants do.
I like using spray bottles or squirt bottles, as the gentle streams of water won’t displace seeds or damage seedlings.
Step 7: Moving day! Transplant the strongest seedlings when they’re ready.
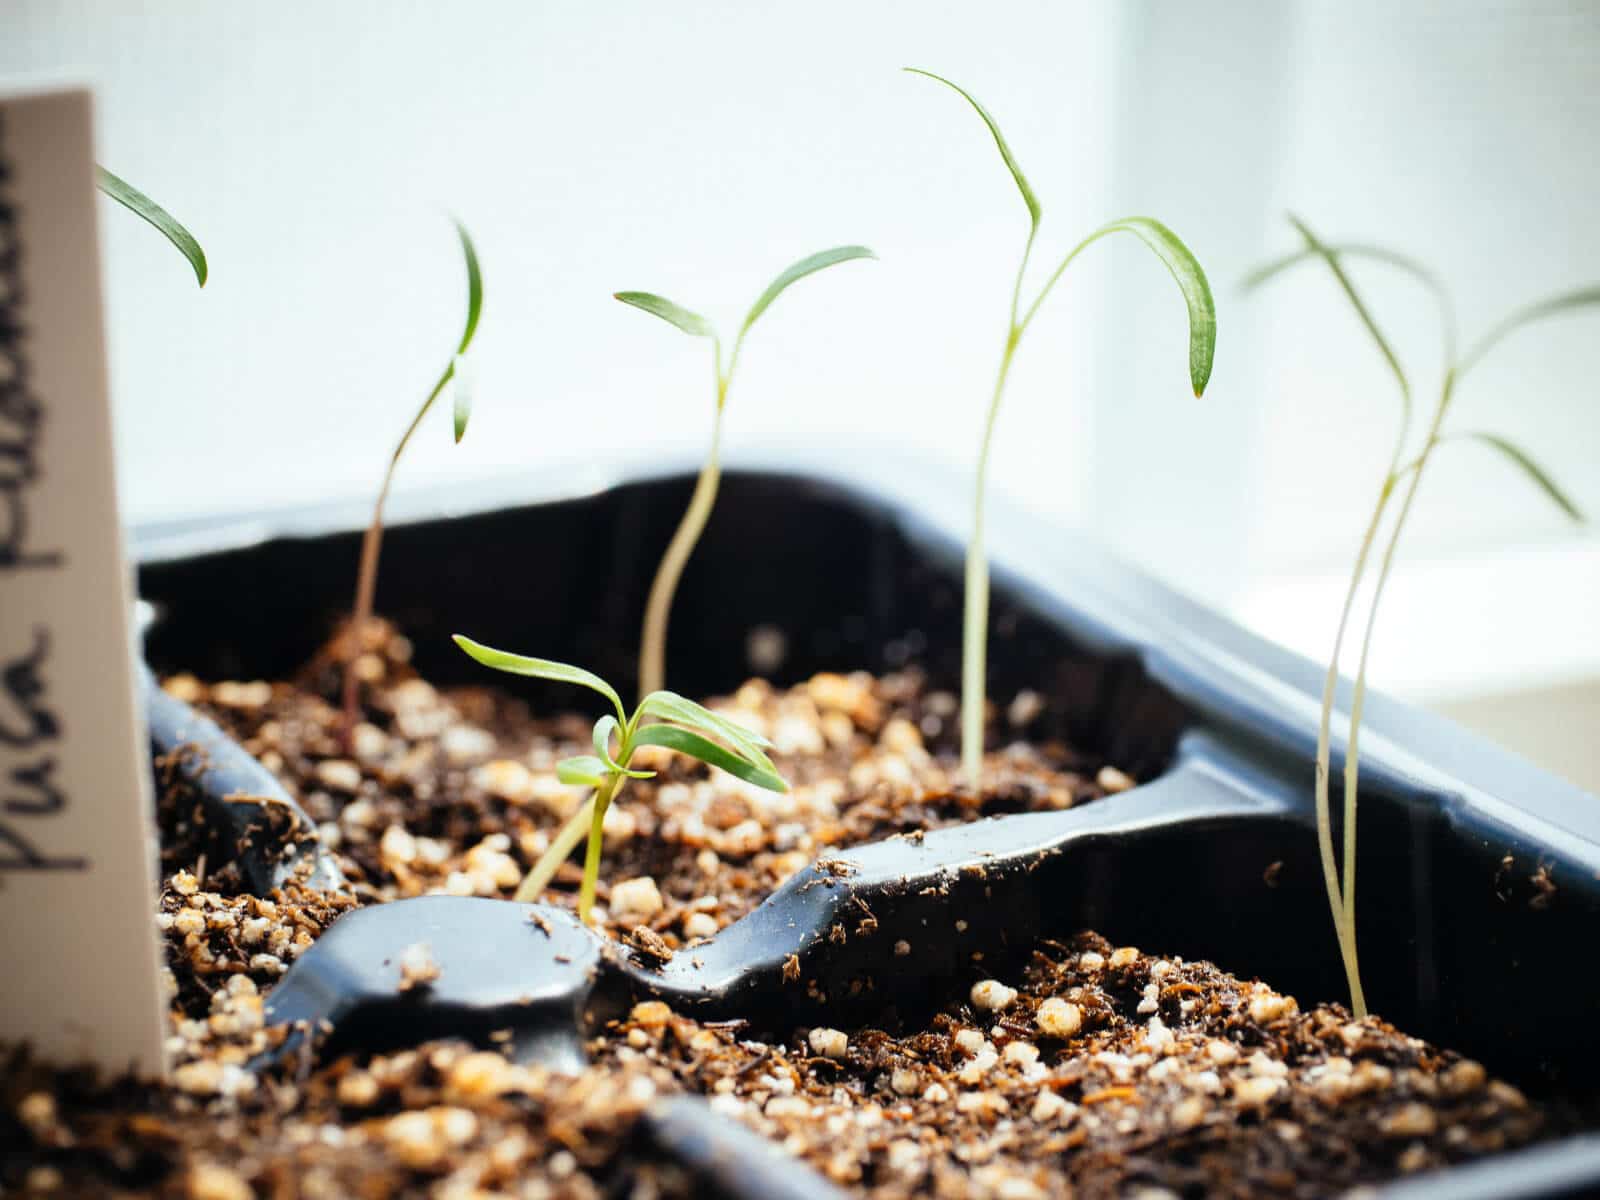
After your seedlings develop their first “true set” of leaves, they are ready to be transplanted. (8)
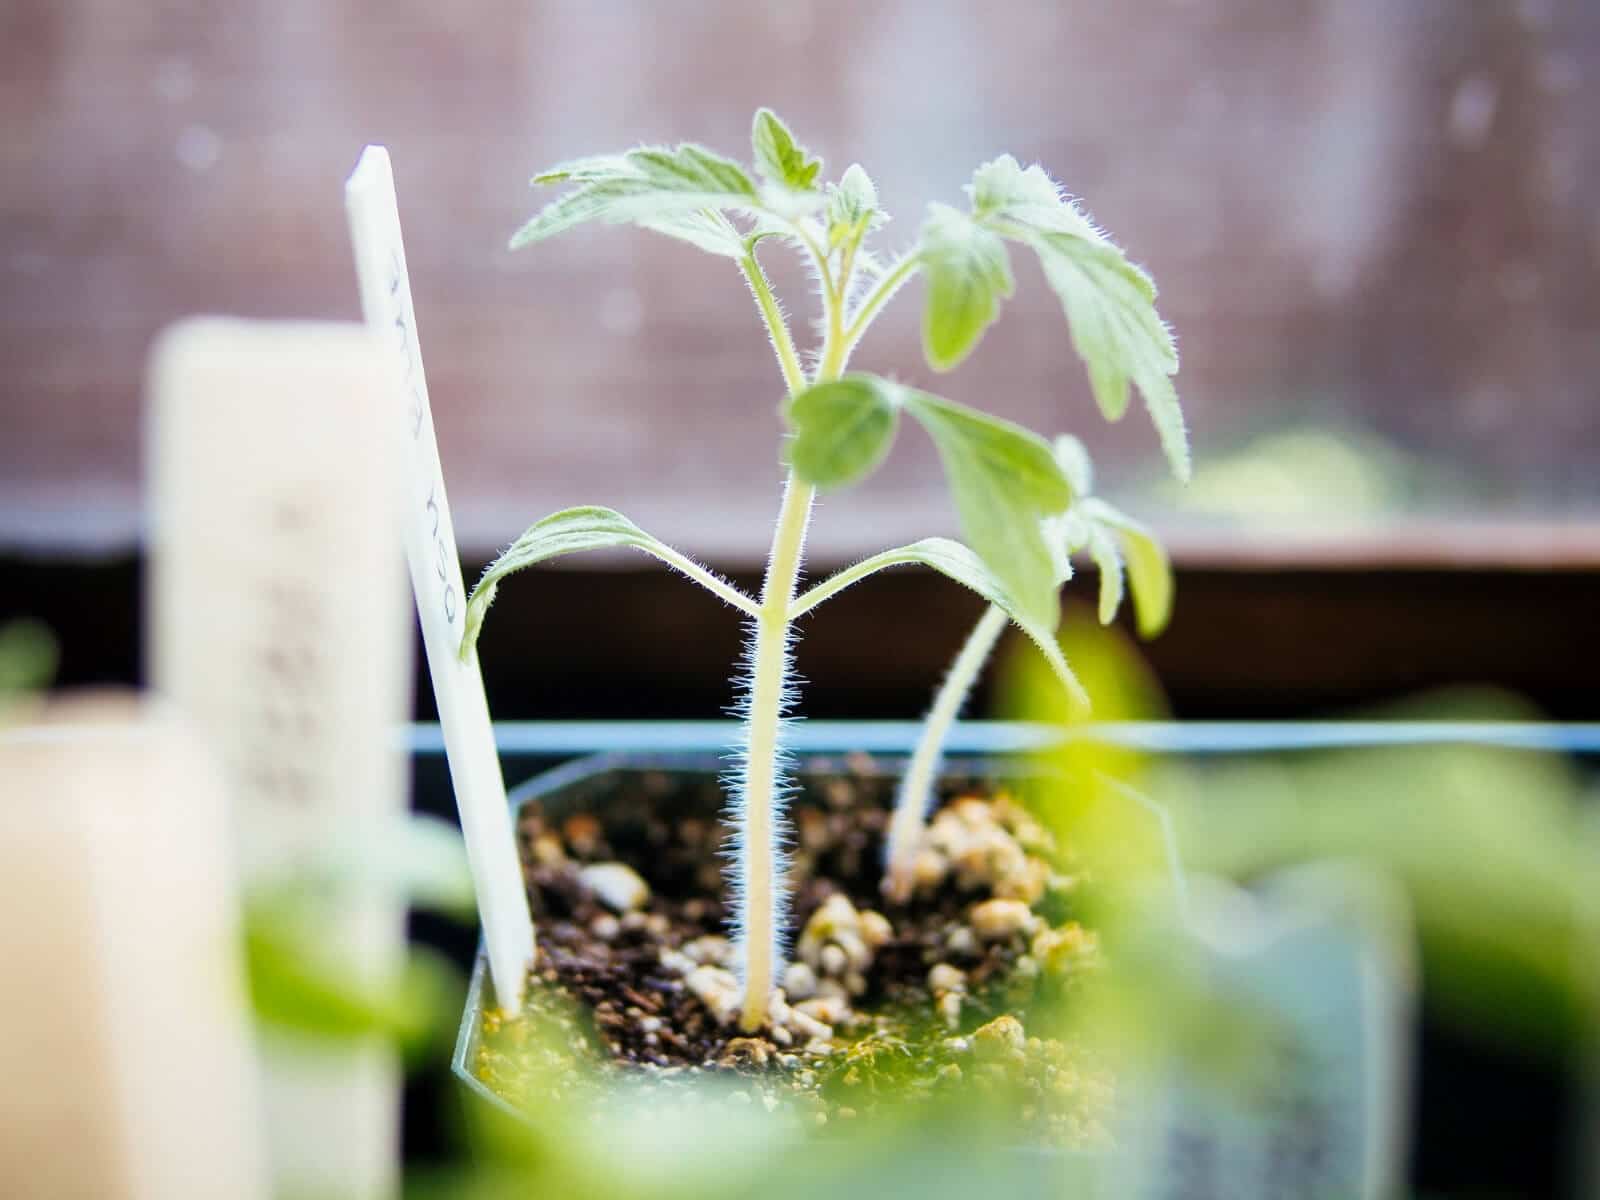
If more than one seed sprouted (or if you sowed a multigerm seed like chard or beets), choose the strongest one and pinch or snip off the others. You can even keep all of them, but be careful separating the roots if the seedlings are close together.
Transplant the seedling into a larger container filled with potting mix. Hold it by the cotyledons (the first leaves that appeared) and try not to manhandle the tiny roots.
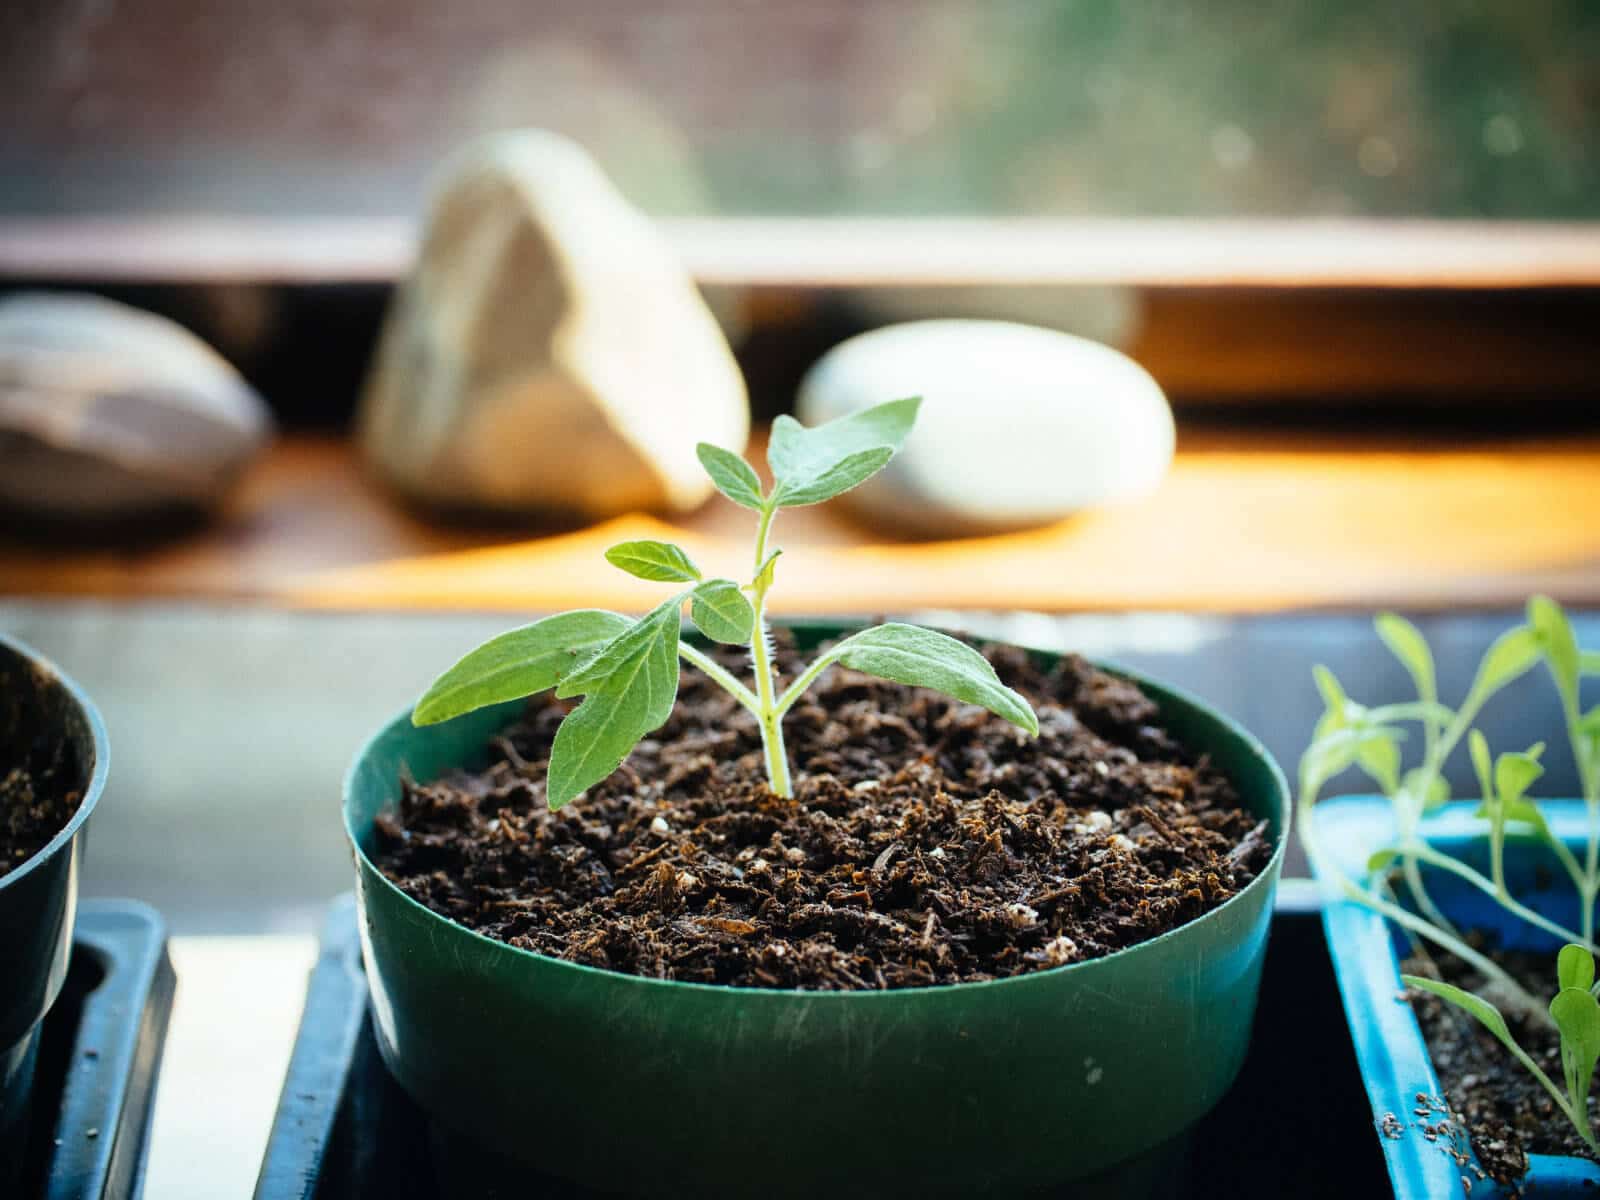
At this stage, you can lightly drench the potting mix using a diluted solution of liquid fertilizer or compost tea. Keep it simple, keep it organic, and don’t obsess too much over the nutrients. (9)
Give the seedling plenty of sunlight each day (at least 12 and up to 16 hours is optimal for most vegetable seedlings) to avoid the “leggy” look. (Learn how to fix leggy seedlings if this is happening to you.) (10)
Step 8: Harden off those seedlings.
To get your seedling prepped for a good life outside, you can start to harden off the seedling (11) by moving it outside under diffused light for a few hours and bringing it back inside each night.
Over the next week, move it from diffused sun to partial sun to full sun, and for longer periods of time, until it’s finally kept outside all night.
Step 9: Transplant your seedlings outdoors.
After the hardening off period, you can transplant your seedling to its final destination, whether straight into your garden or into a larger container.
And then, in a couple of months, you can enjoy the fruits (and veggies) of your loving labor!
Footnotes
(1) This seems obvious, but laziness gets the best of us. Clean pots are key and help keep damping off at bay (an untreatable fungal disease that causes seedlings to suddenly keel over and die at the soil line).
Discard or thoroughly wash any pots that previously housed diseased plants. Avoid using leftover soil from the nursery container you brought home, as it might harbor weed seeds and bad bacteria.
If you have a healthy garden, you can skip washing your pots and simply dump out the dirt from your pots before using again.
I’ve put countless seed trays and humidity domes to the test over the years, and found these trays and domes to be the thickest and strongest on the market—they don’t bend, flex, or crack as easily as other brands, and can be reused for many seasons. back
(2) It’s easier to start with pre-moistened mix, as peat-based mixes are harder to wet down uniformly if they dry out in pots. Although peat has a very high water-holding capacity once it’s wet, it actually repels water when it’s dry. Go figure.
If you’re not using homemade seed starting mix, this is a reputable brand that I like. If you’re looking in a local garden center, you do not need anything fancy; seeds just need a basic mix of perlite, vermiculite, and peat moss (or coco coir) to germinate and grow into healthy seedlings. The cotyledons provide all the nutrients they need for the first week of life. back
(3) For certain types of plants, such as lettuce, light may be necessary for germination (the process of a plant sprouting from a seed). back
(4) The moisture will help the seeds shed their protective coating and eventually sprout. back
(5) This creates a greenhouse effect to keep your seeds moist and warm, the key to germination. Most annual vegetables germinate best in temperatures of 75°F to 90°F. A few, such as radish, will germinate at lower temperatures.
Seeds will sometimes sprout in less than ideal temperatures, but the germination period will be longer. back
(6) I like to put my seed trays next to my heating vent on the floor. Some gardening guides suggest placing your tray on top of a refrigerator, but most appliances these days are energy-efficient and do not give off much heat. back
(7) Too much water will make the seeds rot. If your makeshift greenhouse is looking a bit too wet inside, remove the cover or plastic wrap for a few hours during the warmest part of the day to allow air circulation. Mold is no good for seeds, either. back
(8) The true leaves are actually the second set of leaves that appear; the first leaves that initially unfurl are not leaves at all, but cotyledons. These leaf-life structures are part of the embryo of the seed, and supply food to the seedling until its true leaves begin the process of photosynthesis. back
(9) I like to use a liquid seaweed/fish blend, liquid seaweed, or home-brewed compost tea. No fertilizer is fine, too, especially if you start with good soil. I have grown healthy vegetables with no fertilizer through a whole season, and could barely keep up with the harvests. back
(10) Insufficient light makes your seedling spindly and weak as it channels its energy into growing taller and taller, straining for sunlight. To reduce this problem, I like to gently run my hands across the top of my seedling to simulate a breeze; this slows down initial growth and strengthens the stem. A few brushes a day is all it needs. back
(11) Hardening off is the process of gradually acclimating the seedling to its future environment outdoors… getting it acquainted with the breeze, the birds, and the bees. back
The Beginner’s No-Fail Guide to Starting Seeds Indoors
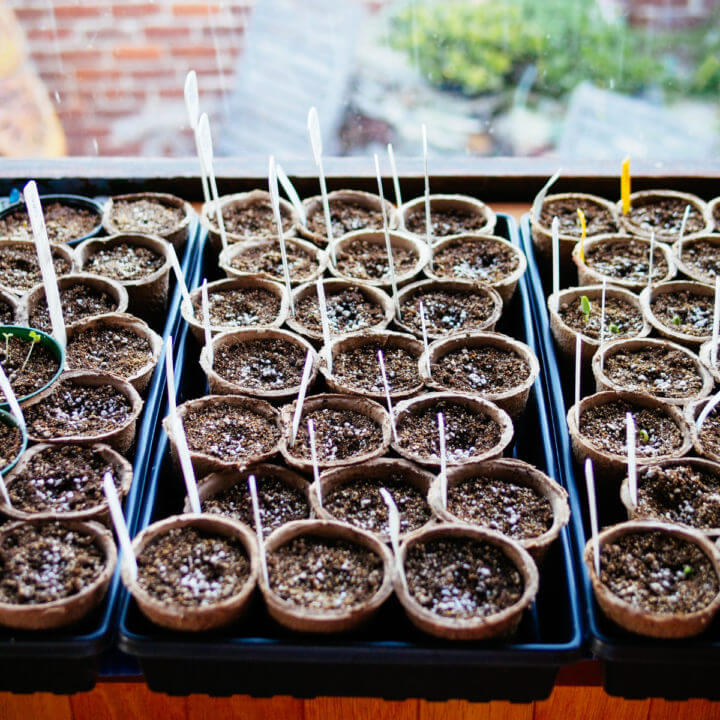
If you're new to seed starting, this foolproof beginner's guide to starting seeds indoors will take you step by step from seed to harvest, quickly and easily.
Materials
- Seeds
- Seed starting pots or cell trays
- Plant markers
- Seed starting mix (homemade or store-bought)
- Seed tray with humidity dome (often called a 1020 plant tray or propagation tray, or use any DIY drainage tray with plastic wrap)
- Spray bottle or squirt bottle filled with water
Tools
- Large bucket or tub
- Trowel
Instructions
- Gather your seed starting supplies. Instead of seed starting pots, you can also use recycled newspaper pots, or repurpose household items into seed starting containers, like egg cartons, Dixie cups, and yogurt cups. Just wash them out and poke a few drainage holes in the bottom with a nail or an awl.
- Fill your pots or trays with seed starting mix. Dump your seed starting mix into a large tub or bucket, pour in a generous amount of water, and stir it up with your hands or a trowel.
As the seed starting mix starts to absorb the moisture, add more water as needed. (This will take several minutes, as peat-based seed starting mixes are slow to absorb.) You want the mix to be uniformly damp, like wet sand.
Fill your seedling pots with this pre-moistened seed starting mix. - Sow your seeds. Place two to four seeds on the surface of the seed starting mix, and gently press the seeds down so they’re nestled in nicely.
If your seeds are very small, like basil or mustard, you can leave them uncovered.
If your seeds are larger (like beans or peas) or they require darkness to germinate (check the instructions on the seed packets), cover them with a layer of vermiculite or seed starting mix equal to their height, usually 1/4 inch to 1/2 inch. - Label your newly planted seeds. Label each pot. At this early stage, cheap plastic plant markers work very well and stay out of the way, so save your big and beautiful metal plant markers for the garden.
- Keep your seeds moist and warm. Mist your seeds with water.
Assemble your pots in a seed tray (or reuse a disposable aluminum roasting pan, a baking pan, even that plastic clamshell that your salad greens came in) and cover with a humidity dome (or just plain old plastic wrap). If your dome has vents, keep them open to help with air circulation during the sprouting period.
Now, you need to add heat. Since sunlight is not essential at this point, your seed trays can be placed wherever it’s warmest in your house, such as an attic, bathroom, laundry room, or kitchen.
If your seedling pots stay covered in a warm nook, the low humidity will keep your seeds happy until they sprout. High humidity will make them sad. Only spritz the seeds with more water if the mix feels dry to the touch.
Within a couple of days to a couple of weeks, the seeds will germinate. Germination (the process of a seed sprouting) is highly variable, so don’t stress if it feels like it’s taking forever to happen. In most cases, seeds will germinate within three weeks (after that, try starting a new round of seeds). - Give your new seedlings light. At this stage, the newly germinated seedlings need light. Remove the humidity dome or plastic wrap, and move the seedlings to the sunniest
spot in your house (preferably a south-facing window).
Continue to keep the mix moist, but not overly wet. Seedlings should be watered once a day or every other day, depending on how much sun and heat they get. Remember that seedling roots are fairly close to the surface and they’re growing in a small amount of media, so they don’t need a deep soak the way larger plants do. - Moving day! Transplant the strongest seedlings when they're ready. After your seedlings develop their first “true set” of leaves, they are ready to be transplanted.
If more than one seed sprouted, choose the strongest one and pinch or snip off the others. You can even keep all of them, but be careful separating the roots if the seedlings are close together.
Transplant the seedling into a larger container filled with potting mix. Hold it by the cotyledons (the first leaves that appear) and try not to manhandle the tiny roots.
At this stage, you can lightly drench the potting mix using a diluted solution of compost tea or all-purpose fertilizer.
Give the seedling plenty of sunlight each day (at least 12 to 16 hours is optimal for most vegetable seedlings) to avoid the “leggy” look. (Learn how to fix leggy seedlings if this is happening to you.) - Harden off those seedlings. To get your seedling prepped for a good life outside, you can start to harden off the seedling by moving it outside under diffused light for a few hours and bringing it back inside each night.
Over the next week, move it from diffused sun to partial sun to full sun, and for longer periods of time, until it’s finally kept outside all night. - Transplant your seedlings outdoors. After the hardening off period, you can transplant your seedling to its final destination, whether straight into your garden or into a larger
container.
This post updated from an article that originally appeared on March 19, 2011.







Asking About Tools: