Hi, my name is Linda and I have a liiiiittle problem. I love to grow food—lots of it. Anywhere there’s a bare patch of soil, I’m all over it because I’m not one to let soil and sun go to waste.
In a typical season, I plant upwards of 50 varieties of fruits, herbs, and vegetables (plus a whole lot of flowers) in my garden, which is kind of weird when you consider the fact that I’m inherently lazy when it comes to gardening.
I hate cleaning my tools (which is why I created this DIY tool cleaning station that cuts my work in half), I hate cleaning up at the end of the season, and I rarely pick up a shovel.
I also chase after two little kiddos, run a full-time business from home, and cook most of my meals. I can’t do it all, so over the years I’ve developed a key set of “lazy gardening” techniques that help me get more done—all by doing less.
But let’s be clear, being lazy is just my way of saying I’ve become more efficient. (They often say the less time you have, the more efficient you are—and I find that to be very true.)
Growing your own food can be a big time-suck (and not in a good way) if it isn’t set up to maximize your yields while minimizing the back-breaking work that usually comes with maintaining a garden.
But even if you aren’t building a brand-new garden from the ground up, there are ways to incorporate my lazy gardening tips into your routine so you spend less time doing all that busywork, and more time harvesting your crops and enjoying the fruits (and veggies) of your labor!
Here are my favorite strategies for getting more out of your garden with minimal effort.
Lazy tip #1: Stop digging
I hate digging with a passion, so it’s a good thing that tilling, double digging, and other traditional methods of cultivating soil have been shown to disrupt the soil food web (the microbes that break down organic matter and feed your plants) and make it completely unnecessary in a home garden.
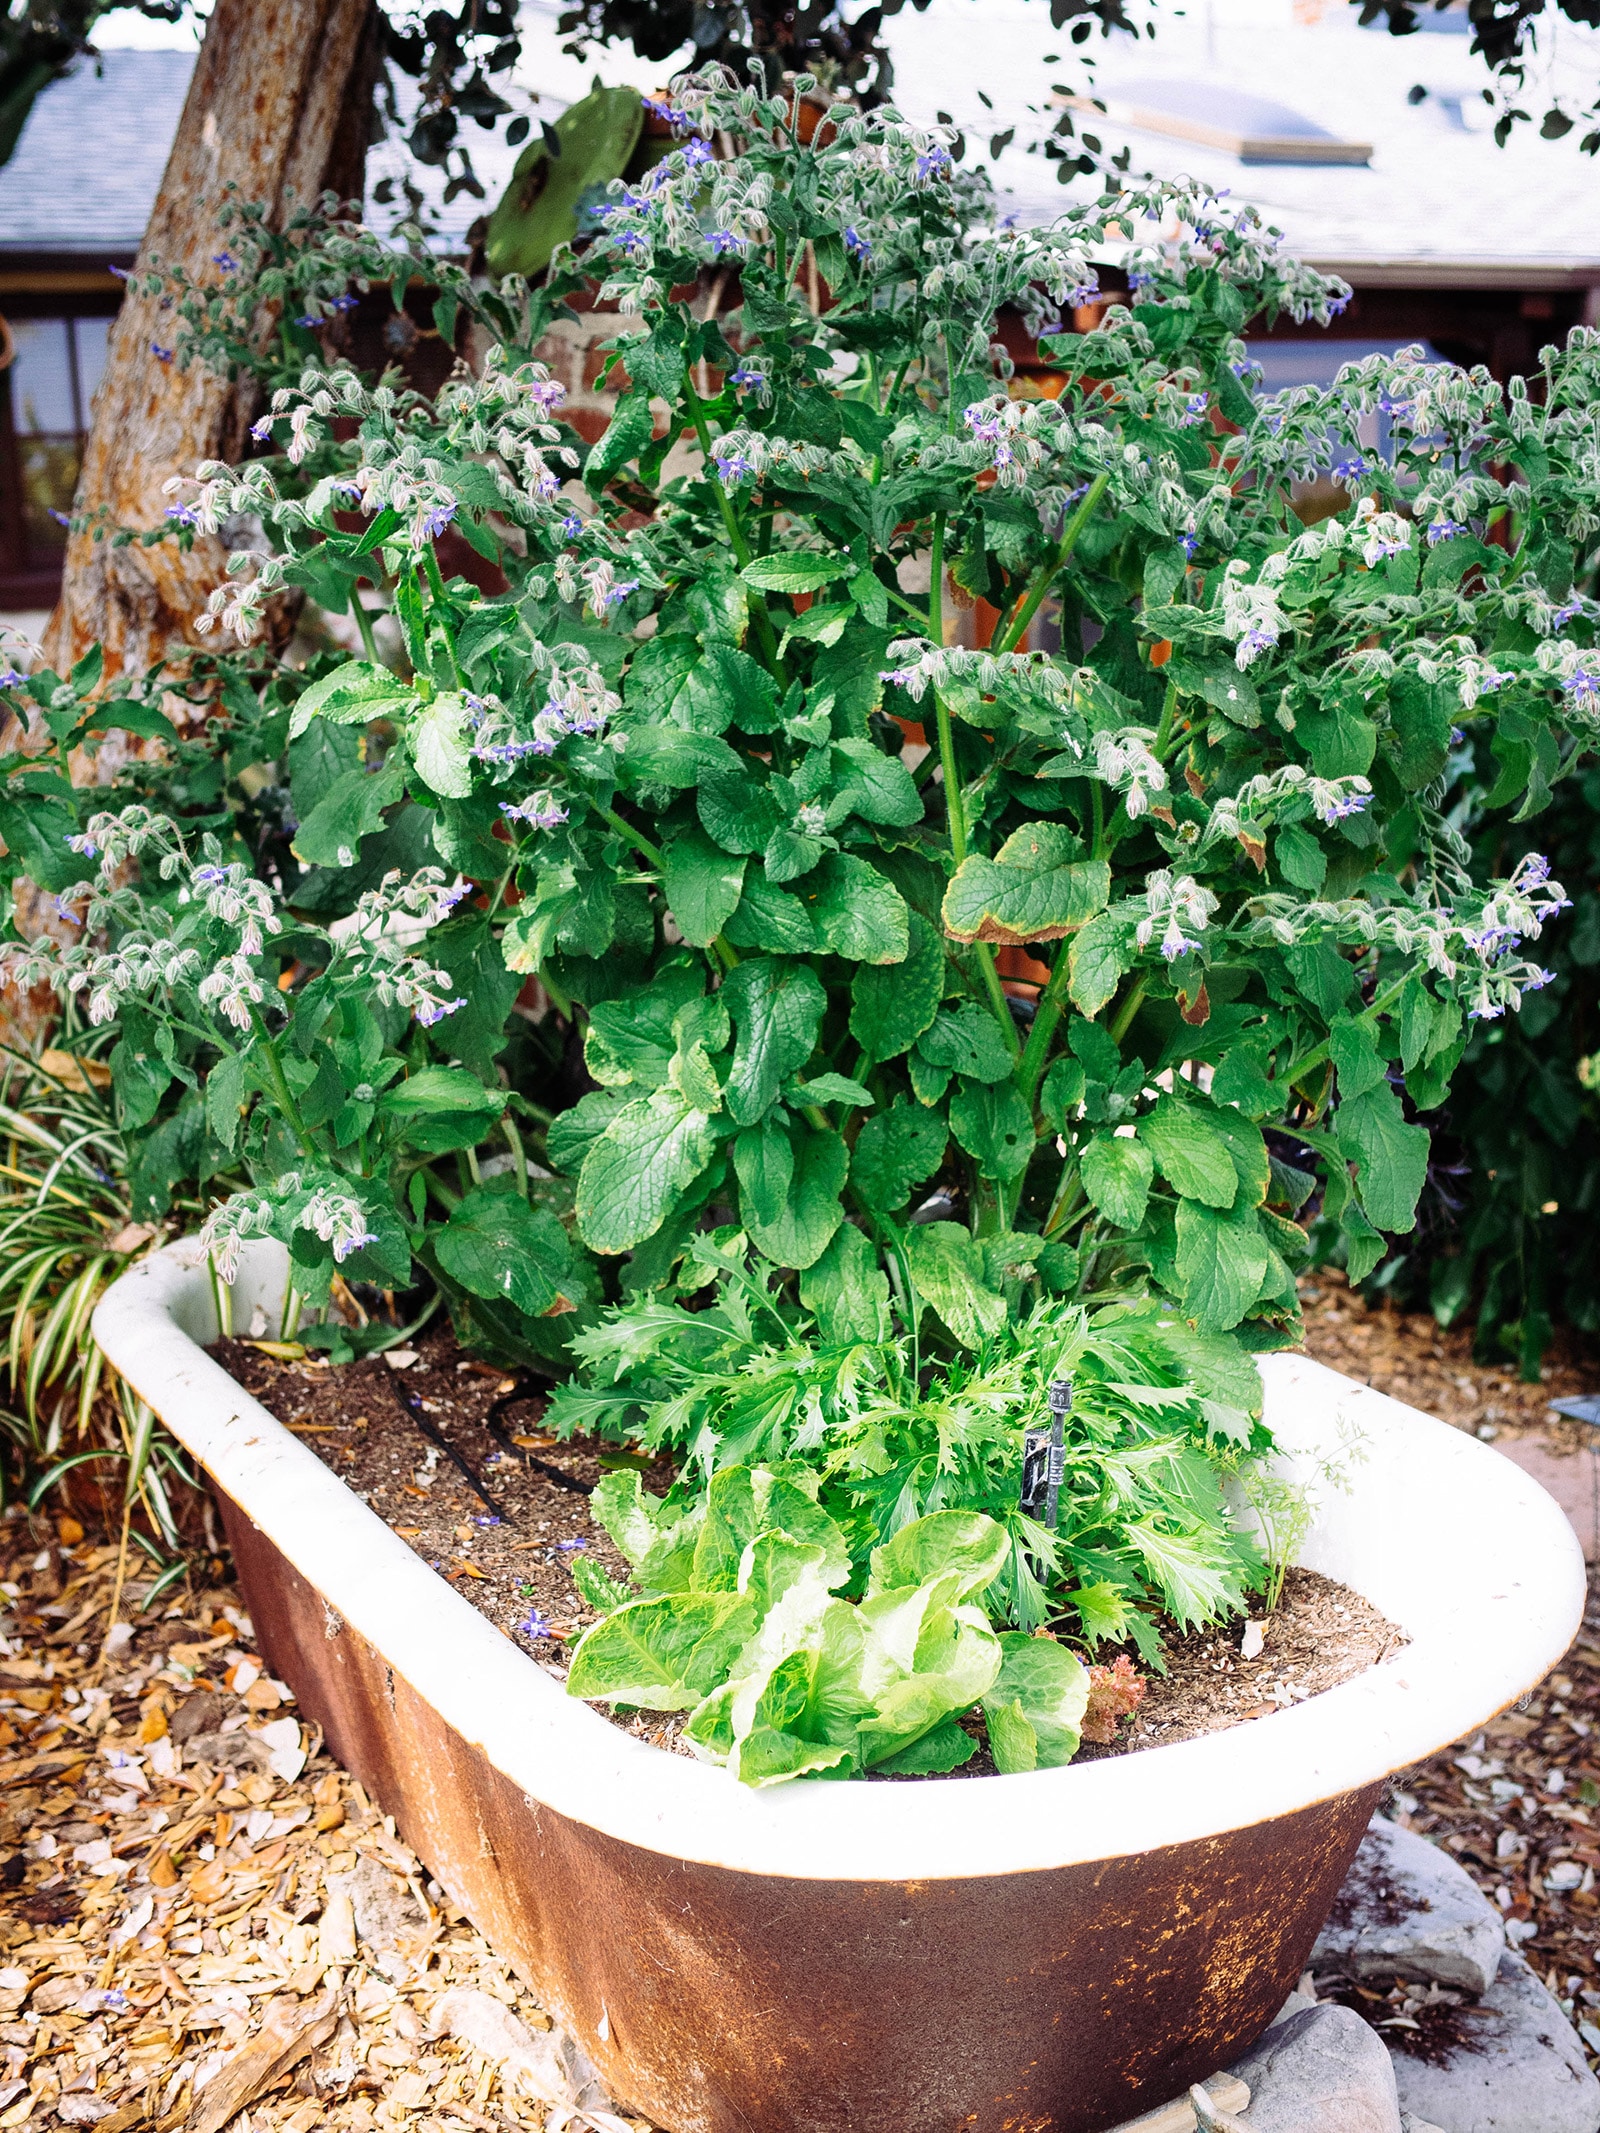
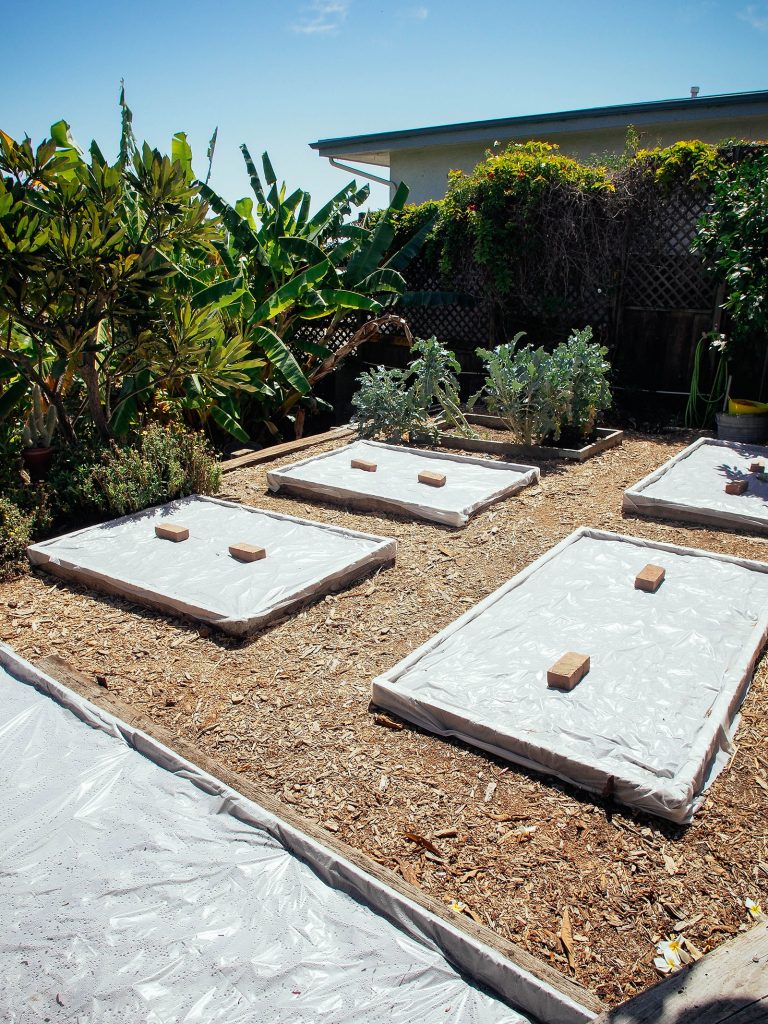
I’m a fan of the no-dig garden bed and have used this layering method to start new beds as well as replenish existing ones. It’s extremely effective and you can plant in a no-dig garden bed right away.
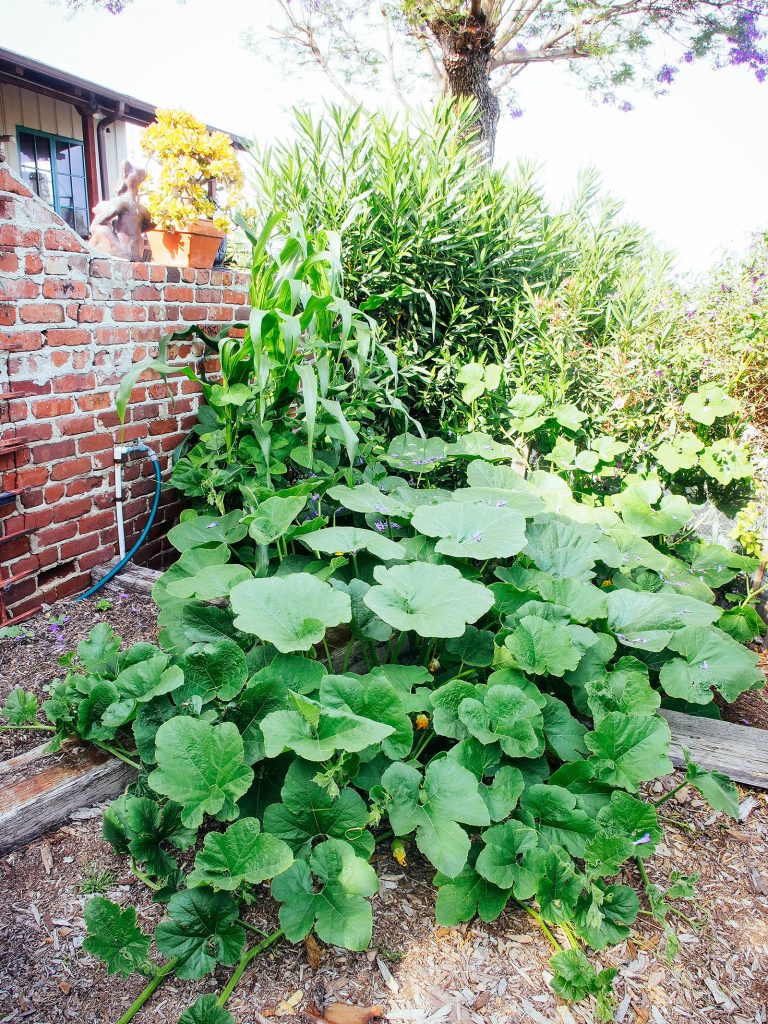
Check out the images from my first season using a no-dig bed. The plants all thrived without supplemental fertilizers and another amendments. And that image just above? Yes, that’s a massive borage growing out of the same bed the following season!
Lazy tip #2: Keep your favorite plants closer
If you use herbs and salad greens in your everyday meals, it makes the most sense to grow these crops closer to your house—even your kitchen, if you have the space inside or just outside your door.
Not only do you save time by not trekking out to your garden every time you need a few sprigs or a handful of leaves, you eat more of them (always a good thing, right?) by having these plants within easy reach.
Keeping your most frequently-used herbs in containers also means you can overwinter them indoors and keep them going year-round, rather than re-planting in spring or going without in winter (unless you freeze those herbs).
Lazy tip #3: Go higher
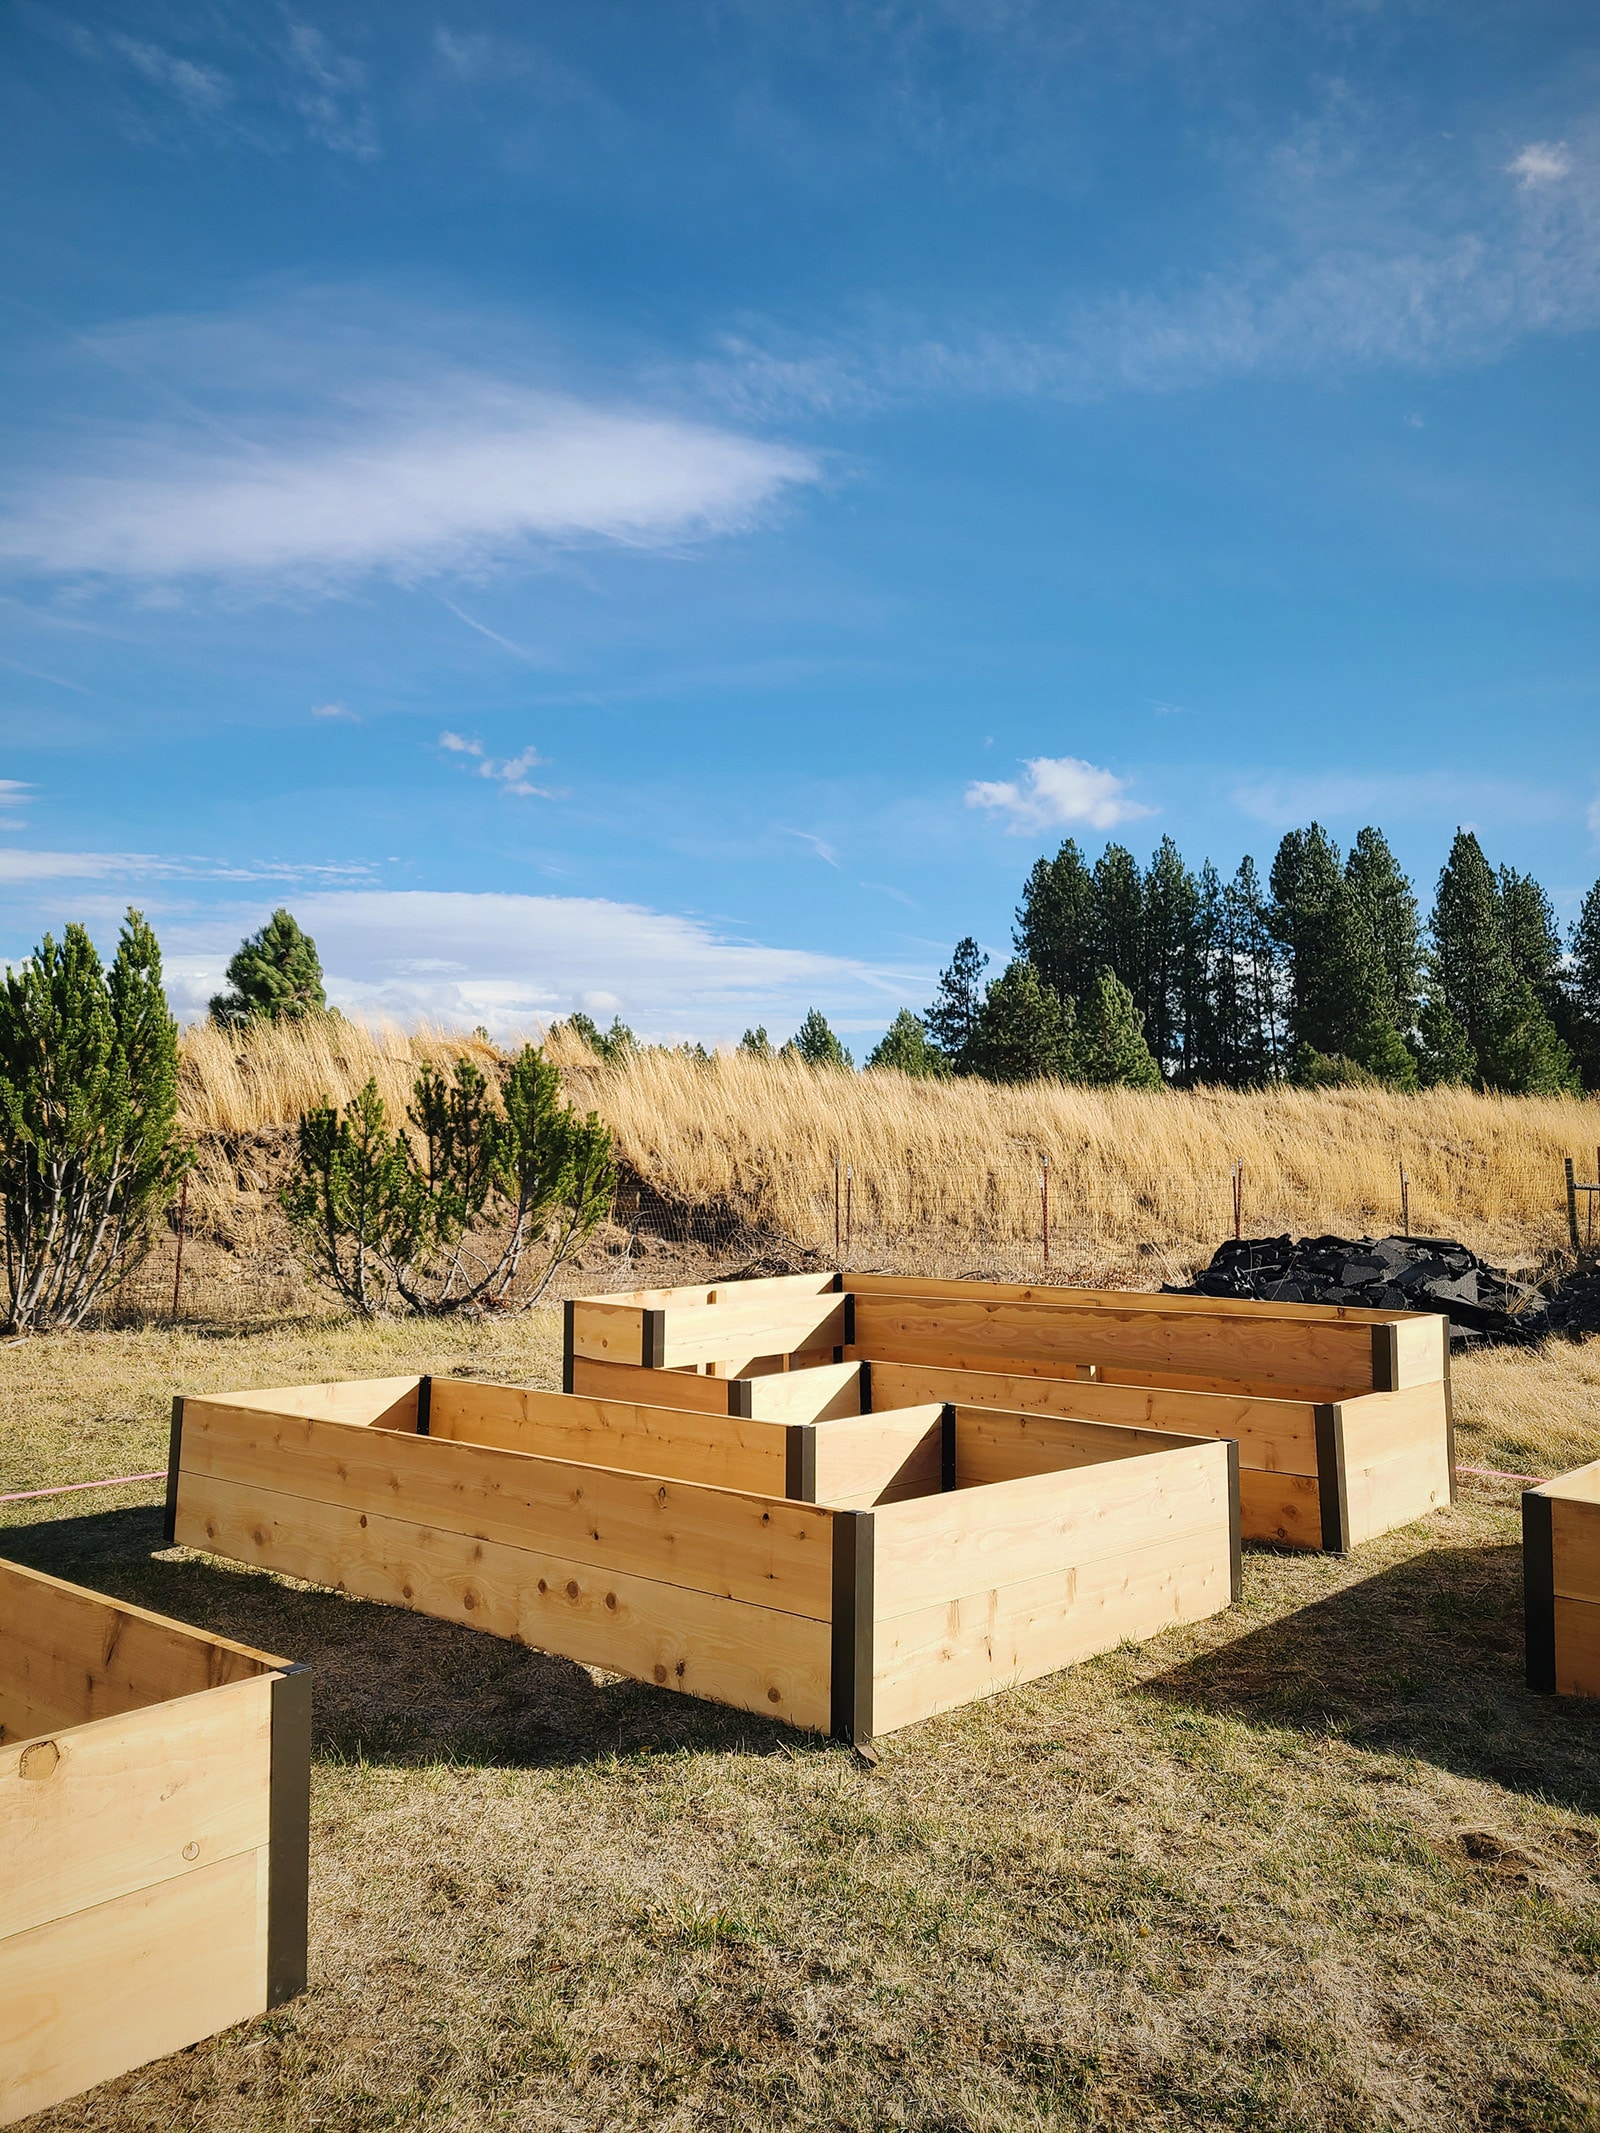
If you’re over 4 feet tall, you will definitely appreciate having higher raised beds—like 15 to 24 inches high.
This tends to go against what we normally see in pictures, where a raised bed garden stands no taller than 6 to 12 inches (whyyy?) but trust me when I say you won’t ever regret building your bed with some height (with just a little extra investment).
Having a taller raised bed means no more bending and stooping over your plants, and being able to catch weeds, pests, and diseases earlier because your plants are nearly at eye level, making it easier to spot problems.
A bonus: You can build your raised bed anywhere because it won’t matter what the native soil is like—you can just create the best soil for your needs.
Lazy tip #4: Plant perennial crops
Though most of the vegetables we love to eat are annuals (or treated as annuals), adding a few perennial crops to your garden means you’ll have access to more food with little to no effort, since they’ll come back every spring. (Or if you’re in a mild climate, they’ll continue to bear harvests year-round.)
Some outstanding perennial vegetables you can try include asparagus, rhubarb, artichokes, cardoon, tree kale (also known as tree collards or tree cabbage), radicchio, fennel, Egyptian onions (walking onions), sweet potatoes, malabar spinach, and a certain variety of broccoli called Nine Star perennial broccoli.
You can also grow perennial herbs like African Blue basil, rosemary, sage, thyme, oregano, chives, mint, lemon verbena, lovage, ginger, lemongrass, and horseradish.
If you have the space, add a few berries like strawberries, raspberries, blackberries, huckleberries, and currants too.
Lazy tip #5: Grow heat-tolerant vegetables
Some of the problems with growing enough food year-round is having your plants last long enough for you to harvest them regularly (so you’re not constantly replacing them).
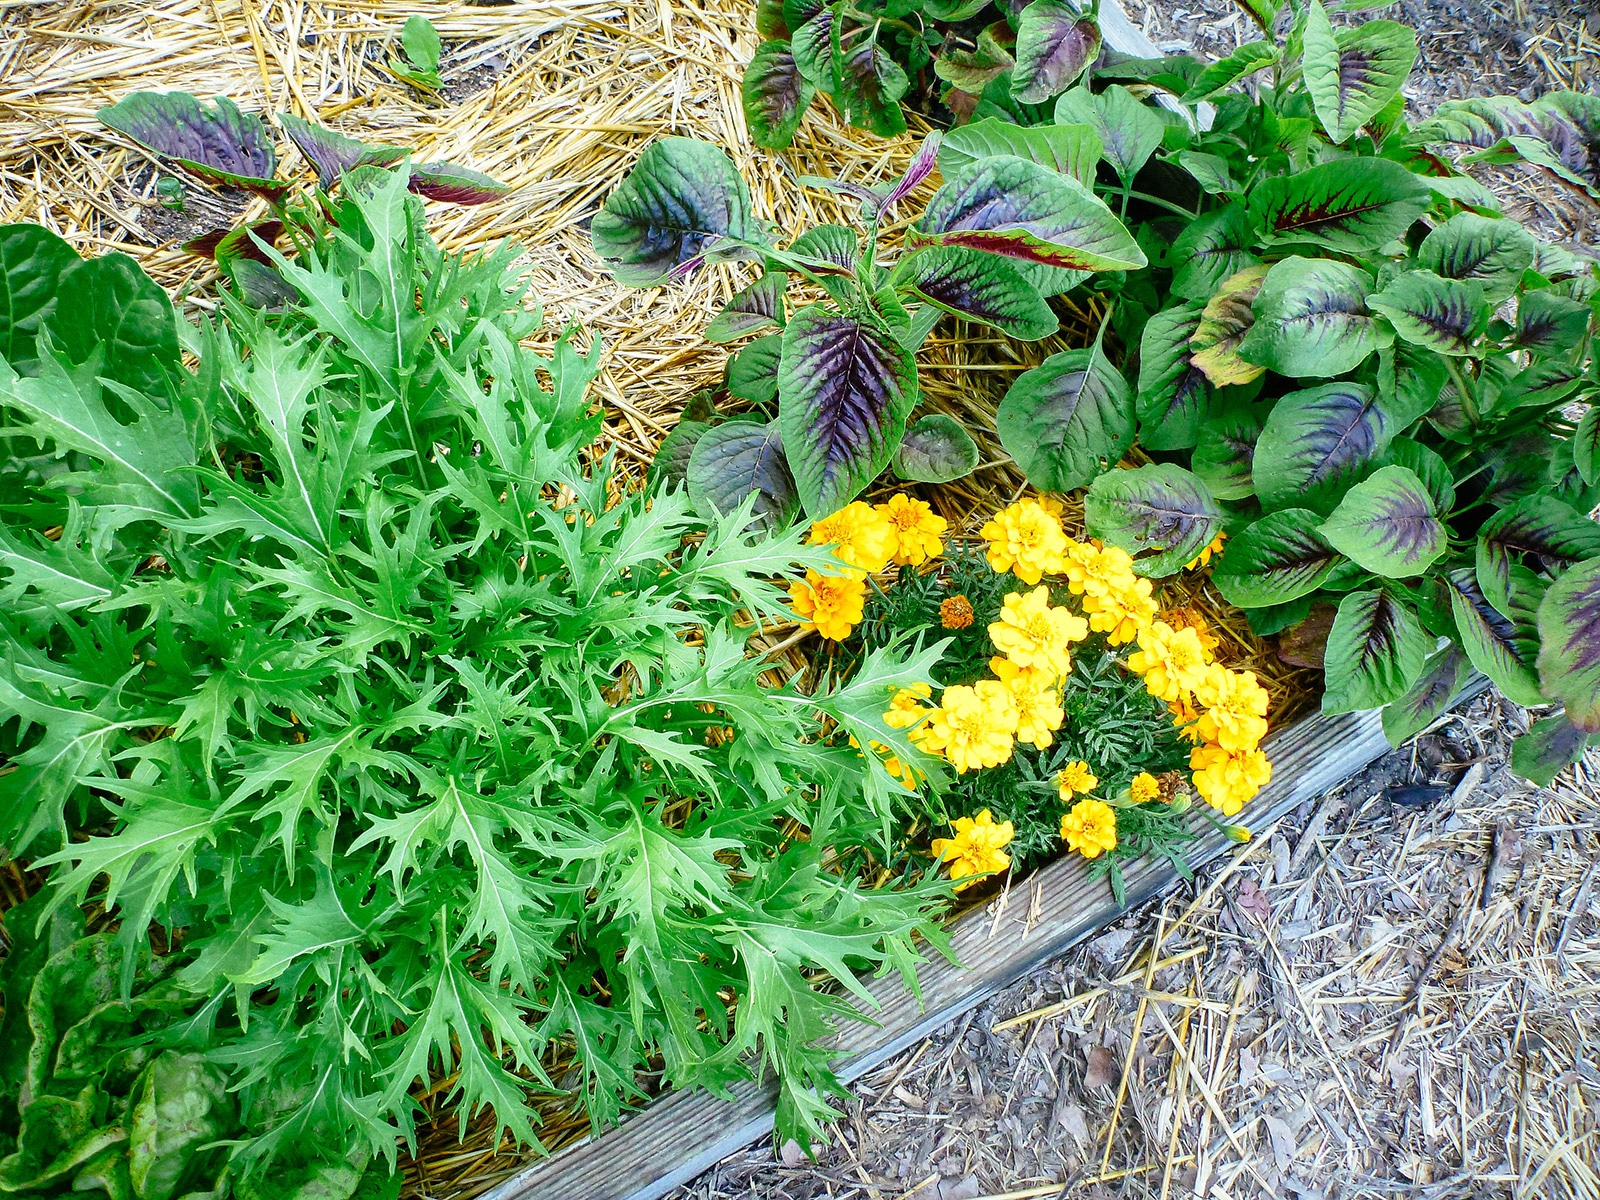
One of the best ways to ensure a consistent crop is choosing heat-tolerant or drought-tolerant vegetables that can be planted in spring and stretched a little further into summer.
Read more: Lettuce… Even In Summer
Many people aren’t aware there are varieties that are specifically bred for arid climates, and you can often grow these into the heat of summer. Check the descriptions in your seed catalogs, which should tell you whether a certain variety will have better heat tolerance than others.
Lazy tip #6: Use the entire plant
There’s a little-known trick to harvesting your plants weeks (or even months) sooner—and it’s all about knowing what you can harvest and eat at any stage of growth.
Many crops like sweet potatoes, summer and winter squash, peas and beans, and even sweet and hot peppers can be picked before the “main attraction” appears. You just have to know to pick the leaves! They’re 100% edible (and quite delicious) and will give you a much longer season than you’d normally get from your plants.
Learn more: 11 Vegetables You Grow That You Didn’t Know You Could Eat
On the flip side, some plants will even give you bonus crops after their season is “done.” For example, you can eat the leaves from broccoli and cauliflower after you harvest the heads, the flower buds from kale that’s bolted, or the seed pods from radishes if you’ve left a few plants in the ground too long.
Lazy tip #7: Mulch with edible plants and beneficial plants
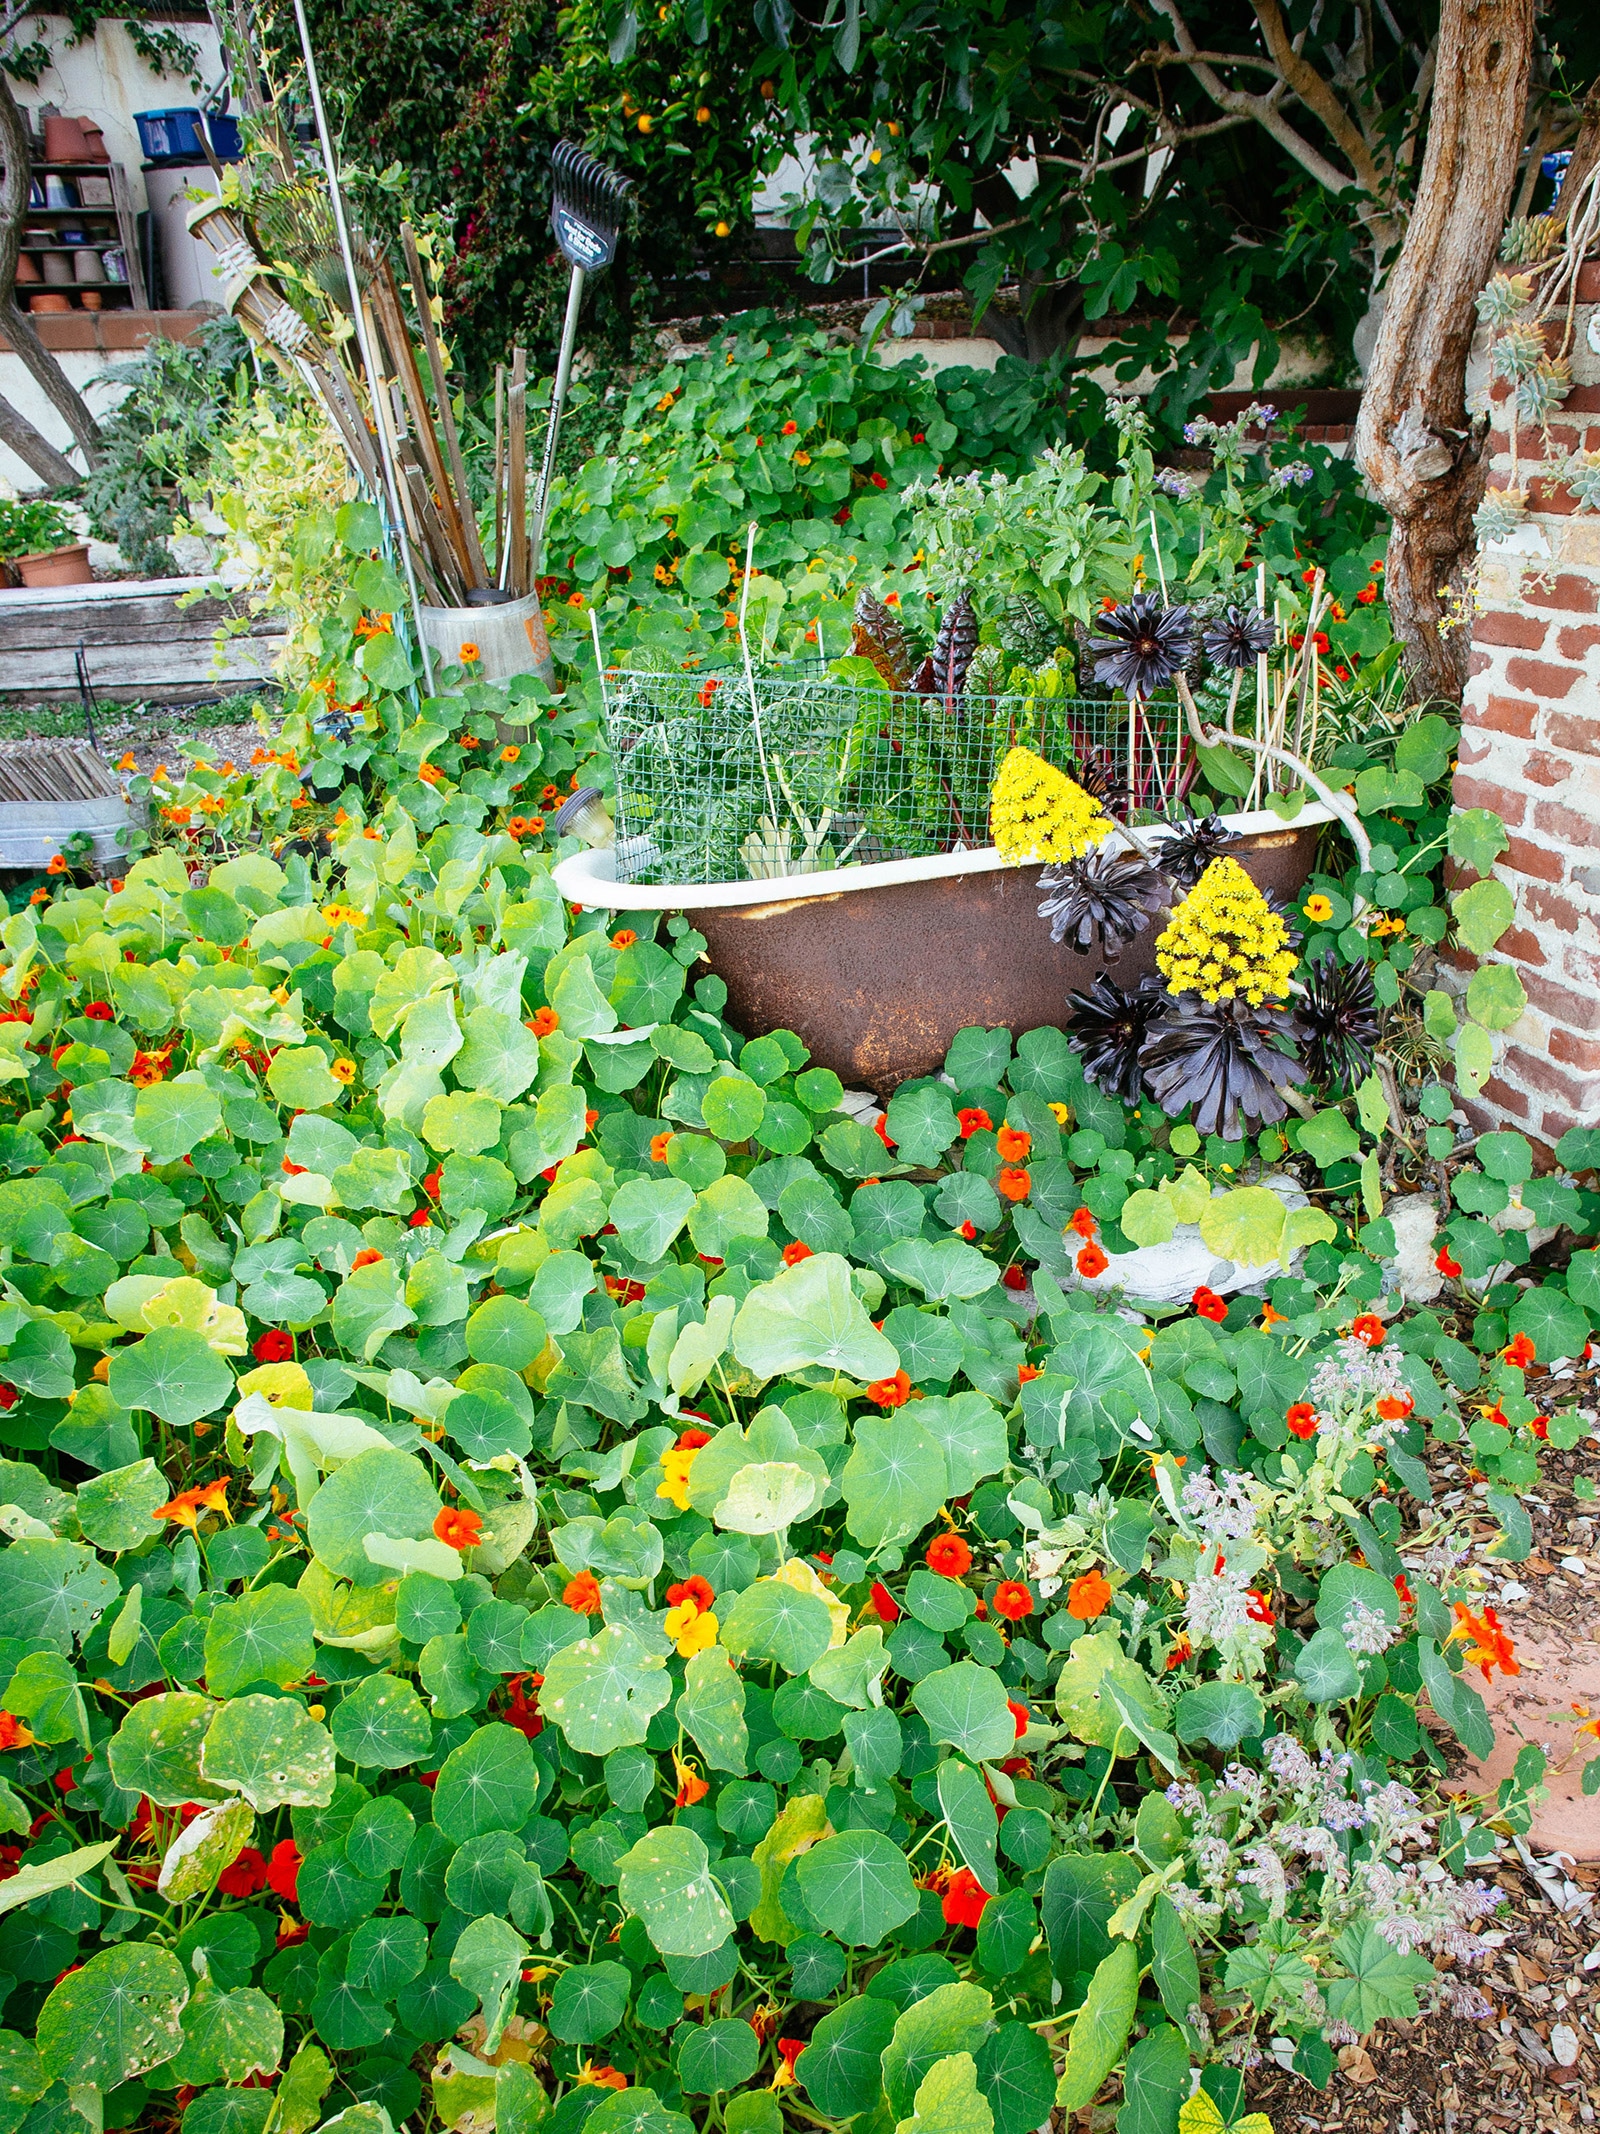
I do love using straw and wood chips as mulch for my garden beds. But more often than not, my favorite type of mulch is a living green mulch—especially one you can eat!
Quick-growing crops like radishes and leafy greens are perfect for planting in between slower-growing crops like tomatoes and peppers. They serve the same purpose as mulch (smothering weeds, conserving moisture, and protecting soil) while being a little side crop you can continually pick as you wait for the rest to mature.
You can also plant low-growing, bee-friendly flowers like nasturtiums in with your vegetables and take advantage of increased pollinator activity, all while benefiting from that living green mulch.
Related: Best Edible Ground Covers for Vegetable Gardens
Lazy tip #8: Put your watering on autopilot
If you’re still watering the majority of your garden with a hose or a watering can, you’re spending needless time on a task that’s easily automated.
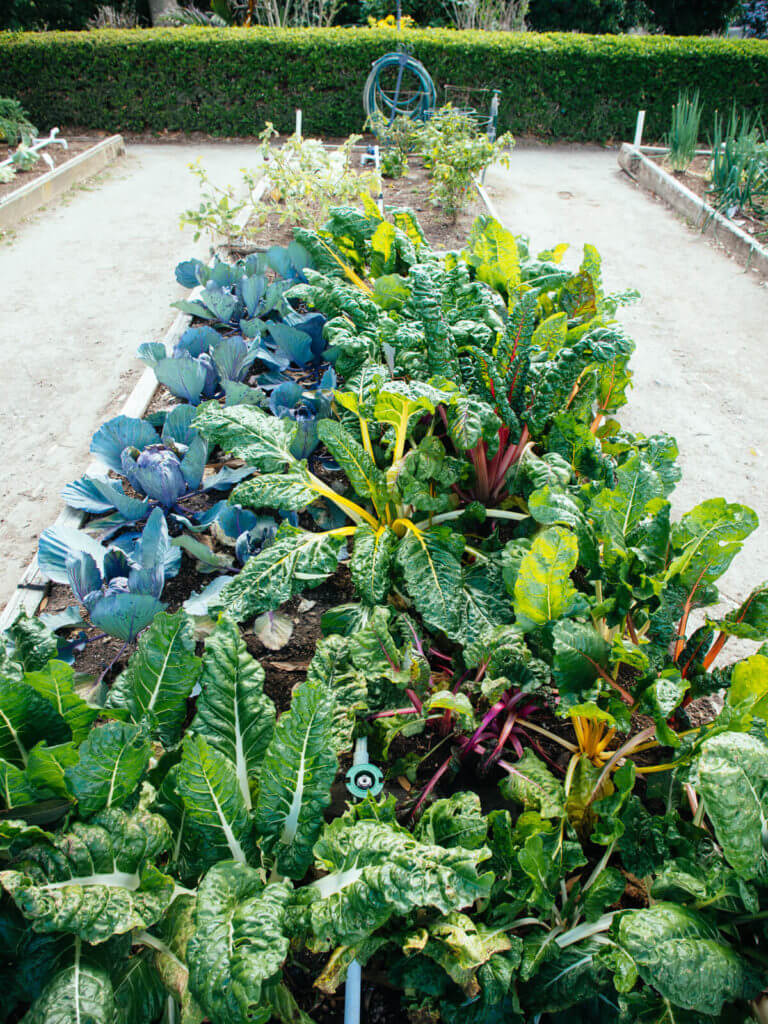
Putting drip irrigation in my vegetable garden was the best decision I ever made for my sanity. Sure, it took some effort to install in the beginning, but the hours, days, and weeks I saved were well worth it.
It also meant I didn’t need to scramble and find a friend to water my garden if I went out of town, and it cut down on pests and diseases considerably.
Run your drip irrigation on a timer (especially one with a rain sensor) and you won’t have to worry about watering again.
Lazy tip #9: Compost in place
The way composting goes for most people is you throw all your brown and green materials in a heap on the ground, turn it a couple times a week, wait for it to decompose, then sift and add it to your garden beds.
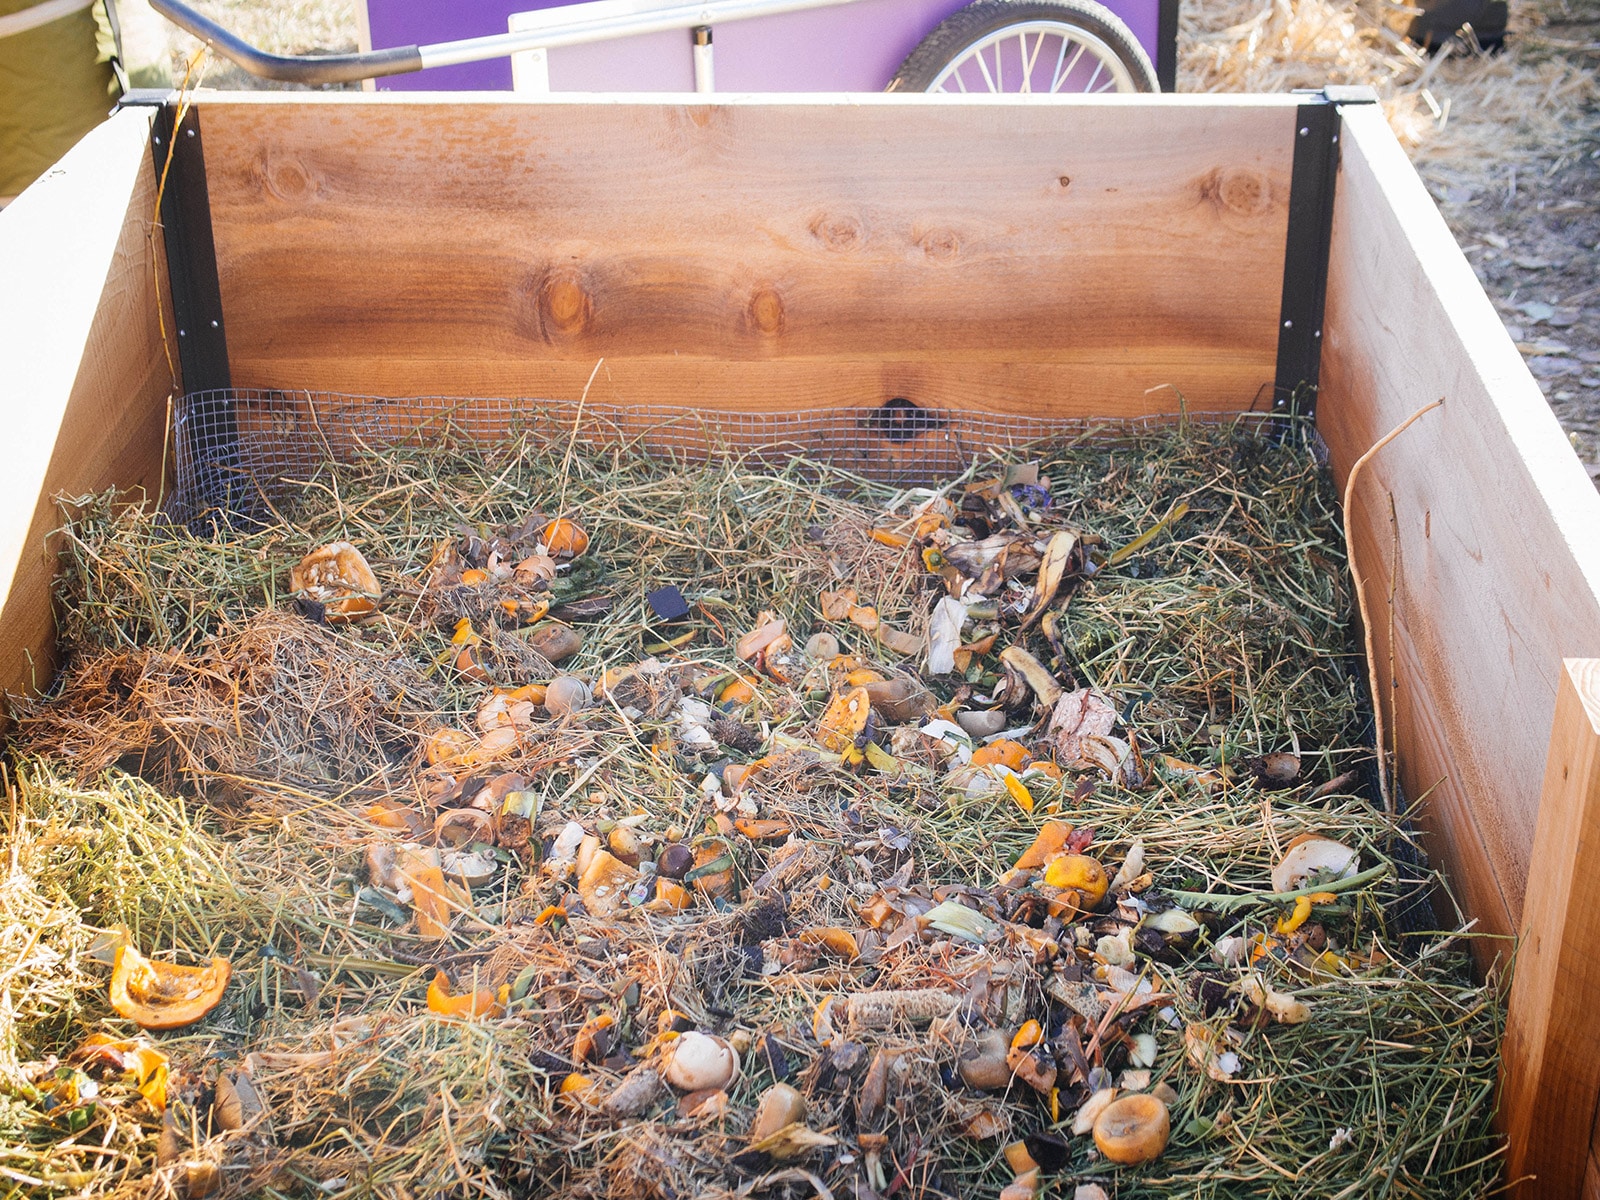
But you can eliminate that one extra step and just compost your kitchen scraps and other organic materials directly in your beds. They’ll naturally rot in place while providing food for all those soil microbes. This is the concept behind lasagna gardening, but you can also dig out a small hole in your garden bed, bury your kitchen waste, and cover it back up.
Recommended reading: 42 Surprising Things You Can Compost Right Now
It’s known as trench composting, but you definitely don’t need to save up all your scraps and dig a long trench to bury them altogether. Just take a trowel and bury what you need to, either every week or every few days (depending on how much kitchen waste you generate).
Lazy tip #10: Don’t pull up the roots
When it’s the end of the season and your plants are spent, what should you do with them? The answer might surprise you: leave them in place.
Also called the “chop and drop” method, letting your old plants decompose in place is a highly effective way of enriching the soil. The decaying plants on top are used as mulch for new plants, and the decaying roots underground add biomass to the soil.
(If those roots come from bean and pea plants, they’re even more beneficial as legumes release nitrogen while they rot through Rhizobia bacteria.)

Lazy tip #11: Leave old plants to overwinter
As part of their annual fall cleanup, many people dutifully go around their gardens and cut back perennial plants before the first snow falls. This includes deadheading spent flower heads, trimming stalks down to the soil surface, and throwing a layer of mulch over them.
While this is all legit if you want healthy plants, it adds a lot of unnecessary stress at the end of the season when there’s already so much to do (like raking leaves or turning all those juicy tomatoes into homemade tomato sauce).
My preference? I leave those perennials as-is until late winter to early spring, when I’m itching to get outside and do a little work in the garden (and it’s still too early for most gardening things).
All those old seed heads feed birds over winter, and the dead foliage provides shelter for wildlife (which means they stay out in the yard, and away from your house).
If you like the idea of growing more food with less work, you can learn more inside my signature course, Lazy Gardening Academy.
I guide you step-by-step through the exact process I used to plan, build, grow, harvest, and keep up my vegetable garden, all with way less work than you think.
Lazy Gardening Academy is where I share:
- The one thing you shouldn’t waste your time on when starting a new garden
- How to build a beautiful custom raised bed with zero tools (perfect if you don’t consider yourself handy or a DIYer at all)
- My foolproof, organic soil-making recipes (so you can fill your raised beds without spending an exorbitant amount of money on bagged soil)
- All the steps needed to replicate the exact irrigation system used in my garden (and how to streamline it for your own)
- Easy and clever planting tricks that make the most out of your space
- How to grow more food (without growing more plants)
- The big mistake many gardeners make with manure that can destroy their gardens (while they blame themselves because they don’t realize the shocking real cause)
- Natural, highly effective strategies for reducing pests and plant diseases (that are overlooked in most gardens)
- Simple shortcuts to fast, nutrient-packed compost—without ever turning your pile or checking it with a thermometer
These easy-to-master techniques were gleaned from over a decade of experience growing my own food from zone 10a to zone 6b. (Though anyone who lives in Central Oregon knows we have some crazy microclimates here, making me more like zone 4!)
I’ve refined my lazy gardening strategies over time and I’m excited to teach you what I know with step-by-step videos you can follow at your own pace.
No more busywork, no more guesswork, start Lazy Gardening Academy now!
View the Web Story on lazy gardening tips.


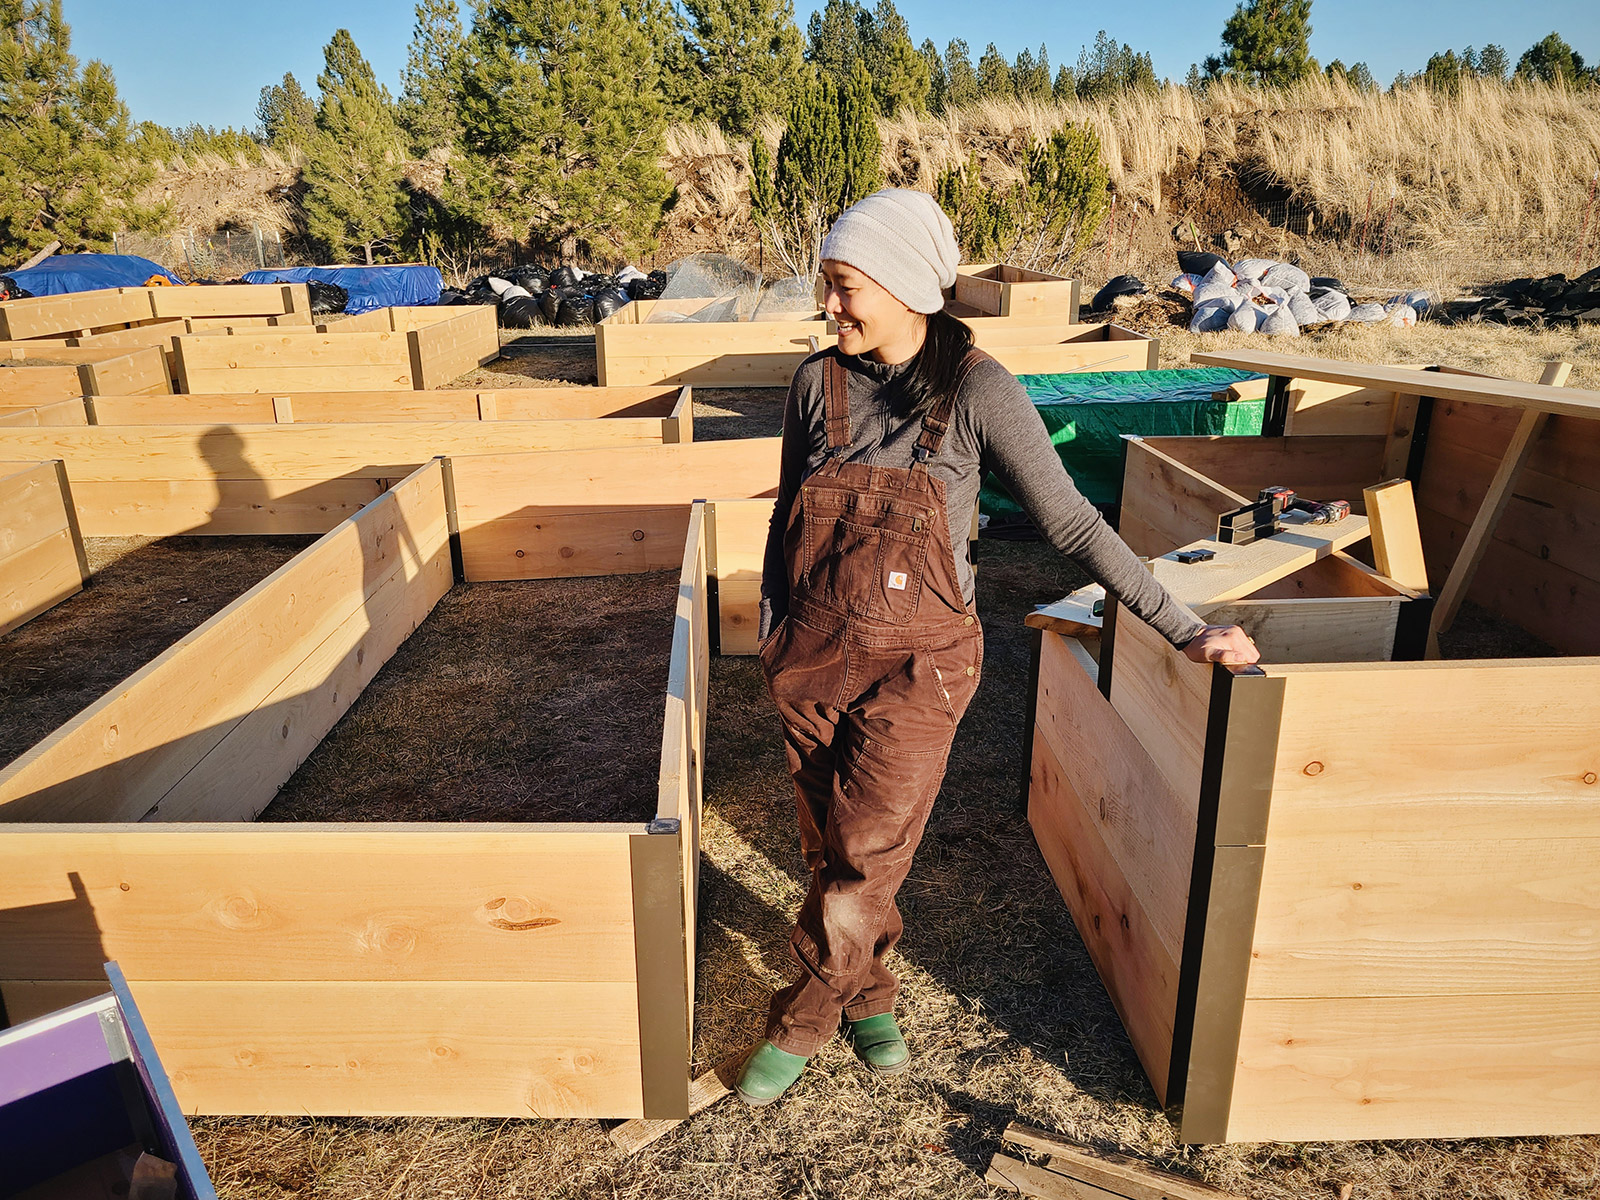





I found your blog this winter and really enjoy your tips! By any chance did you ever do a post on the construction of those beautiful raised beds that are behind you in the picture? I am so jealous!
Jeff
Thank you! I haven’t done a post about my raised beds yet, but I do show exactly how I built them in my course: https://www.lazygardening.academy/courses/lazy-gardening
I really like the way you think, as I also don’t have enough time and energy to maintain my gardening habit! But what about the adage to “keep your garden clean!” to avoid disease and pests. I feel like I’m always battling those two things, so I hesitate to stop cleaning up dead leaves and plants.
If your dead plants were otherwise healthy, they won’t spread diseases. They actually provide shelter for predatory insects so they stick around to help take care of your pests. If your plants were infected at some point, it’s always a good idea to bag them up and throw them in the trash or in your municipal yard debris bin, since most home compost piles don’t get hot enough to neutralize spores and other problems.
Plant companion plants in the same bed / row
such as corn beans and squash.
Can plant close as they need different nutrients.
You can get 2 or 3 plantings of beans by replanting a few days before the last picking. Chop the old plants down and leave on the bed for mulch as the seeds emerge.
I am looking for the corner pieces you used to construct your raised beds and was wondering what they are called. I’m having a hard time finding anything like it.
Was wondering what you would call the corner pieces of your raised beds.
Hi Jane, you can find them here: https://gardenbetty.com/corners